Abduzeedo - graphic design | design inspiration | tutorials - |

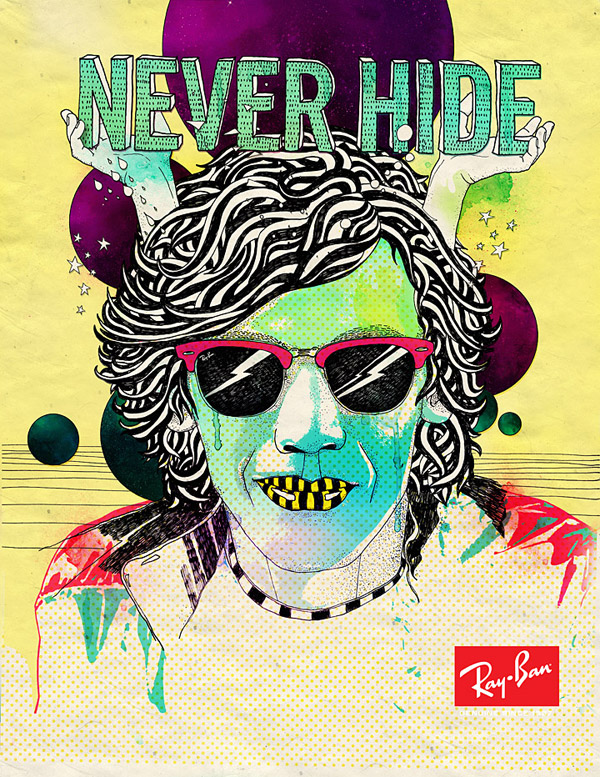
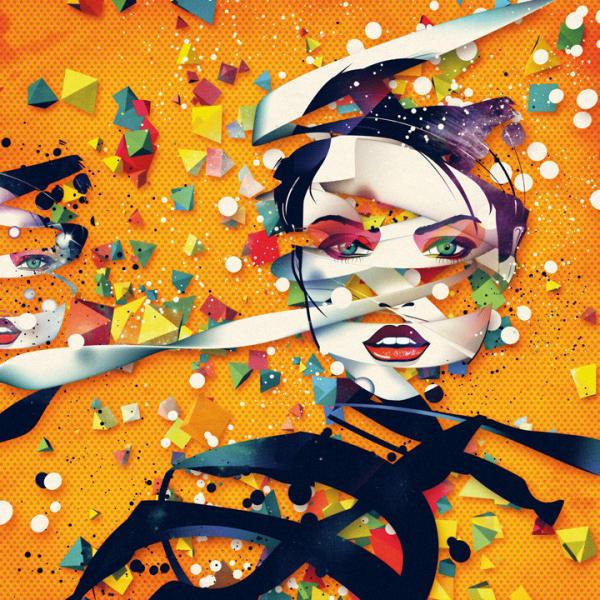
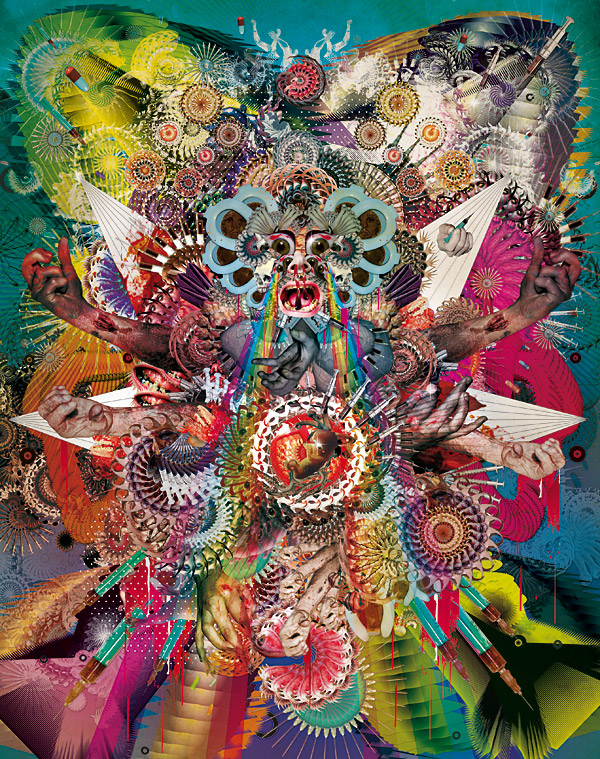
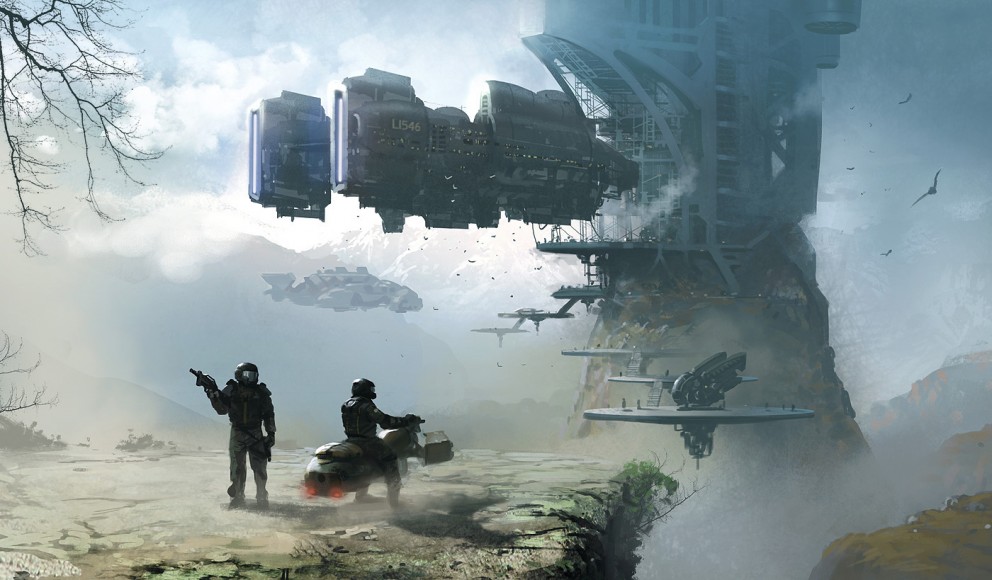
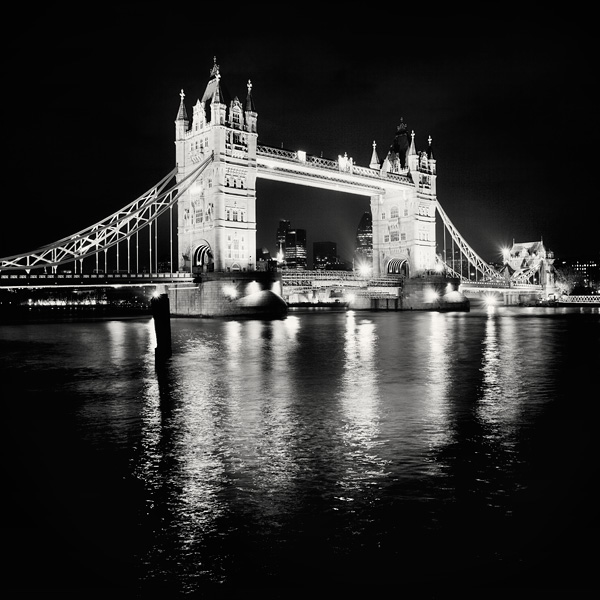
- Daily Inspiration #691
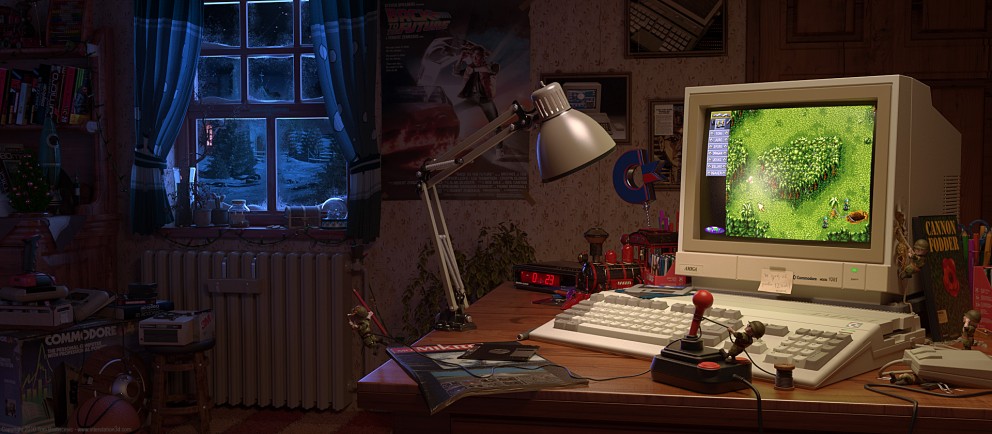
- The Perfect Office #67
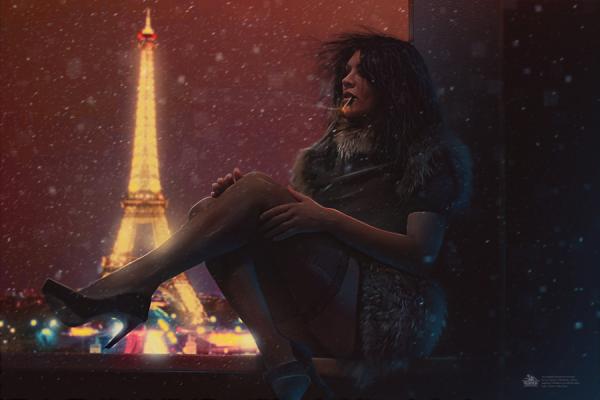
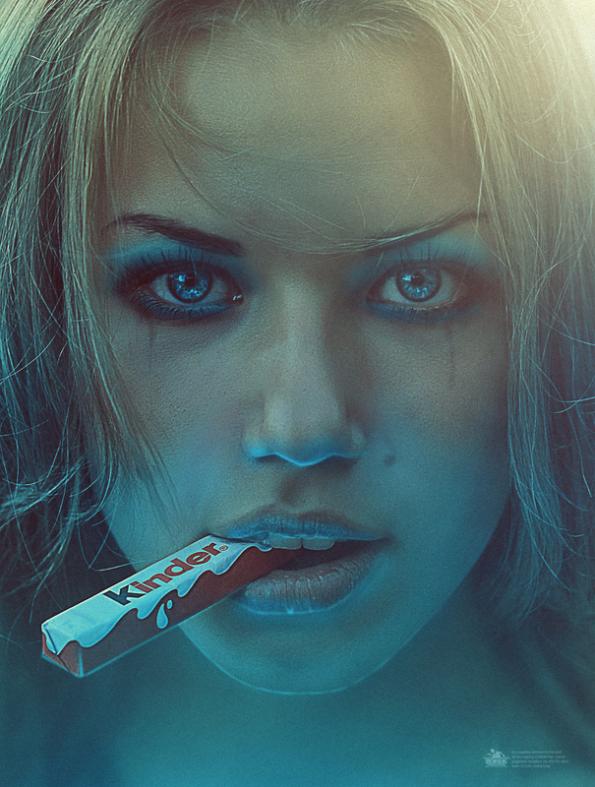
- Awesome Rainy Portraits
- Meet: Daisy Lew
- Cool Flying Eye Illustration in Illustrator CS5
| Posted: 13 Dec 2010 11:51 AM PST
This post is part of our daily series of posts showing the most inspiring images selected by some of the Abduzeedo's writers and users. If you want to participate and share your graphic design inspiration, just send us, via email, the image with the link from where you found it, also use "Daily Inspiration" in the subject, and don't forget to send your Abduzeedo username; or via Twitter sending to http://twitter.com/abduzeedoIf possible use the HTML code: <p class="imgC"><a href="Link to the page you found the image"><img src="Link to the Image" /></a></p> Do you want to see all images from all Daily Inspirations? Check out http://daily.abduzeedo.com2D
Abban
al b sure
Anderson Tomazi
andimal
Eric Schleicher Demo Reel 2010 from Eric Schleicher on Vimeo.
Arthur Presser
Besian Durmishi
Billy French
coolvibeblog
DDD
Emmanuel
Eric Vasquez
eugene kim
Fabiano
Fabio
fksd
Gerrel Saunders
Gisele
HdK
Joao Unzer
JulesB
kaethor
nenuno
Newyorkiz
theurel
Willian Sanfer
Via TwitterSend your suggestions via Twitter to http://twitter.com/abduzeedo using #abdz in the end of the tweet. @LabecMedia
@rix1
@Marcos333
@IrfanHanief
@daniel_nelson
|
| Posted: 13 Dec 2010 08:37 AM PST
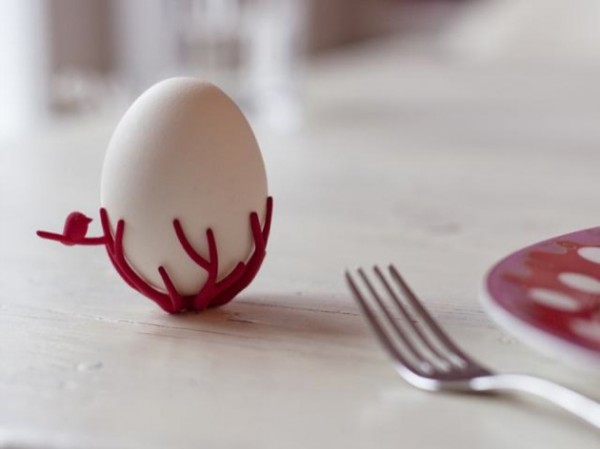
We've seen some great gadgets and equipment for designers. So many cool stuff, that we could actually assemble infinite perfect office spaces! Every week we'll assemble a perfect office, and we'd like you to help us. What equipment would the perfect office have?<!--break--> Not only gadgets and equipment, but also furniture, sound system, gaming stuff (for lunch time!). A designer is totally allowed to dream with the perfect office, and that's what we're gonna do here! Also, tell us your suggestions, or even better, you may tell us via twitter (mine and fabio's), using #abdz_ofc so we can check it. Alright? I hope you guys enjoy this brief selection. Cheers! ;) The Kone The Kone is a beautiful object, simple and stark. More to the point of the design, the coffee it makes is rich and full. The filter is cleaner than a mesh basket, and the photochemically machined holes let oils that would be absorbed by a standard paper filter flow through. (at Like Cool) Hanging AirPlant Pod Because they are high fired, you can hang them outdoors as well but make sure to bring your air plants inside during cooler temperatures. To secure the air plants I tuck a couple leaves inside if the bulb isn't big enough to hang within the pod itself. (at 7 Gadgets) It Holds Keys and Hangs Coats I'm usually pretty good about keeping my keys and travel chotchkies in one place. I'm ambivalent about tossing them in a bowl or hanging them by the door. Ugh, that's the worse because it's just a constant reminder of Los Angeles traffic every time I walk by. I digress. (at Crib Candy) Magic Carp-pet
John Leung has once again collaborated with ClarkeHopkinsClarke Architects on the Magic Carp-pet, a carpet design that animates when viewed through a specially designed glass coffee table. (at Design Milk) Midland SubZero Headphones Available in black, white, camo and luxe black leather, these winter essentials are set to become your default cans for ski holidays, trips to Iceland (the shop and the country) and, if weather reports are to be believed, most of the year in miserable Blighty. Quite frankly, unless you live in the tropics we can see no good reason why you wouldn't want a pair. (at 7 Gadgets) Shogun Bros. Chameleon X-1 mouse No, your eyes aren't deceiving you -- not one little bit. You're looking at a PC gamepad built into the bottom of a mouse, and not a drab one at that. It's called the Shogun Bros. Chameleon X-1, and if you just fell in love, we're afraid there's no suggested price, shipping date or a way to buy it yet. What we do know are the promised specs, which include a 5-stage adjustable 1600dpi optical sensor with 125Hz polling rate -- which admittedly sounds last gen -- that connects to your Windows PC over a USB dongle sporting 2.4GHz wireless. There's 14 buttons on the bottom, 7 on the top, and the company's support page suggests the device has force feedback as well. We're not terribly bullish on the "sophisticed Norway Nordic Chip System" the controller apparently has, but considering there are three very legitimate looking pictures of the device in our gallery below, we're not going to write it off quite yet. (at Engadget) Lenovo's IdeaPad Y460p and Y560p laptop The Idea Pad Y460p and Y560p are 14- and 15.6-inches with 16:9 widescreen displays, and come with a range of processors up to the Intel Core i7, an up to 750 GB hard drive, and up to 8GB of DDR3 memory. The laptops also feature JBL speakers and Dolby Home Theater. (at Engadget) |
| Posted: 13 Dec 2010 07:24 AM PST
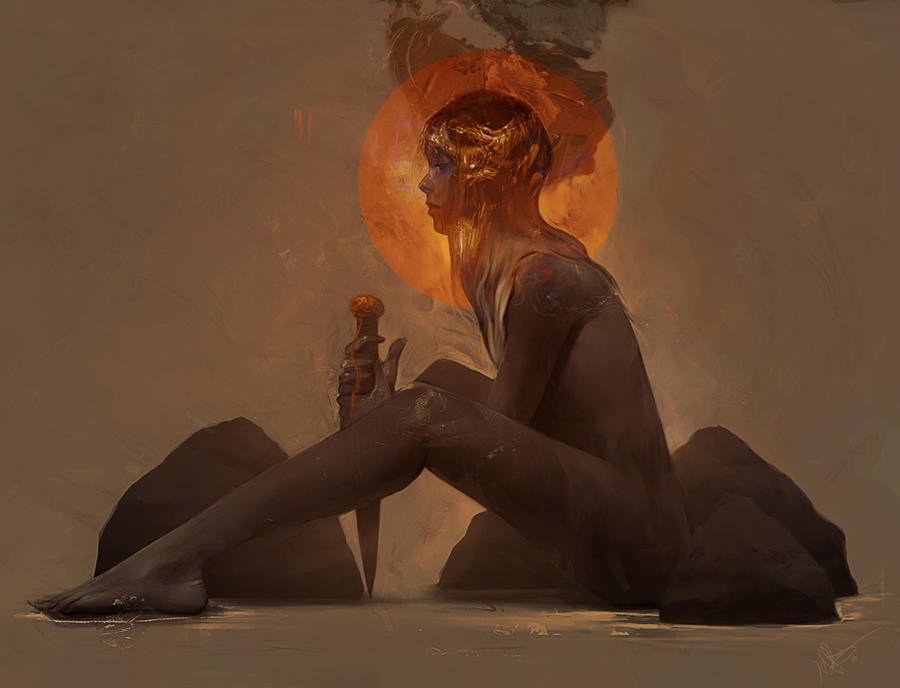
Nicolas Dumont is a professional photographer based in Dubai and he had a great idea of shooting some rainy portraits under the shower of his apartment. These portraits came out great, the water going down their faces and the expressions are priceless. Check them out!<!--break-->
About the authorHi there! I'm Paulo Canabarro, 25 year old web designer from Brazil currently living in Providence RI, USA. I'm truly passionate about design of all kinds. Finding and sharing inspiration has become part of my life. If you have any suggestions or requests just get @ me - pvpcanabarro@gmail.com For some cool stuff make sure to Follow me on twitter! Sponsored Links:
|
| Posted: 13 Dec 2010 04:50 AM PST
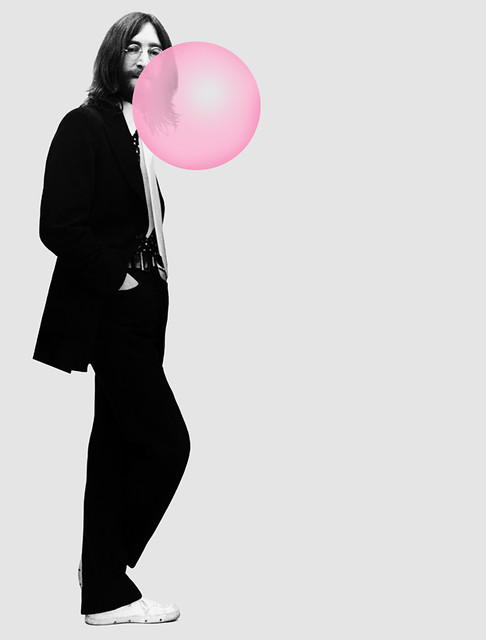
Parsons graduate and New York City based designer Daisy Lew's portfolio is a wonderful mashup of print and mixed media with motion graphics. She's had tons of past experience interning at ad agencies, art consulting companies, and even Donna Karan fashion design company under her belt that surely brings a lot to the table.
Check out Daisy's portfolio for more and let me know what you think via twitter!
|
| Cool Flying Eye Illustration in Illustrator CS5 Posted: 12 Dec 2010 06:00 PM PST
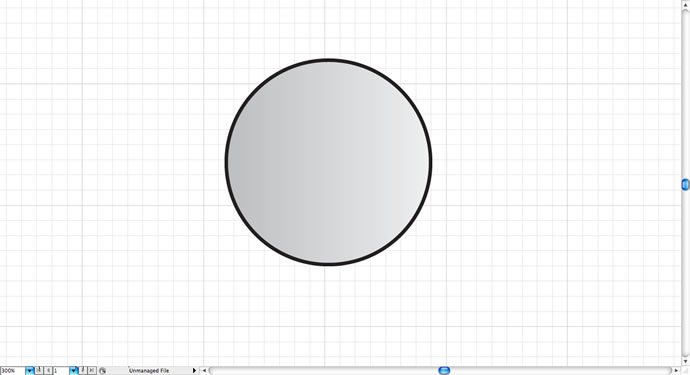
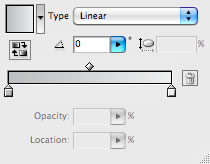
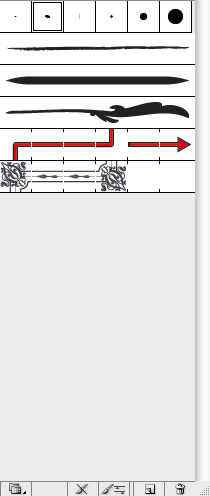
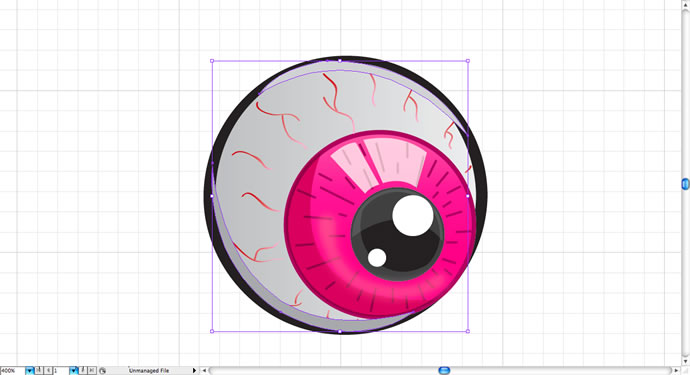
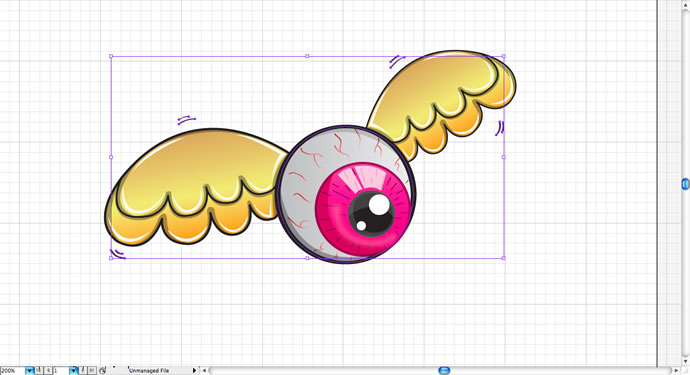
It's been quite some time since the last we have posted a full Adobe Illustrator tutorial, we most of the times Photoshop and Illustrator, so in this tutorial Marcos Torres will show us how to create a really cool Flying Eye illustration using basic shapes using only Illustrator. The whole process is very straightforward with a nice outcome.Step 1First of all, open Illustrator and create a new document. This new document should have 29,7 x 21 cm. Now, using the Ellipse Tool ( L ) create a perfect circle ( you can hold shift + alt while using the tool, this makes easier to make a perfect circle). Than add some light gradient and use 5 pt. Oval brush to make it look more cool.
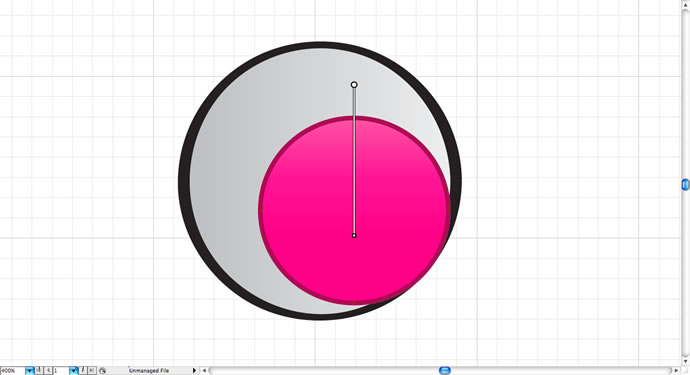
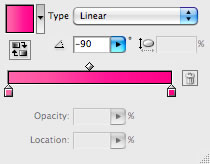
Step 2Again, using the Ellipse Tool ( L ) create this pink circle and move in to the border of the white circle. Use the Gradient Tool ( G ) and add a light pink gradient in it, also add a 2 pt stroke in it.
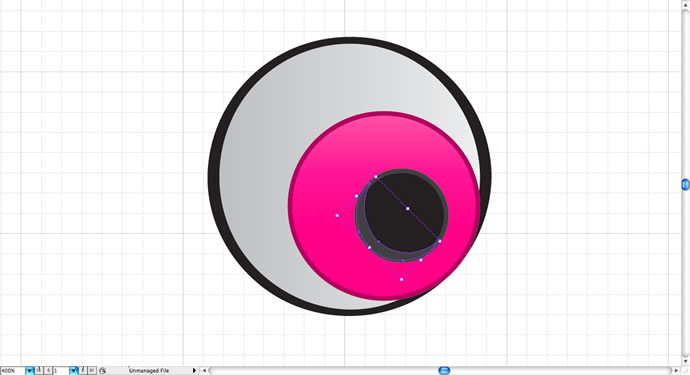
Now, create a black circle with a grey stroke using the Ellipse Tool ( L ). Than, using the Pen Tool ( P ) you should do a shadow on the black circle with the same color of it's stroke.
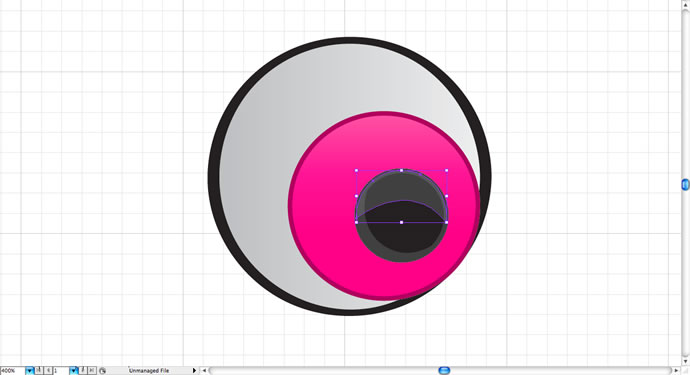
Use again the Pen Tool ( P ) to in order to create this shape, choose a white fill and change the opacity to 10%. It should look like this:
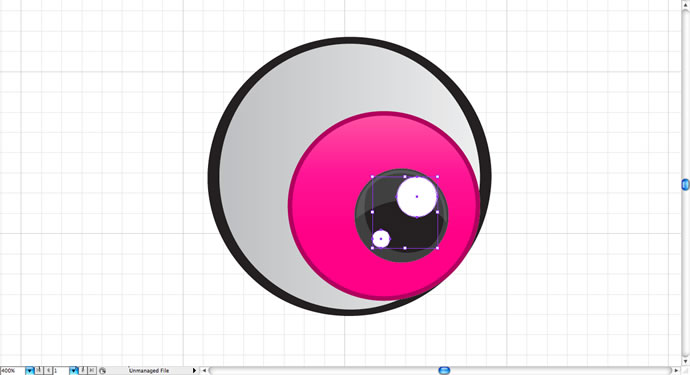
Finally, create these two little circles with the Ellipse Tool ( L ) and place them like this.
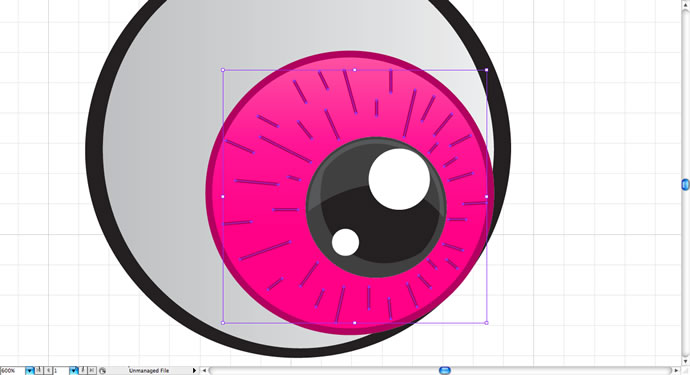
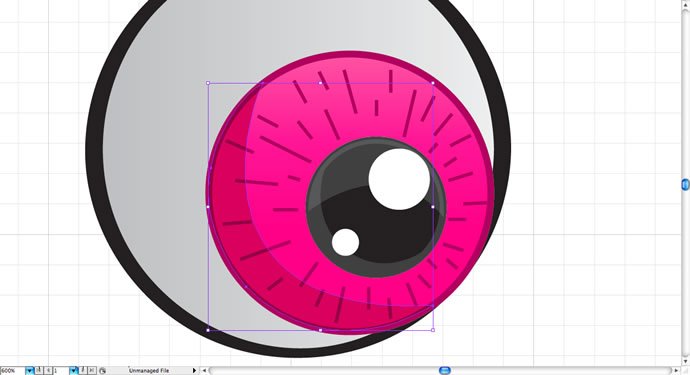
Step 3Using the Line Segment Tool ( \ ) create these lines with 1 pt of stroke in pink color. This might take some time till you make all of them around the black circle.
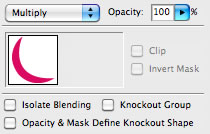
Now with the Pen Tool ( P ) draw a shape for shadow with a pink fill, then choose the blending mode called Multiply.
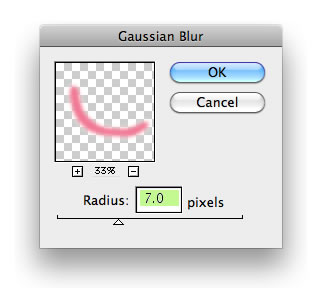
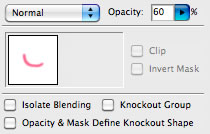
Using the Pencil Tool ( N ) draw a shape with a pink fill, then select Filters > Gaussian Blur and use a 7 px blur. Change the opacity of the shape to 60 % to get more light and transparent, it should look like this.
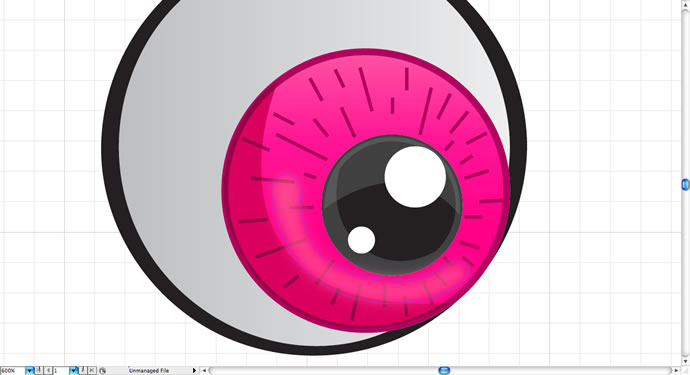
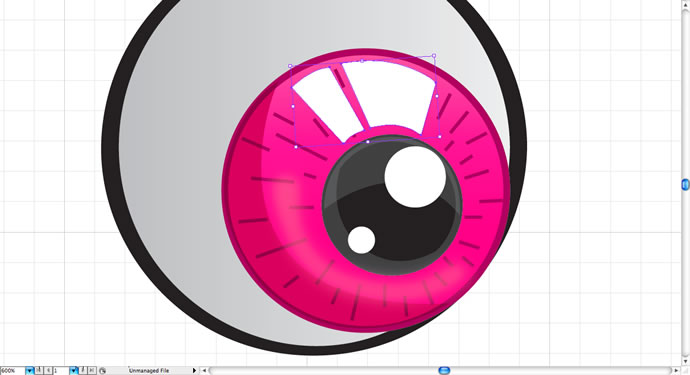
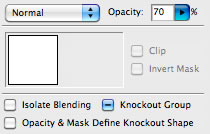
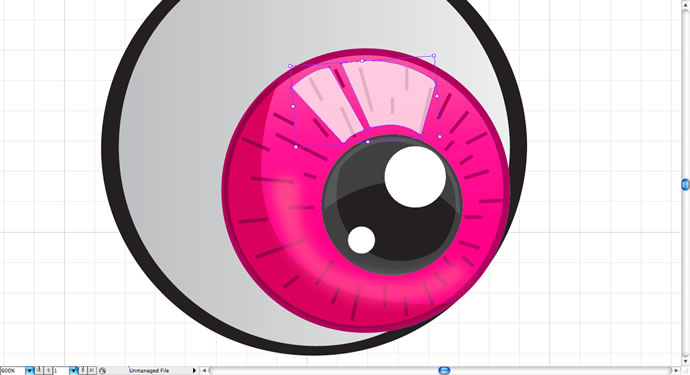
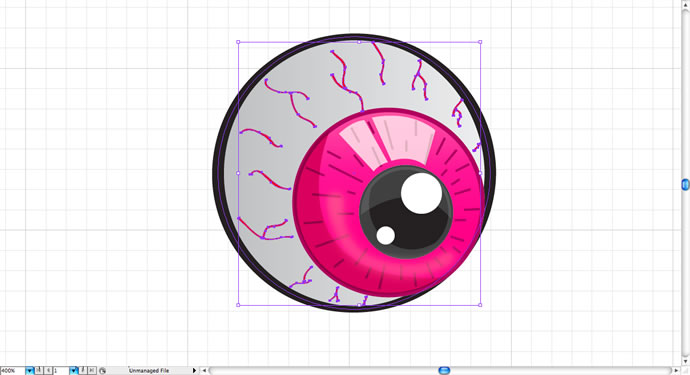
Finally, let's make the Iris reflections, choose the Pen Tool ( P ) and make the shapes. After, change it opacity to 70 %. The iris is done, let's skip to the sclera.
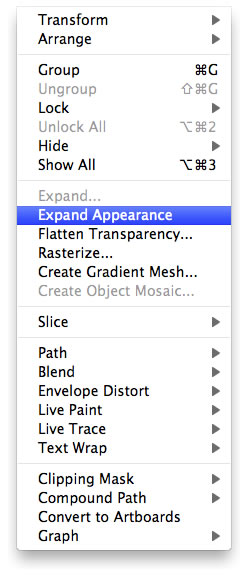
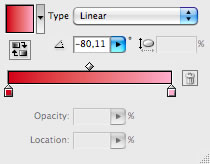
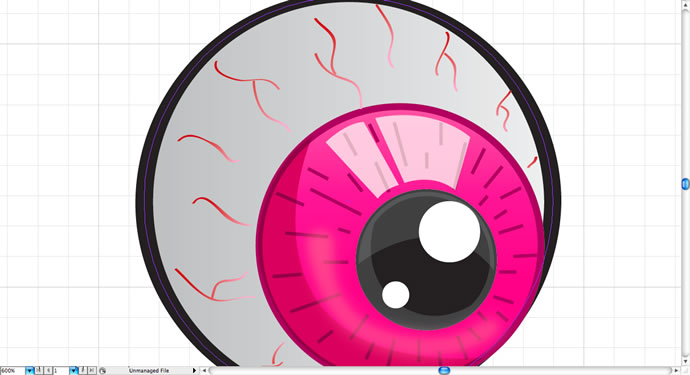
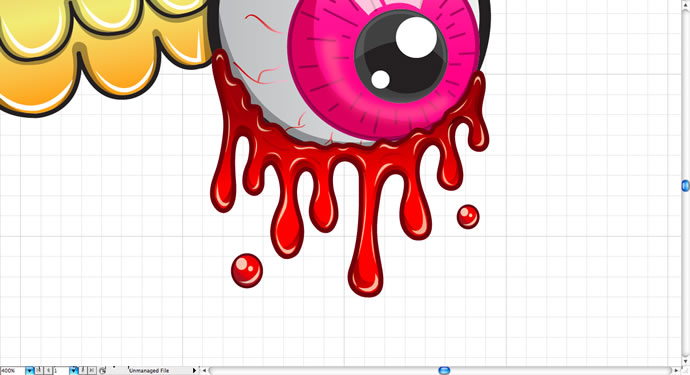
Step 4Using the Brush Tool ( B ) choose a 0,25 pt brush to make these veins, now this is cool trick: choose all veins and go to Object > Expand Appearance to turn the strokes into shapes. In order to make it looks more realistic, make a gradient fill in all these veins, like the example below:
Using the Pen Tool ( P ) and make the grey shapes around the sclera, then choose the blending mode called Multiply. The eyeball is complete, let's proceed to the wings.
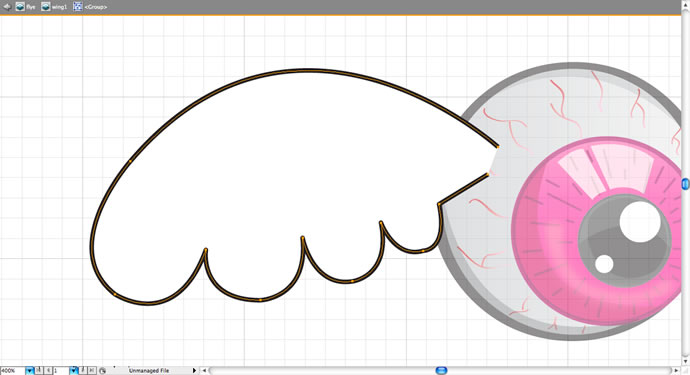
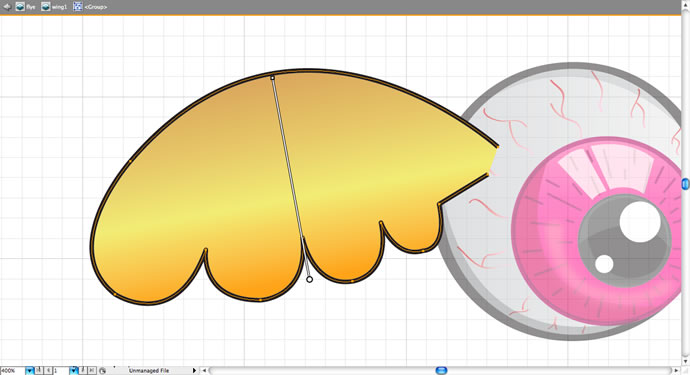
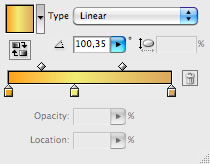
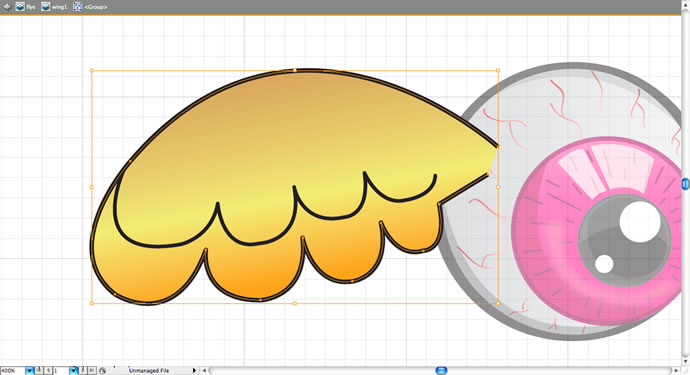
Step 5Make a new layer, then using the Pen Tool ( P ) draw the basic shape of a wing. Using the Gradient tool ( G ) make a gold gradient on the wing. Again, use the Pen Tool ( P ) and draw a second line of curvy shapes on the wing, like this.
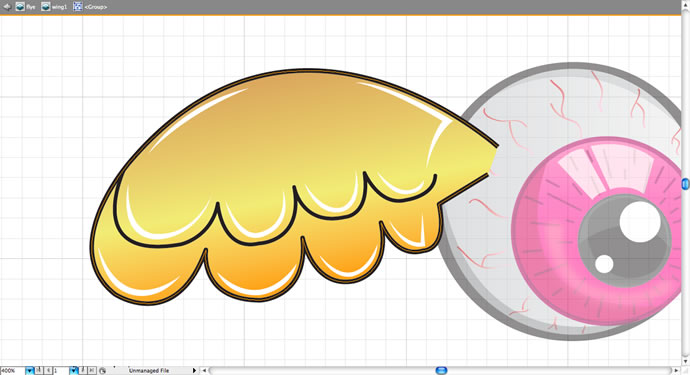
Now we have to make the reflections and shadows, this will take sometime, since you will need to do one shape at the time. Using the Pen Tool ( B ) create white shapes close to the borders like the example below:
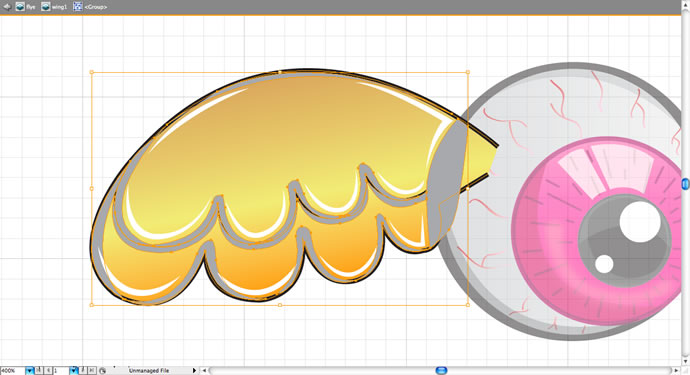
Now let's make the shadows, use again the Pen Tool ( P ) but this time make sure to make the grey shapes next to the strokes of the wings. After that, choose the blending mode called Multiply, it should look like this:
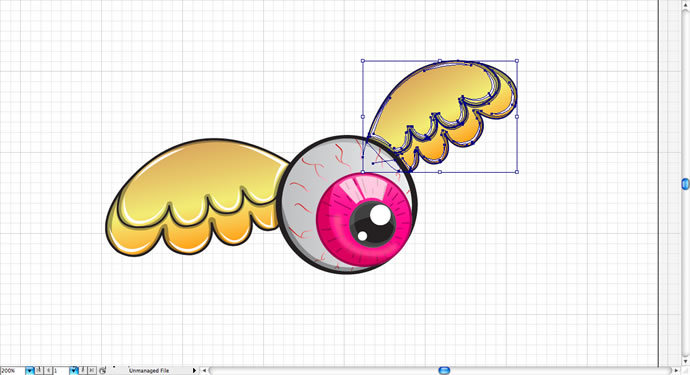
To make the other wing, duplicate first wing layer using the Selection Tool ( V ) + alt.Then reflect the wing, resize it and position it like the picture below.
Step 6Now let's give a sense of movement to it, create a new layer and use the Brush Tool ( B ) and make some black lines with a 0,75 stroke. This will give a movement impression to the image.
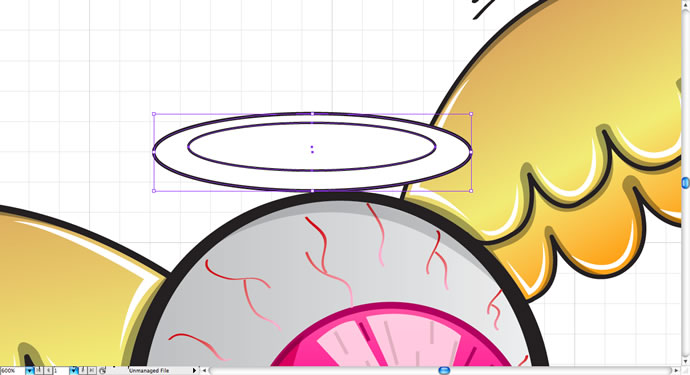
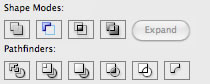
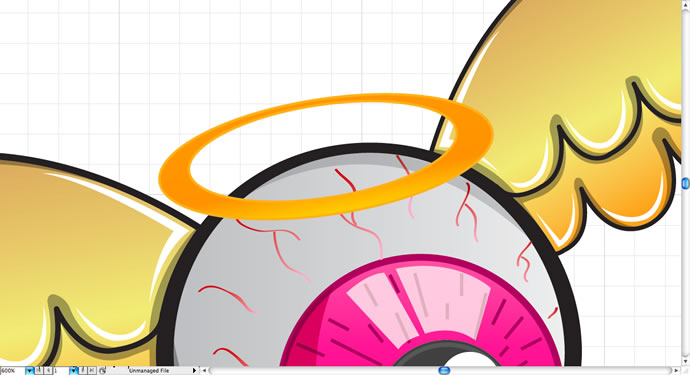
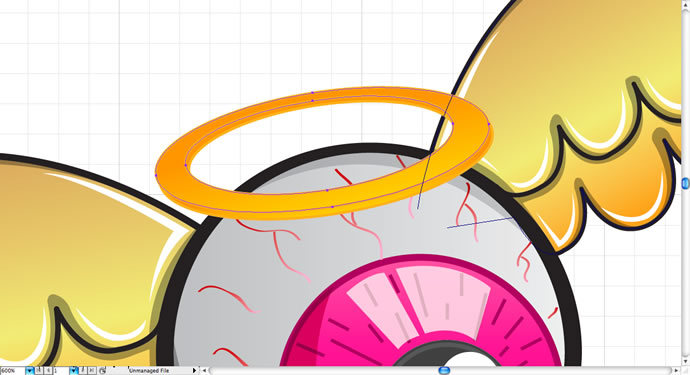
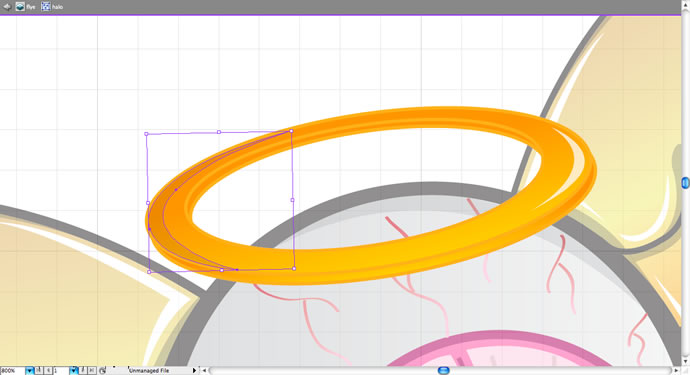
Now let's skip to the halo, using the Ellipse Tool ( L ) make two circles like a ellipse, then go to the pathfinder panel and use the Minus Front shape mode, this will make the shape of the center subtract the other shape. Using the Gradient Tool ( G ) create a gold gradient with 0,75 pt yellow stroke.
Now, duplicate this elliptical shape using the Selection Tool ( V ) + alt, and put it above like the example below, you might have to change the direction of the gradient to look better.
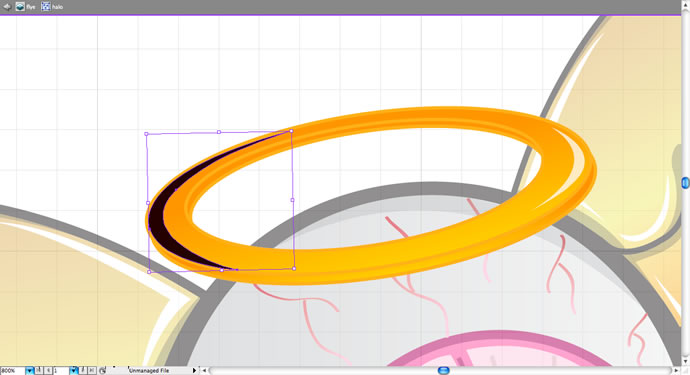
Finally, let's create its shadow, use the Pen Tool again to draw a black shape next to the opposite border of the glow, then change it opacity to 10 %.
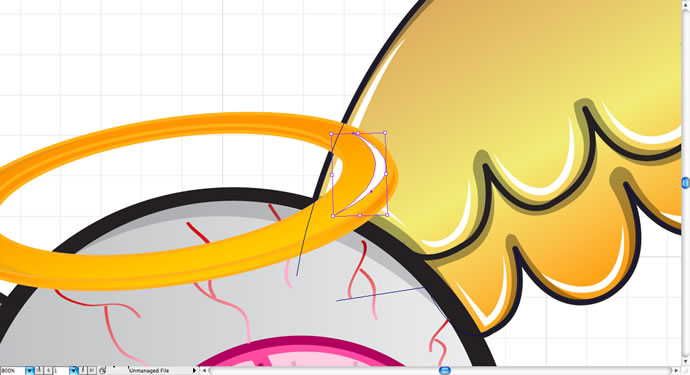
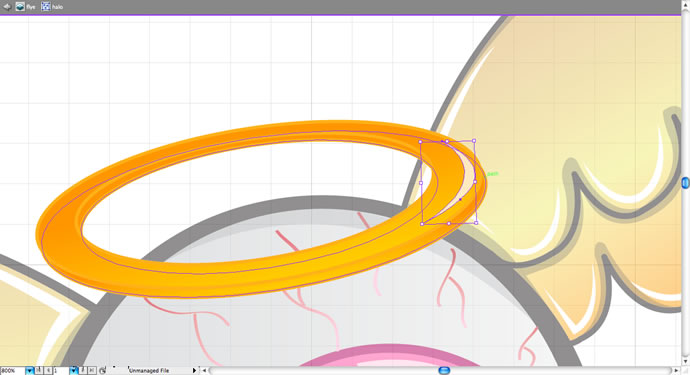
To finalize, let's make the shadow and the glow on the halo. Using the Pen Tool ( P ) , make this shape close to the corner of the halo, than change it's opacity to 75 %.
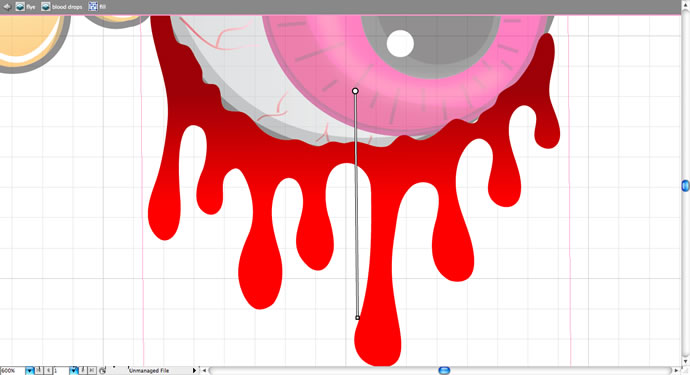
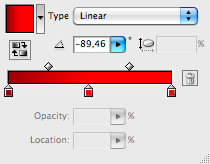
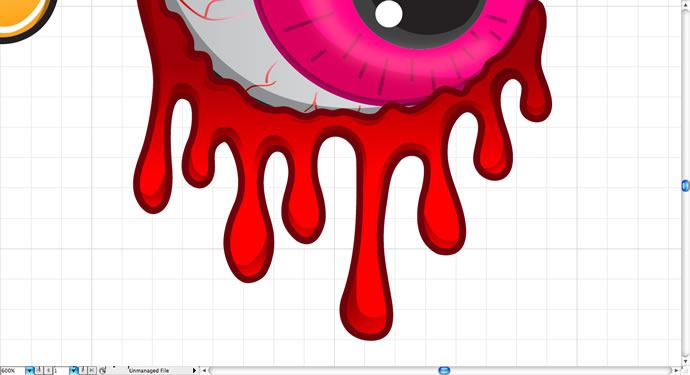
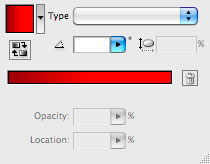
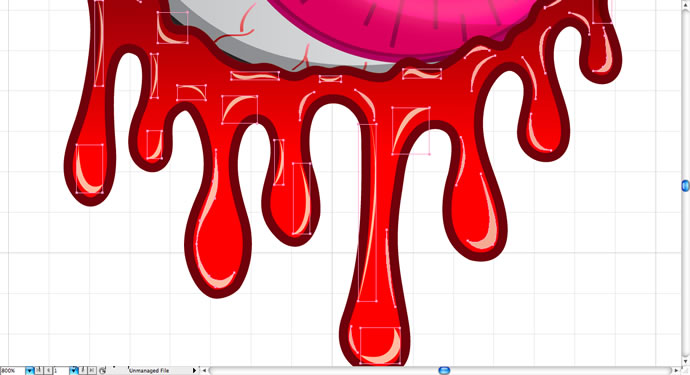
Step 7This is the trickiest part of the tutorial: making the blood. First of all, create a new layer and then using the Pen Tool ( P ) or the Pencil Tool ( N ), make the shapes that resemble drops on the eye. Using the gradient tool, make a red gradient like this.
Now duplicate this shape using the Selection Tool ( V ) + alt, then delete it's fill and put a 2 pt of a red stroke on it.
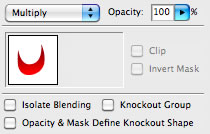
Making the shadow is obviously the trickiest part, there's not a shortcut here: using the Pen Tool ( P ) you will have to make the shapes with red gradients and the Multiply blending mode, this will take a while. Don't forget to make all of these shapes below the drops stroke layer, so you won't have to bother if they are sizing perfectly.
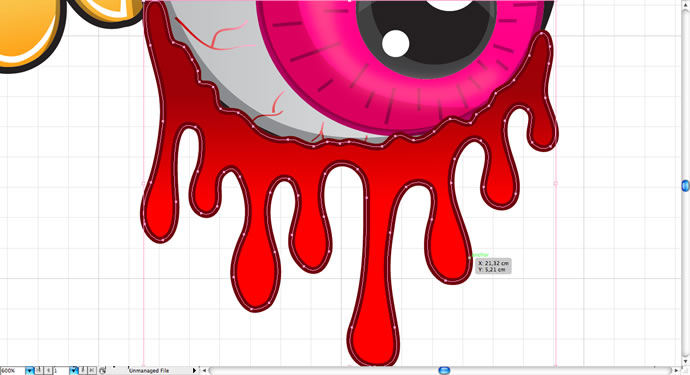
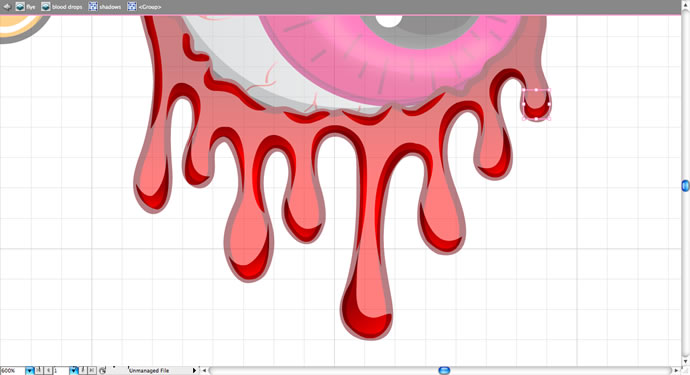
Make a group with all the shadows and hide this layer. Now we are going to make the glows, this may take you a long time, since it's just about using the Pen Tool ( P ) to make the light pink shapes close to the borders.
Finally, you can add some details like the gradients in order to look more glossy.
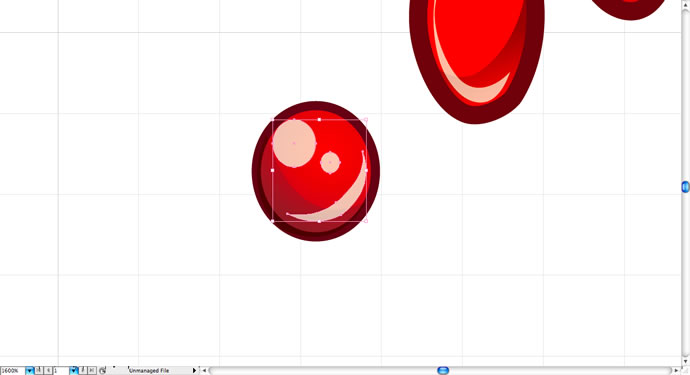
Step 8Final step, we are going to draw the drops of the blood, using the Ellipse Tool ( L ) make a circle and add the same gradient and stroke of the blood, you can copy it by using the Eyedropper Tool ( I ).
Using the Pen Tool ( P ), draw the shape on the border of the circle and use a red gradient, then choose the Multiply blending mode.
Finally, you can draw the white shapes with the Pen Tool ( P ) and the Ellipse Tool ( L ), then change their opacity to 75 %. Duplicate the layer of the drop as you want using the Selection Tool ( V ) + alt.
The Final ResultWell, I might say this tutorial is all about knowing how to use simple shapes to create something cool, you can add wherever background you want to this image, a pretty blue sky seems to be a good choice. Hope you like the tutorial guys, see you next time.
Download the Illustrator FileClick here to download the Illustrator file used for this tutorial. |


| You are subscribed to email updates from Abduzeedo | Graphic Design Inspiration and Photoshop Tutorials To stop receiving these emails, you may unsubscribe now. | Email delivery powered by Google |
| Google Inc., 20 West Kinzie, Chicago IL USA 60610 | |
Tidak ada komentar:
Posting Komentar