Abduzeedo - graphic design | design inspiration | tutorials - |

- Daily Inspiration #695
- Foxy Photography
- Friday Fresh Free Fonts #79
- Tron Legacy Tutorial
- Sites of the Week #133
- Beautiful Houses: Brentwood Residence in Los Angeles
- Winner of Official Landy Cognac & Snoop Dogg Challenge
| Posted: 17 Dec 2010 11:13 AM PST
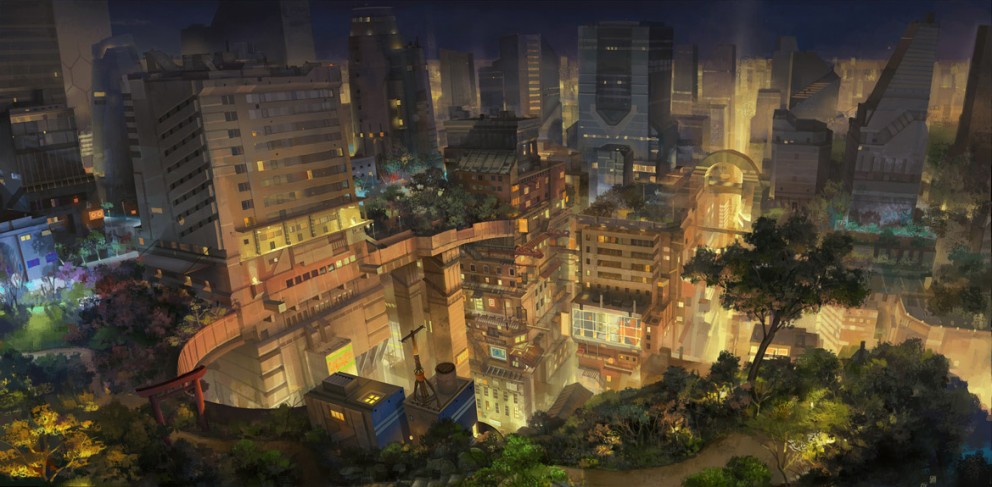
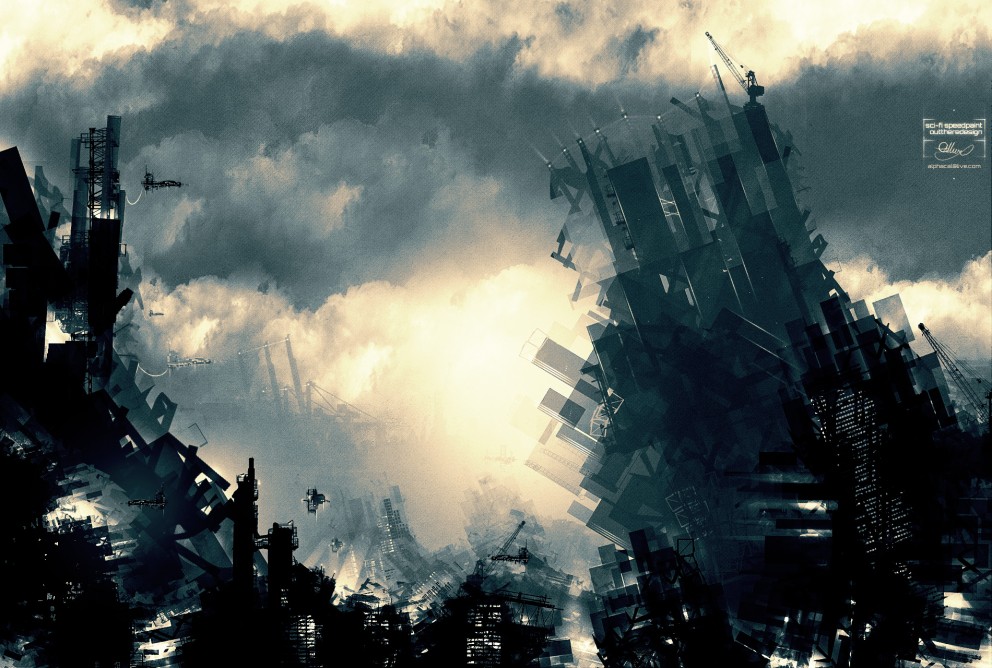
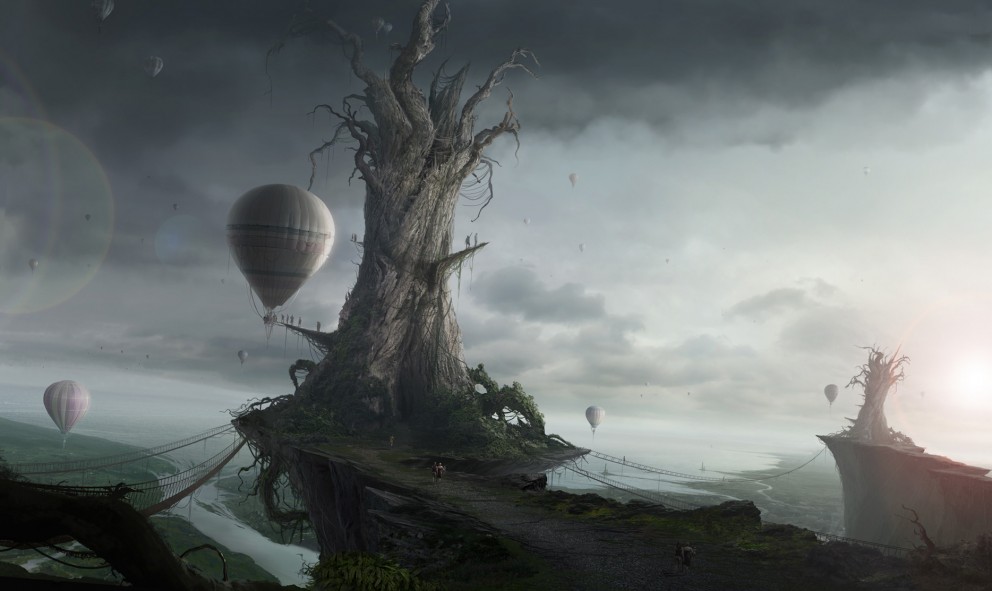
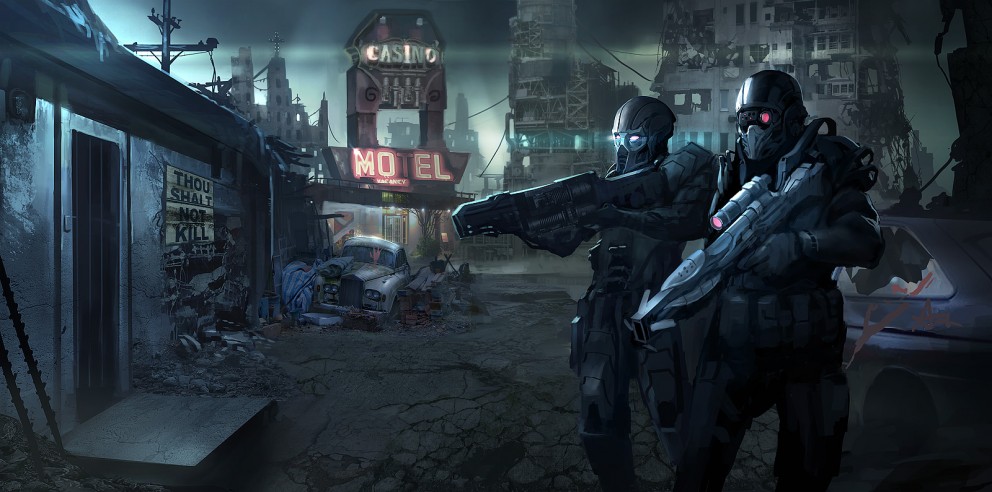
This post is part of our daily series of posts showing the most inspiring images selected by some of the Abduzeedo's writers and users. If you want to participate and share your graphic design inspiration, just send us, via email, the image with the link from where you found it, also use "Daily Inspiration" in the subject, and don't forget to send your Abduzeedo username; or via Twitter sending to http://twitter.com/abduzeedoIf possible use the HTML code: <p class="imgC"><a href="Link to the page you found the image"><img src="Link to the Image" /></a></p> Do you want to see all images from all Daily Inspirations? Check out http://daily.abduzeedo.comAbs Tract
al b sure
Andre Garcia
Conrado Arduini
coolvibeblog
DayNightHour
Derek Brown
DxG Aqua
eugene kim
Fabiano
Fabio
fksd
Fran Ferriz
Gisele
Juliano Vieira
XMAS from Juliano Vieira on Vimeo. KarenPoon
Hey Hey Johnny title sequence from karen poon on Vimeo. Marcos Krock
nagiViTy
nenuno
Newyorkiz
studioluko
thethinktank
Tobias
Vitor Mendes
Vygo
zeemp
Via TwitterSend your suggestions via Twitter to http://twitter.com/abduzeedo using #abdz in the end of the tweet. @danilo_fer
@steevilweevil
@JorgeJuniorr
@xXxASTRISxXx
|
| Posted: 17 Dec 2010 10:00 AM PST
Foxes are definitely one the cutest animals out there and for sure one of the few that really look good in photographies. It's just impressive how cool these little foxy creatures are, in all their varieties. I want one.<!--break--> There's the Arctic Fox, the Red Fox, the Fennec Fox, and I'm pretty sure are a thousand other kinds that I don't know. I've chosen some really nice pictures of them, which I know will just melt your cold beings (just kidding). Fore more of these guys, you should really check out each photographer's portfolio. I hope you enjoy these. Cheers! ;) Chuck Powers Muineach David Lloyd Ron&Mamie Charest Keven Law Roeselien Raimond Patty Chris Bud Marschner Vladimir Naumoff Ron&Mamie Charest arctictone Keven Law IN CHERL KIM Roberto Roeselien Raimond James Scott IN CHERL KIM |
| Posted: 17 Dec 2010 07:16 AM PST
I will be posting some fresh free fonts every Friday, yes I know it's awesome. I will look forward to bring a lot of great fonts that will sure help you improve your typography work. Check out what I selected for you on the FFFF#79 and make sure to comeback for more next week.<!--break--> Tuffyby Ulrich Fonts Download Tuffy Gotaby FontFabric Download Gota Sanfordby MintCure Download Sanford Levi BrushDownload Levi Brush About the authorHi there! I'm Paulo Canabarro, 25 year old web designer from Brazil currently living in Providence RI, USA. I'm truly passionate about design of all kinds. Finding and sharing inspiration has become part of my life. If you have any suggestions or requests just get @ me - pvpcanabarro@gmail.com For some cool stuff make sure to Follow me on twitter! Sponsored Links:
|
| Posted: 17 Dec 2010 04:36 AM PST
Since the very first time I saw the trailer of Tron Legacy I decided that I would have to try to do something inspired on that, all those light effects were exactly what I always love to do in Photoshop. Then I saw the James White design inspired by Tron and I was damn it, James nailed it. So I postponed my little experiment, however this week I decided that the time had come and so, I decided to recreate the logo effect we see in the trailer.For this tutorial I used Adobe Illustrator, Adobe Photoshop and Cinema 4D. Pretty much all the light effects and composition are done in Photoshop, the other apps were used just to create some shapes and elements, so if you want to do just the Photoshop part, in the of the tutorial there is a ZIP file with all the resource files used for this image. Step 1The first thing to do is find or create the logotype of Tron Legacy. I found a vector file online with it. Then open it in Illustrator and convert the strokes to fill (Object>Path>Outline Stroke). Export the file in a very low version of Illustrator, I'm using Illustrator 8. Step 2Once you have the vector logo it's time to create the 3D version of it. We could use Photoshop Repoussé to create that but I decided to do it in Cinema 4D because I've been practicing more with it. So once you import the shape just apply a basic extrusion. You can download the Cinema 4D file in the end of the tutorial Step 3One thing that was really cool with the Tron Legacy logo was that sort of digital pattern it has in the light effect, so to create that I used a simple Tiles texture for my material, that is a default preset in Cinema 4D. The color is not important because we will change that in Photoshop later on. Step 4Here is the Objects I have in Cinema 4D, as you can see there is all the shapes with the Extrude NURBS and the material. I also added 2 lights and a camera to get the right perspective. Step 5Here is the final render in Cinema 4d. You can download the TIFF file in the end of the tutorial. Step 6 - PhotoshopOpen the logo in Photoshop and now let's start editing and creating the light effects. The first thing to do is change the Hue and Saturation. Go to Image>Adjustments>Hue and Saturation. Use 190 for the Hue, 50 for the Saturation and 0 for the Lightness. Step 7Go to Image>Adjustment>Levels. Change the black input to 30, the grey input to 1 and the white input to 131. Step 8Import the vector logo and make sure it's black, you can add a color overlay through Layer>Layer Style>Color Overlay. Step 9Go to Edit>Transform>Scale, reduce the size so it's a size between the front and the back faces. Step 10Go to Filter>Blur>Gaussian Blur. Use 15 pixels for the Radius. Step 11Duplicate the layer in order to make this dark effect darker. Step 12Import the vector logo again and position it in front of the 3D logo, this will be the neon effect. Step 13Go to Layer>Layer Style>Color Overlay. Use #86f7fe for the color with 60% Opacity. Also over the Blending Options, reduce the Fill color to 0%. Step 14After that select Inner Glow. Use Color Dodge for the Blend Mode at 50% Opacity. For the color use white. Change the Source to Edge and use 0% for the Choke and 10 pixels for the Size. Step 15Select Inner Shadow. Use Color Dodge for the Blend Mode with White for the color at 50%. Use 120º for the Angle, 8 pixels for the Distance, 0% for the Choke and 10 pixels for the Size. Step 16Now, select Drop Shadow. Use Screen for the Blend Mode with white for the color at 50%. For the Distance use 0, for the Spread 15% and for the Size 30 pixels. Step 17The last option will be Outer Glow. Use Color Dodge for the Blend Mode, 100% for the Opacity, white for the Color. Them for the Spread and Size use 0. Step 18Now go to Layer>New Adjustment Layer>Hue and Saturation. Use 195 for the Hue, 90 for the Saturation, -20 for the Lightness. Step 19Select all layers including the background and duplicate them, after that merge all the duplicated layers into a new one and go to Filter>Blur>Gaussian Blur. Use 10 pixels for the radius. Step 20Change the Blend Mode of the blurry layer to Screen at 80% Opacity. Step 21Again go to Layer>New Adjustment Layer>Hue and Saturation. Use 7 for the Hue, 50 for the Saturation and 0 for the Lightness. Step 22Again select all the layers and duplicate them, after that merge the duplicated layers into just one. You can do that using the keyboard shortcut Command (MAC)/ Control (PC) + Alt + Shift + E. After that just change the Blend Mode to Screen at 50% Opacity. Step 23 - Logo ConclusionThe Tron logo is pretty much done, as you can see we were able to create the nice 3D/light efect as we see in the trailer and we used basically Blend Modes and Adjustment Layers. For the Legacy text I used Helvetica Neue Ultra Light with a nice teal glow. You can save your file and end the tutorial here, but I want to show you how I created the whole composition. You can group all these layers and name the folder logo. Also you can duplicate the group and merge it into a layer so we will use only that file in the end of the tutorial. As it has a black background, change its Blend Mode to Screen as well, then hide it. Layer OrderThis is the layers order. You can see that it's quite simple. Step 25To create the composition like we see in the posters and in the trailer the first thing we will need is a city skyline photo to use in the background. The one I used is from Shutterstock and you can find it here http://www.shutterstock.com/pic-66610090/stock-photo-new-york-cityscape..... So basically just desaturate the image (Image>Adjustment>Desaturate) and then go to Image>Adjustments>Levels and increase the black inputs and the white inputs. After that go to Filter>Blur>Gaussian Blur and use something around 10-20 pixels for the Radius. The idea is make it very blurry. Step 26Now go to Layer>New Adjustment Layer>Hue and Saturation. Use 190 for the Hue, 40 for the Saturation and -50 for the Lightness. Also select the Colorize option. This adjustment layer will give that teal color to the image. Step 27Back to Illustrator create a few rounded rectangles using the Rounded Rectangle Tool. Also create a few circles and an empty space where it will be the sort of highaway crossing the grid. Step 28Copy the shapes in Illustrator and paste that in Photoshop, below the the Adjustment Layer. Also make sure the vectors are white so you will make them teal. Once you paste the grid from Illustrator, go to Edit>Transform>Distort. Distort the layer to get the perspective like the image below. Step 29Go to Filter>Blur>Guassian Blur. Use 5 pixels for the Radius. Step 30Duplicate this layer and move it down a few pixels and then change the Opacity to 20%. That will create the reflection in the grid. Step 31Duplicate the grid layer again and move it above the Adjustment Layer. Group this copy into a folder and change the folder's Blend Mode to Color Dodge. After that select the layer inside the folder and go to Filter>Blur>Gaussian Blur. Use 10-15 pixels for the radius. That will depend on the shapes you created. Step 32Hide the city skyline layer and then select all the layers and duplicate them, after that merge all the duplicated layers into one layer only then go to Filter>Blur>Gaussian Blur. Use 10 pixels for the Radius. Step 33Change the Blend Mode of that layer to Screen at 100% Opacity. Also make the city skyline layer visible again. Step 34Add a layer on top of the others and with the Paint Bucket Tool (G), change the type to Pattern and fill this layer with a scanline pattern. To create this scanline pattern is pretty easy. Just create a new document of 100x4 pixels and then create a rectangle of 100x2 in black. Also make sure that the background is white. Merge all layers and then go to Edit>Define Pattern. Just name it and that is it. With the Eraser Tool (E) delete the pattern area that is above the city skyline, the idea is that the effect will be visible only in the grid and city. Step 35Change the Blend Mode of the Pattern to Overlay at 15%. ConclusionNow make the Tron logo layer visible again and position it in the center of the composition. After that add a new layer and go to Filter>Render>Render Clouds. Make sure you had black and white for the colors. Then change the Blend Mode to Screen and the Opacity to 40%. With the Eraser Tool (E) you can delete pretty much all the areas close to the edges leaving only the area that is behind the logo and a bit on top of it. You can also add the same pattern overlay effect over the Legacy text to give that nice digital touch. Once again everything we did was done using simple tools and techniques mixed together, the most difficult part is understand and organize the thoughts, the software part is all about trial and error. So now it's up to you. Download the FilesClick here to download all files used for this tutorial |
| Posted: 17 Dec 2010 02:16 AM PST
For this Sites of the Week we have selected some great sites such as Facecard and Fusion Bundle. Also we're featuring the portfolio from Two Designers and much, much more! As usual we would love to hear from you, keep sending your suggestions to us and we will be more than happy to feature your site.<!--break--> You can keep sending me your suggestions via Twitter twitter.com/FabianoMe or twitter.com/abduzeedo, and include #abdz_sites in the message. DESIGN / CSSFusionads Holiday Bundle - fusionads.net/bundle
Mark Hobbs - markhobbs.net
APP / WEB APPFacecard - facecardapp.com
Thoughtboxes - thoughtbox.es
COMMUNITY / PORTAL / STOREUniresort - uniresort.com.au
Foound - foound.com
STUDIO / PORTFOLIO / BLOGPhotosheep.me - photosheep.me
Two Designers - twodesigners.be
TEMPLATESVibefolio - vibefolio.com
Cluster - themeforest.net
|
| Beautiful Houses: Brentwood Residence in Los Angeles Posted: 17 Dec 2010 01:49 AM PST
The idea in this series is to show beautiful and inspiring houses. Houses that are remarkable for its design, elegance, elements, concept or simply because they are beautiful. So if you like architecture, interior design and beautifully designed houses, you are at the right spot. Check out this week beautiful house and stay tuned for more...This week we present you the beautiful Brentwood Residence.The Brentwood Residence is a project by Belzberg Architects. Couldn't find many information at their website but as for the projects I've seen there, these guys are pretty good. Located in Los Angeles, California, this house is modern and really beautiful. The mix of materials include different types of wood, stone, glass, concrete and even some steel elements. With wide spaces, clean decoration and really contemporary look, the Brentwood Residence gets the attention of those who like simple, beautiful and effective architecture. This house is awesome. Clean, simple, beautiful...it has every element I love. The wide spaces combined with glass windows are great. The pool and patio are also really charming and the open spaces give the sensation that indoor and outdoor are integrated, really cool. Another nice place to live. ;) Check out Belzberg Architects website for further details about this and other projects. See you next time.
We found this house at Freshome. |
| Winner of Official Landy Cognac & Snoop Dogg Challenge Posted: 17 Dec 2010 12:56 AM PST
After viewing hundreds of great and very creative submissions, Snoop made his decision and hand picked the winning commercial brought to us by Nicolas, from Lyon, France.<!--break--> Congratulation to the winner Nicolas Dorettini, a 26 year-old motion designer from France. Winning CommercialInterview with the winning designer
|


| You are subscribed to email updates from Abduzeedo | Graphic Design Inspiration and Photoshop Tutorials To stop receiving these emails, you may unsubscribe now. | Email delivery powered by Google |
| Google Inc., 20 West Kinzie, Chicago IL USA 60610 | |
Tidak ada komentar:
Posting Komentar