Abduzeedo - graphic design | design inspiration | tutorials - |

- Daily Inspiration #701
- Friday Fresh Free Fonts #80
- Beautiful Houses: West Seattle Residence
- Sites of the Week #134
- Create a Merry Christmas Zombie Poster in Illustrator
- Great Photographs by Ivo Berg
| Posted: 24 Dec 2010 09:20 AM PST
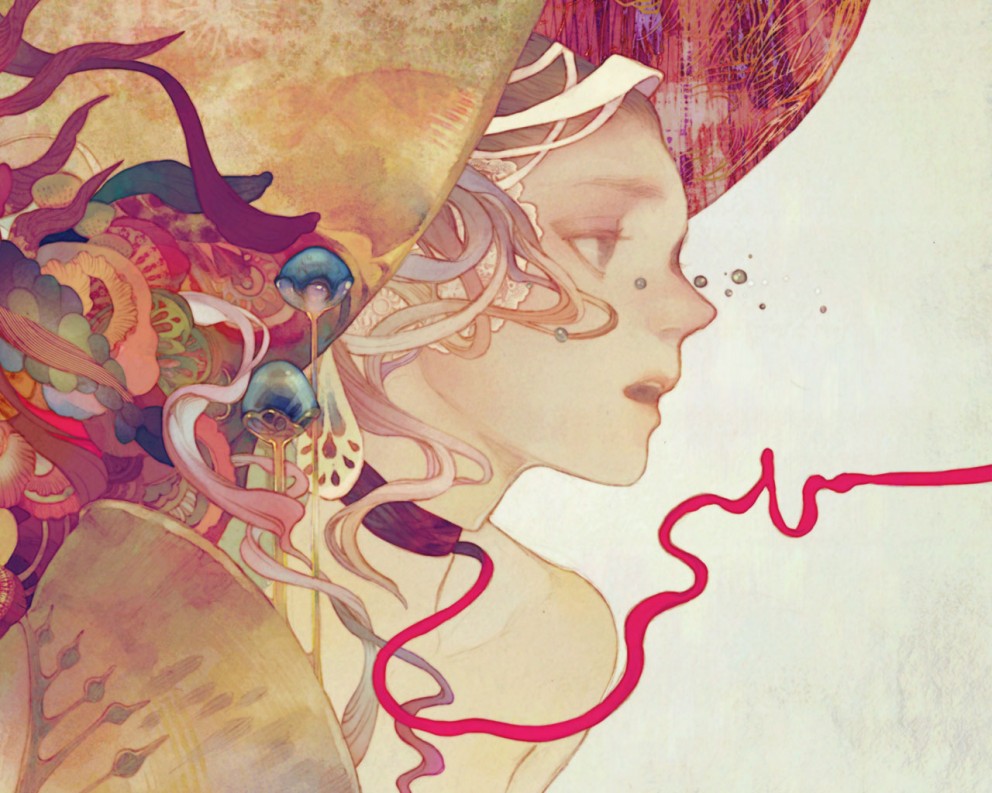
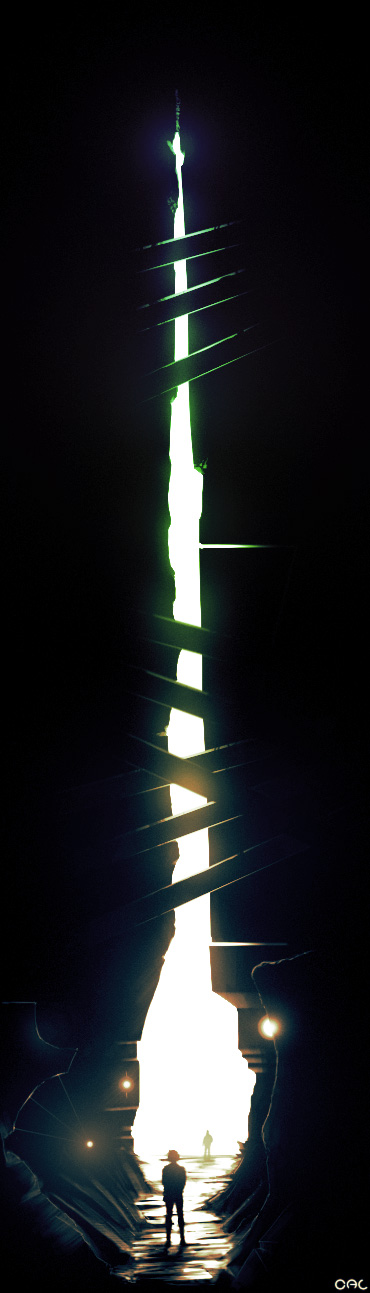
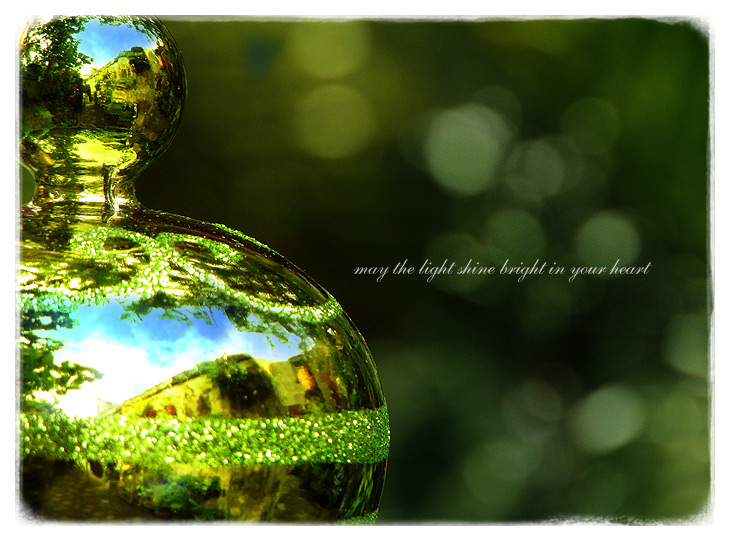
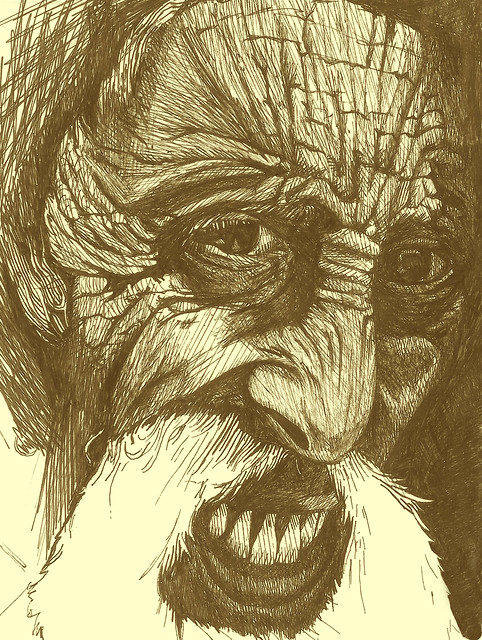
This post is part of our daily series of posts showing the most inspiring images selected by some of the Abduzeedo's writers and users. If you want to participate and share your graphic design inspiration, just send us, via email, the image with the link from where you found it, also use "Daily Inspiration" in the subject, and don't forget to send your Abduzeedo username; or via Twitter sending to http://twitter.com/abduzeedoIf possible use the HTML code: <p class="imgC"><a href="Link to the page you found the image"><img src="Link to the Image" /></a></p> Do you want to see all images from all Daily Inspirations? Check out http://daily.abduzeedo.comargamarmany
Best Bookmarks
Charles Jônatas
coolvibeblog
Ed McGowan
eliz0r
eugene kim
exarxil
Fabiano
Fabio
Frederico Carvalho
Gerrel Saunders
Gisele
Hideall
HdK
Jeffrey Man
Happy Holidays! from Jeffrey Man on Vimeo. Newyorkiz
Salah Maraashi
Shizo
Via TwitterSend your suggestions via Twitter to http://twitter.com/abduzeedo using #abdz in the end of the tweet. @darko_design
@Rodrok
@HexBlox
@Marcos333
|
| Posted: 24 Dec 2010 06:25 AM PST
I will be posting some fresh free fonts every Friday, yes I know it's awesome. I will look forward to bring a lot of great fonts that will sure help you improve your typography work. Check out what I selected for you on the FFFF#80 and make sure to comeback for more next week.<!--break--> GardensDownload Gardens Hirukoby HypeForType Download Hiruko ZacheryDownload Zachery AdorableDownload Adorable About the authorHi there! I'm Paulo Canabarro, 25 year old web designer from Brazil currently living in Providence RI, USA. I'm truly passionate about design of all kinds. Finding and sharing inspiration has become part of my life. If you have any suggestions or requests just get @ me - pvpcanabarro@gmail.com For some cool stuff make sure to Follow me on twitter! Sponsored Links:
|
| Beautiful Houses: West Seattle Residence Posted: 24 Dec 2010 01:32 AM PST
The idea in this series is to show beautiful and inspiring houses. Houses that are remarkable for its design, elegance, elements, concept or simply because they are beautiful. So if you like architecture, interior design and beautifully designed houses, you are at the right spot. Check out this week beautiful house and stay tuned for more...This week we present you the astonishing West Seattle Residence.The West Seattle Residence is a project by Lawrence Architecture, an award-winning architectural firm with a rigorous approach to design and strong commitment to excellence and client service. The house is located in the West Seattle district of Seattle, Washington. Primary materials include concrete, steel, and glass. A concrete wall up to twenty-four feet high organizes the site and the house: the garage, entry and service spaces are on the street side of the wall, while providing privacy for the main living space which is a curtain wall-enclosed pavilion. Simply astonishing! Loved everything about this house, specially the loft look, all the glass windows, concrete walls and modern approach. Definitely another nice place to live. ;) Check out Lawrence Architecture website for further details about this and other projects. See you next time.
We found this house at Contemporist. |
| Posted: 24 Dec 2010 01:32 AM PST
For this Sites of the Week we have selected some great sites such as Comic Sans Criminal and SimpleGeo. Also we're featuring the portfolio from Fixel and much, much more! As usual we would love to hear from you, keep sending your suggestions to us and we will be more than happy to feature your site.<!--break--> You can keep sending me your suggestions via Twitter twitter.com/FabianoMe or twitter.com/abduzeedo, and include #abdz_sites in the message. DESIGN / CSSComic Sans Criminal - comicsanscriminal.com
Big Five Glories - bigfiveglories.com
APP / WEB APPSimpleGeo - simplegeo.com
Cube - cubeanywhere.com
COMMUNITY / PORTAL / STOREDandyfrog - dandyfrog.com
Mo Blues - moblues.org
STUDIO / PORTFOLIO / BLOGSicanStudios - sicanstudios.com
Fixel - wearefixel.com
TEMPLATESAuld - woothemes.com
Listings - woothemes.net
|
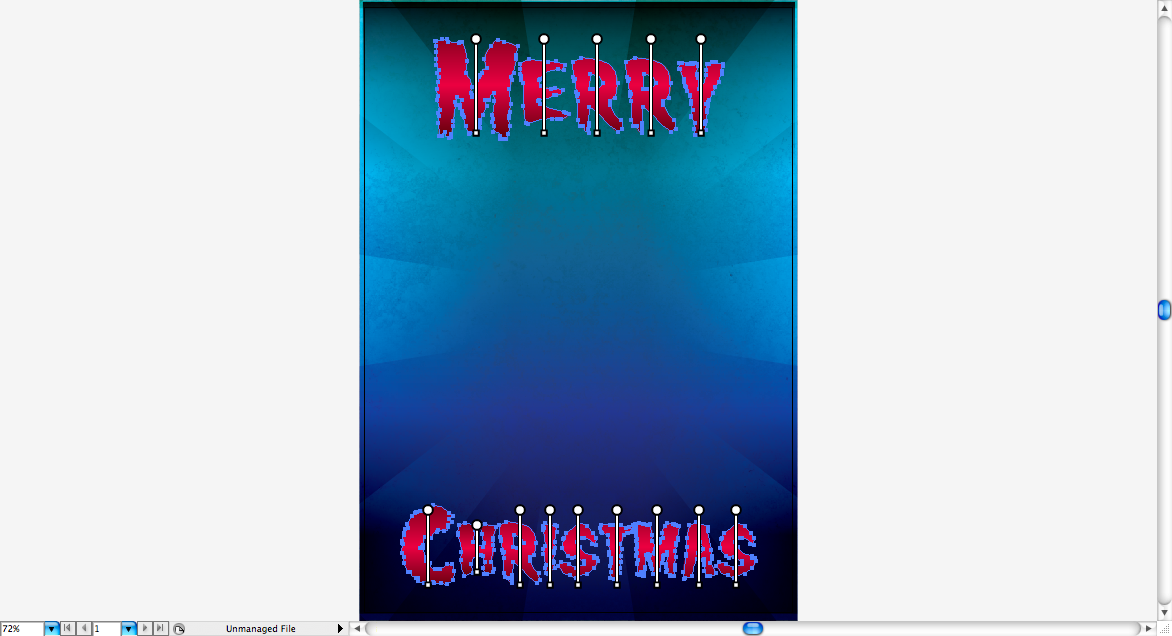
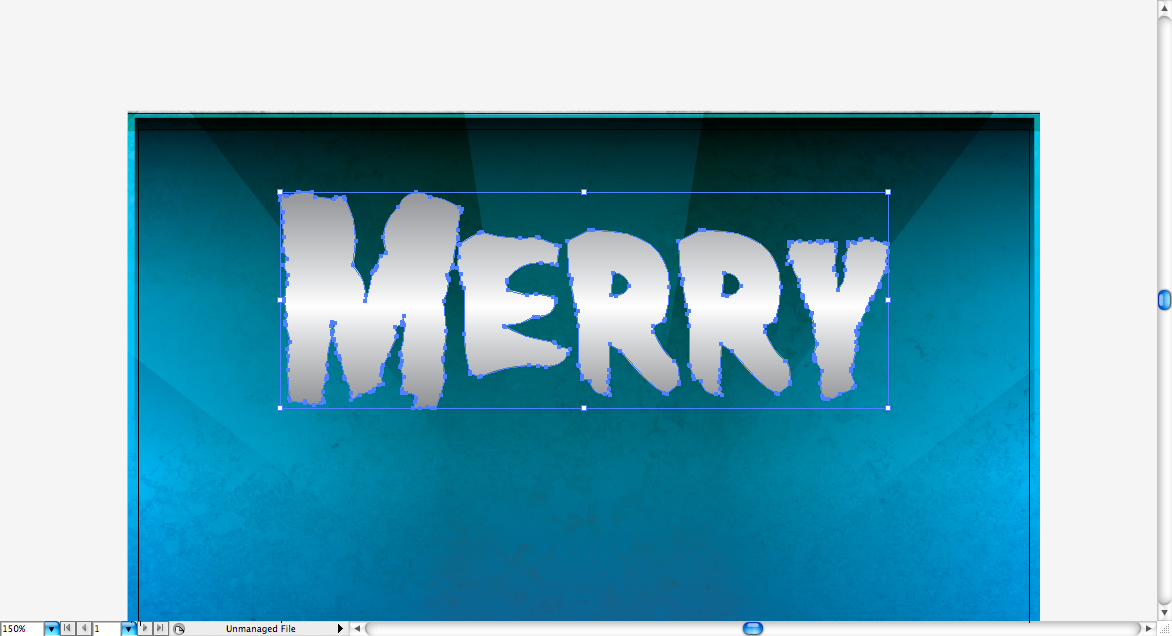
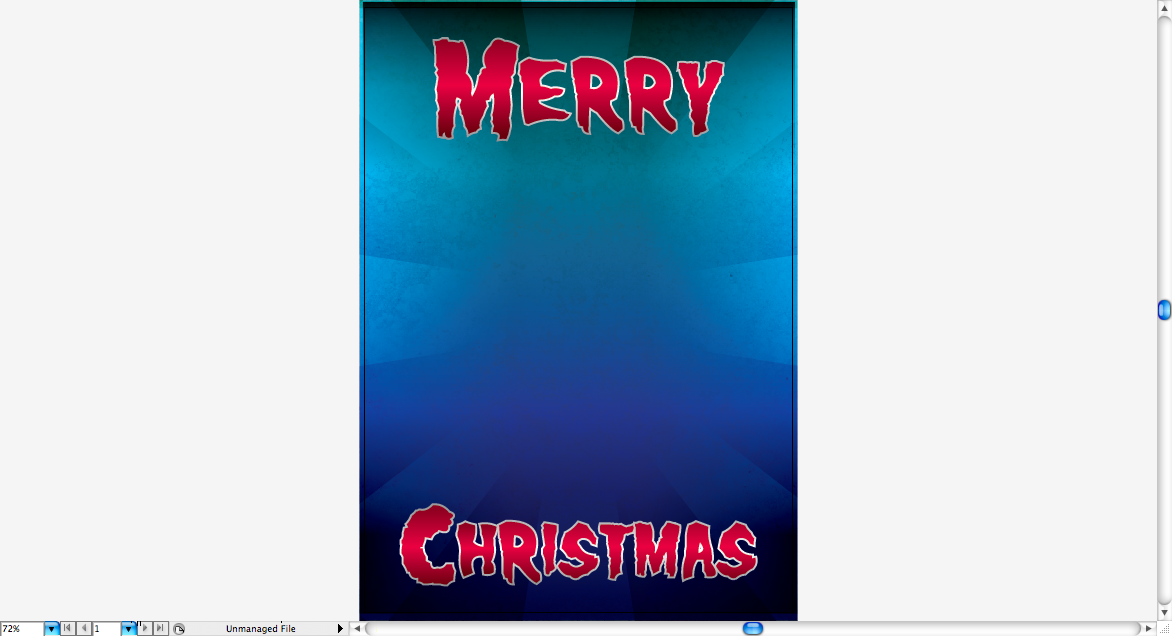
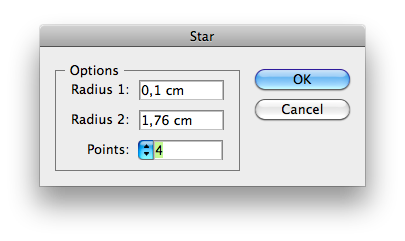
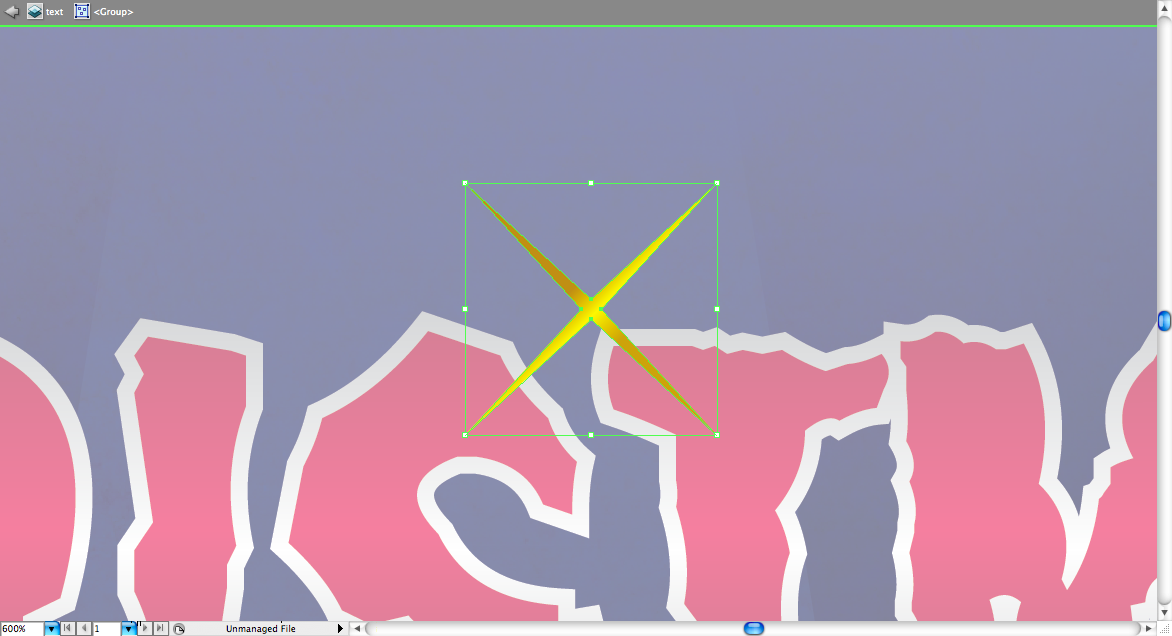
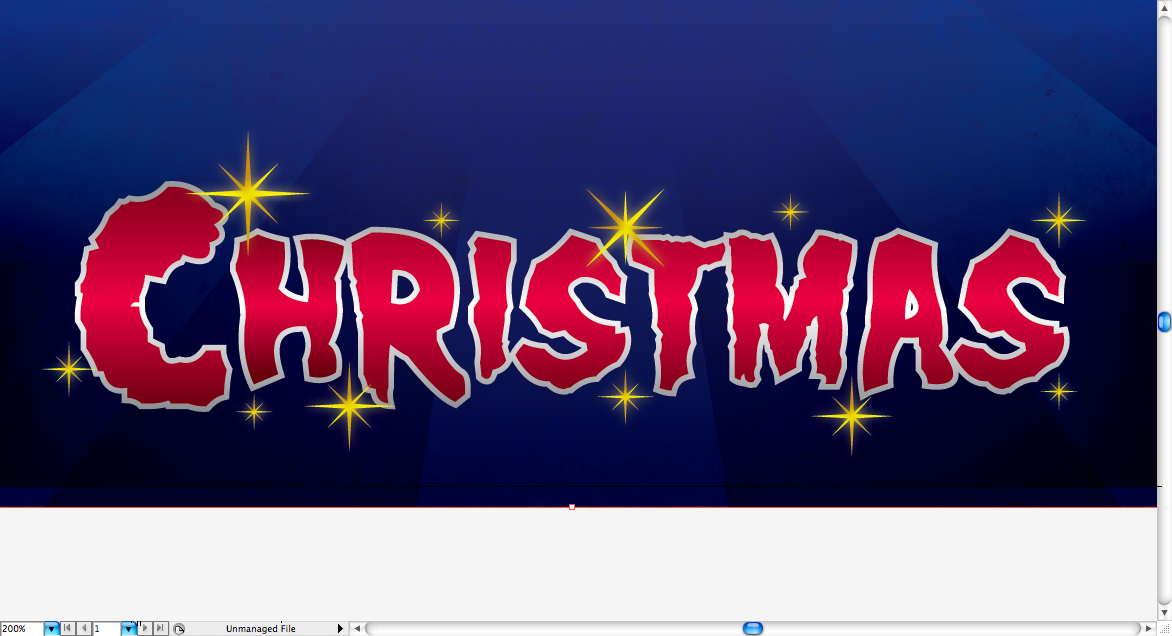
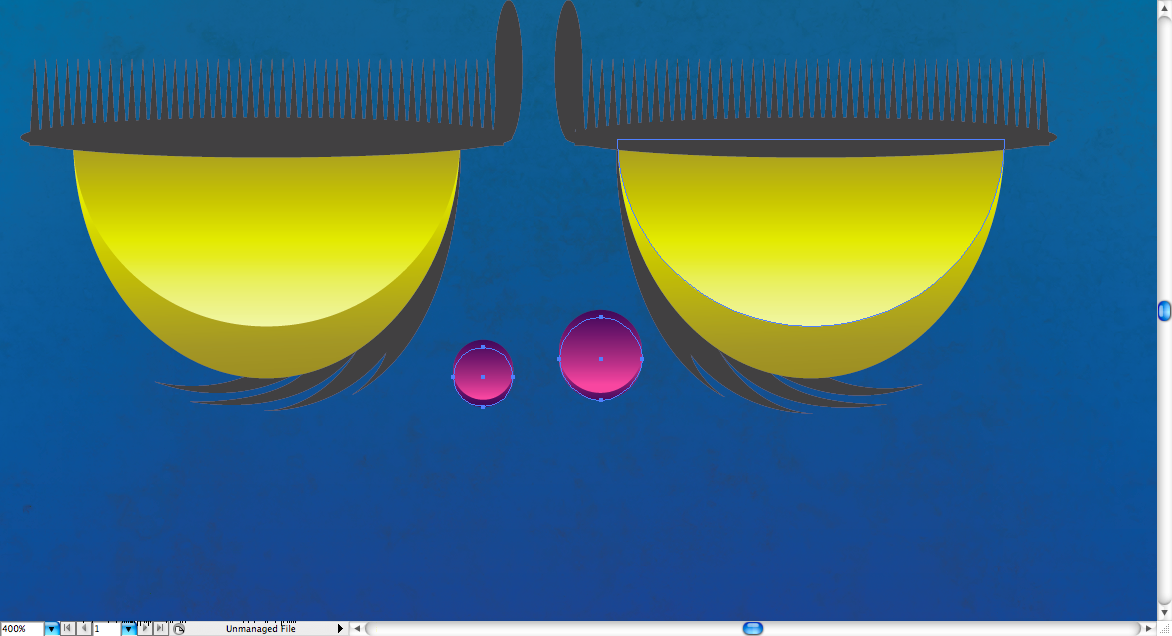
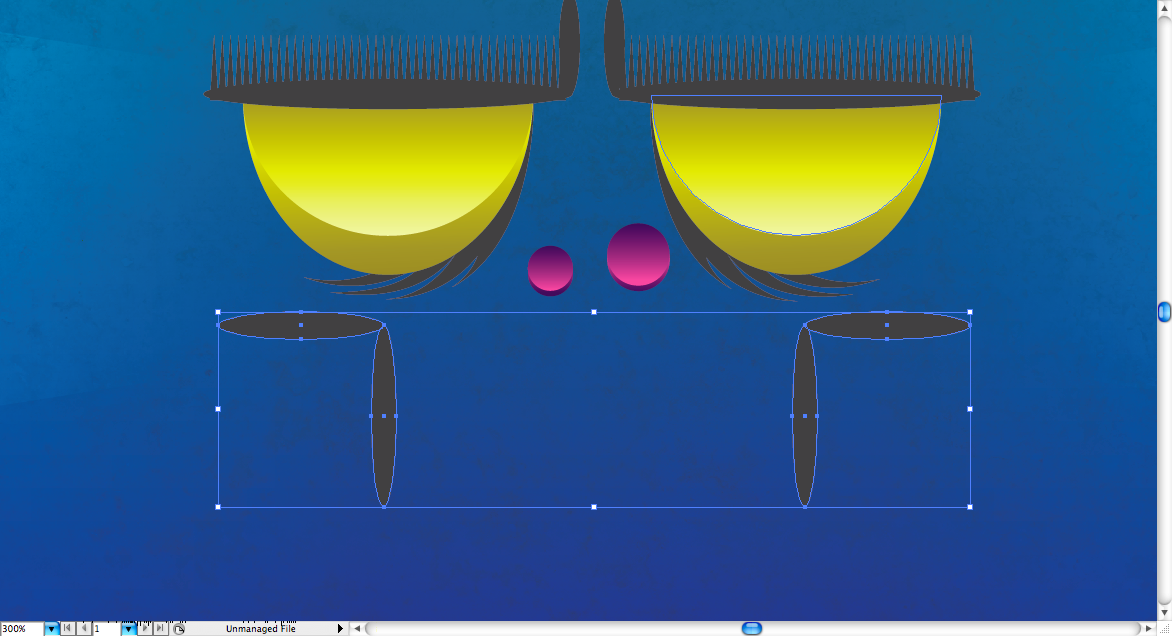
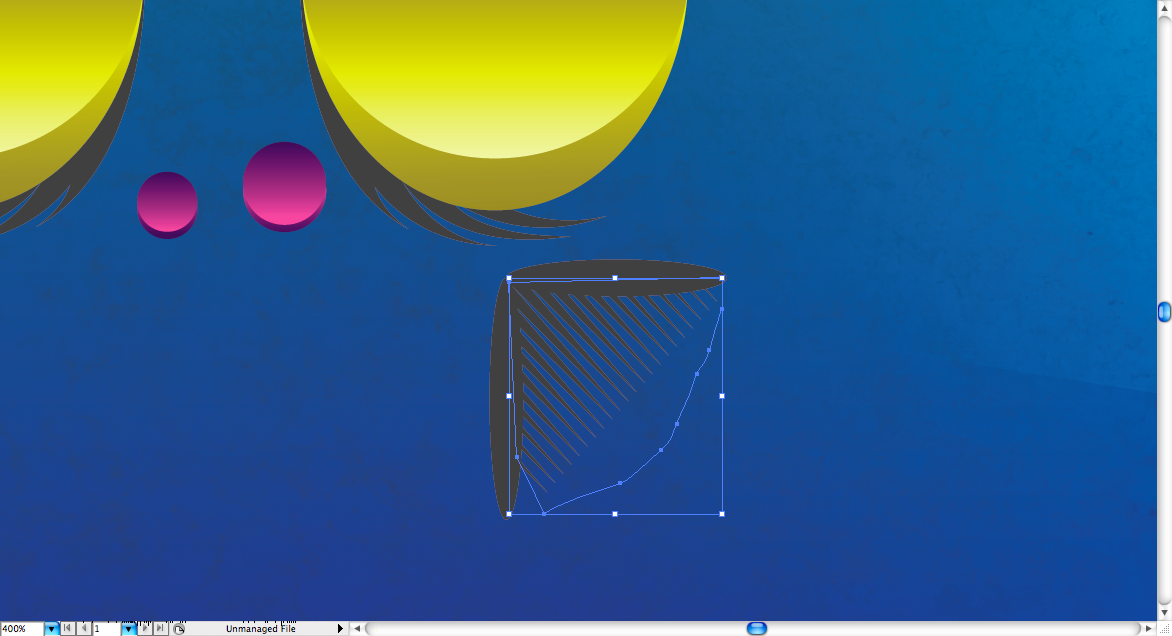
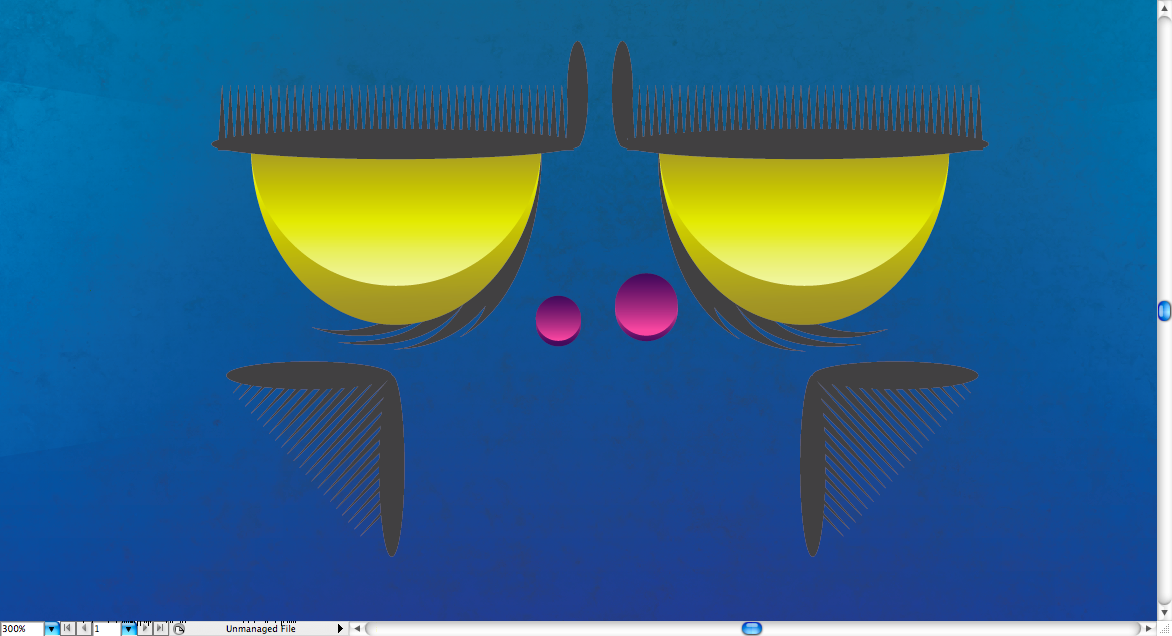
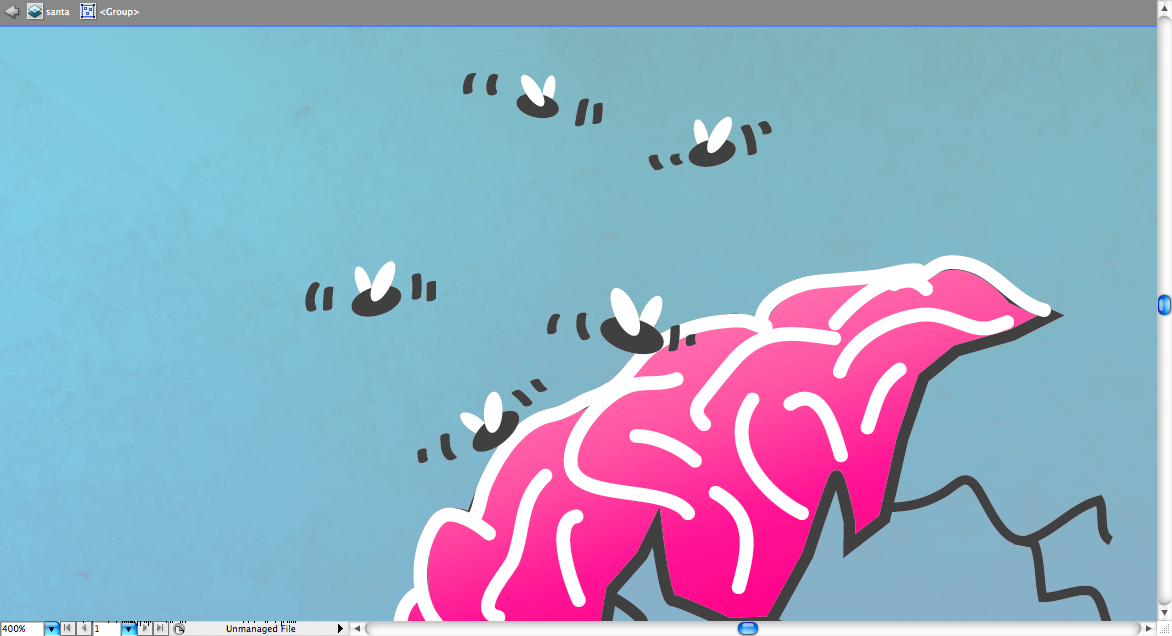
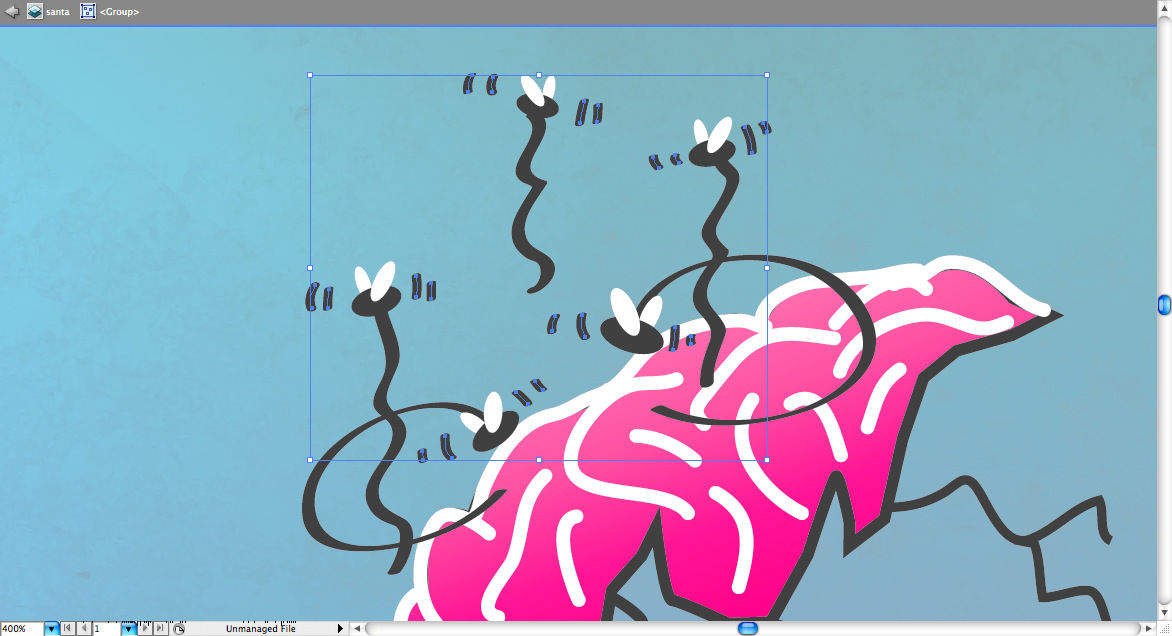
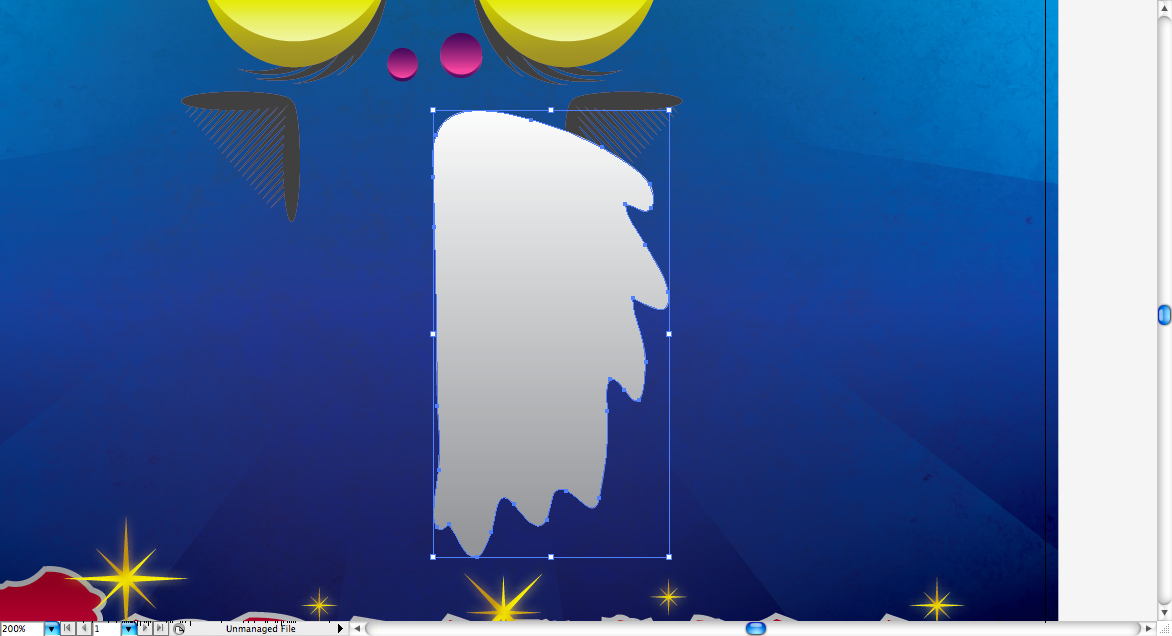
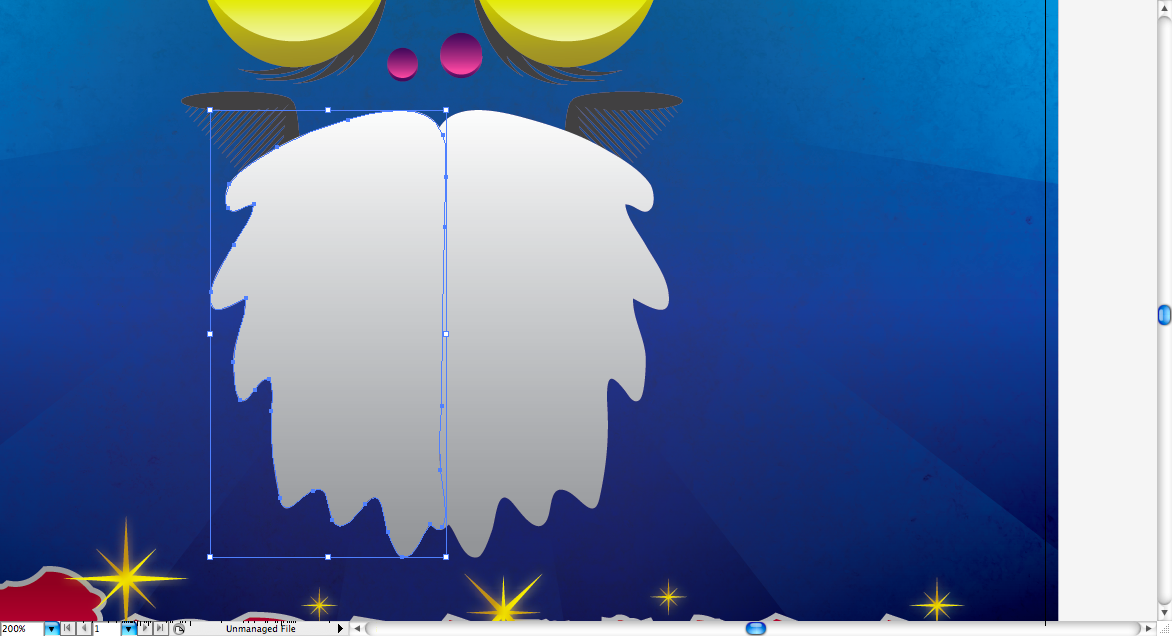
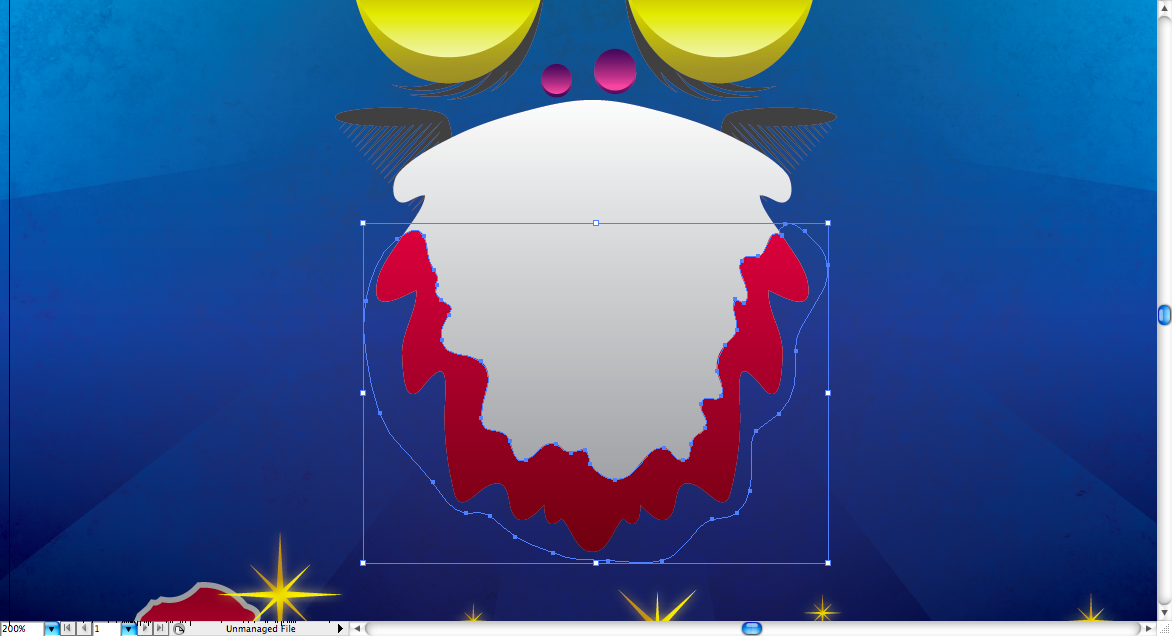
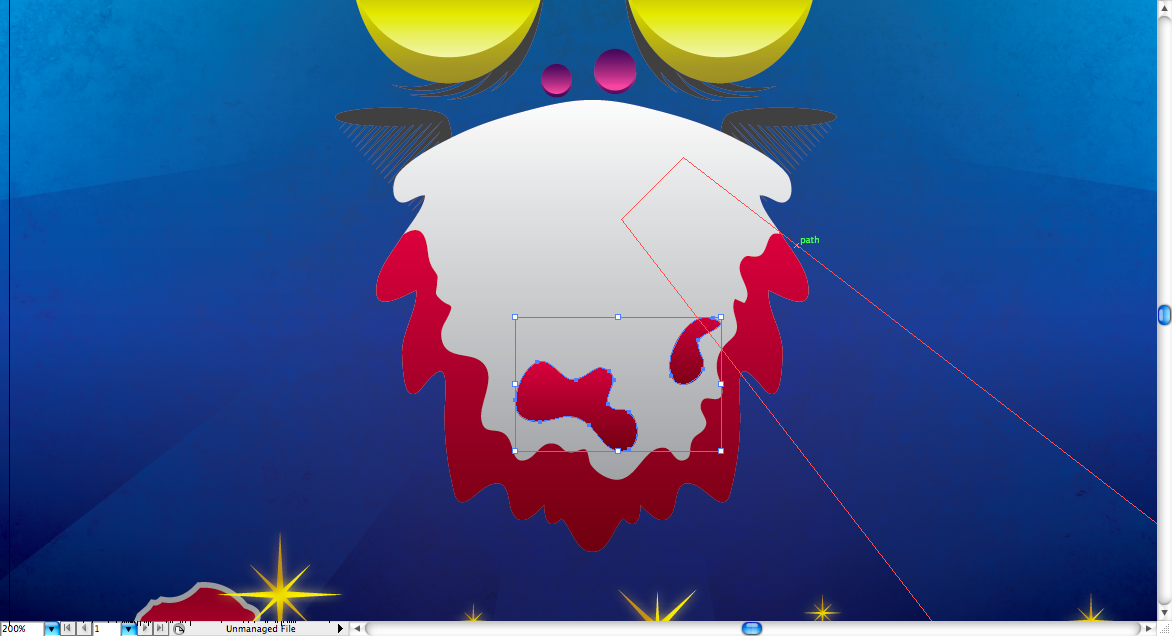
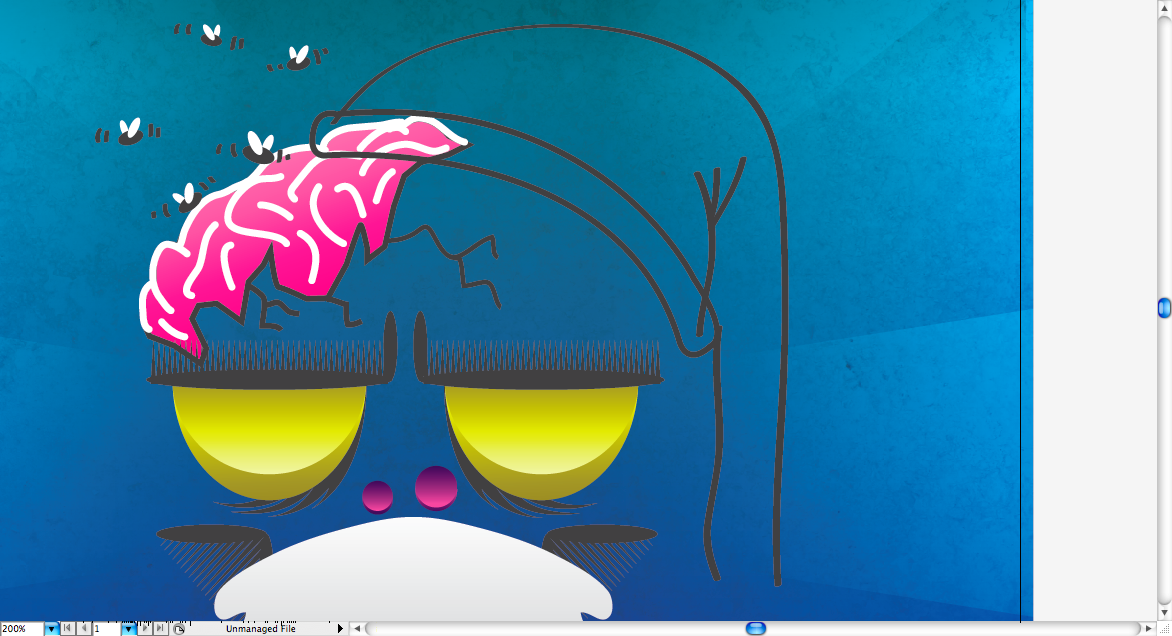
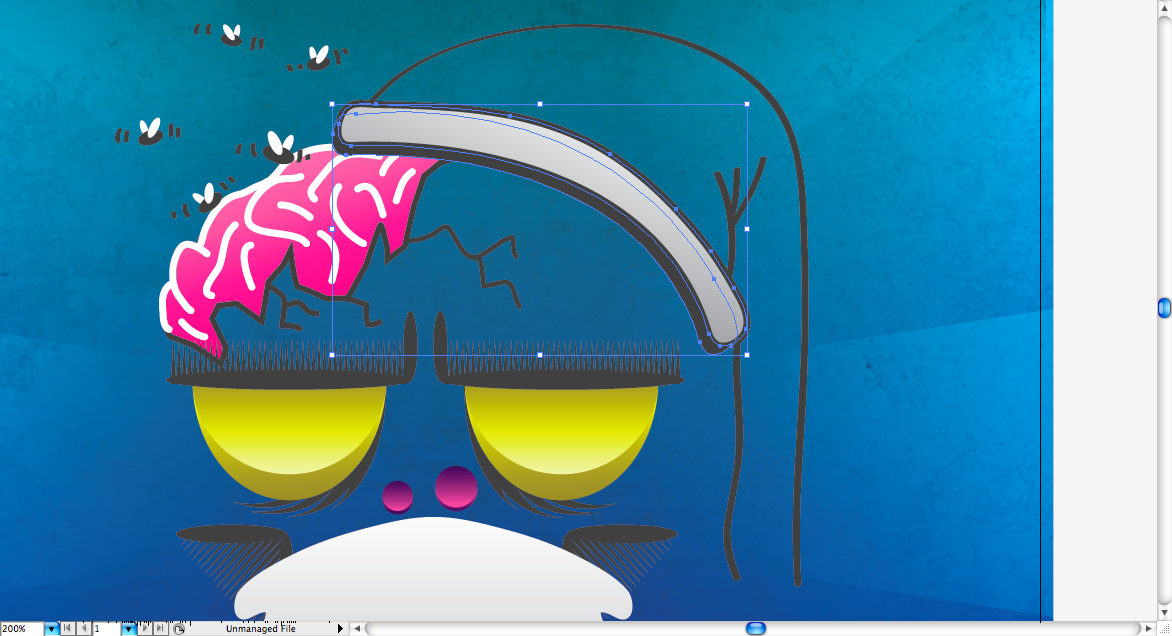
| Create a Merry Christmas Zombie Poster in Illustrator Posted: 24 Dec 2010 01:25 AM PST
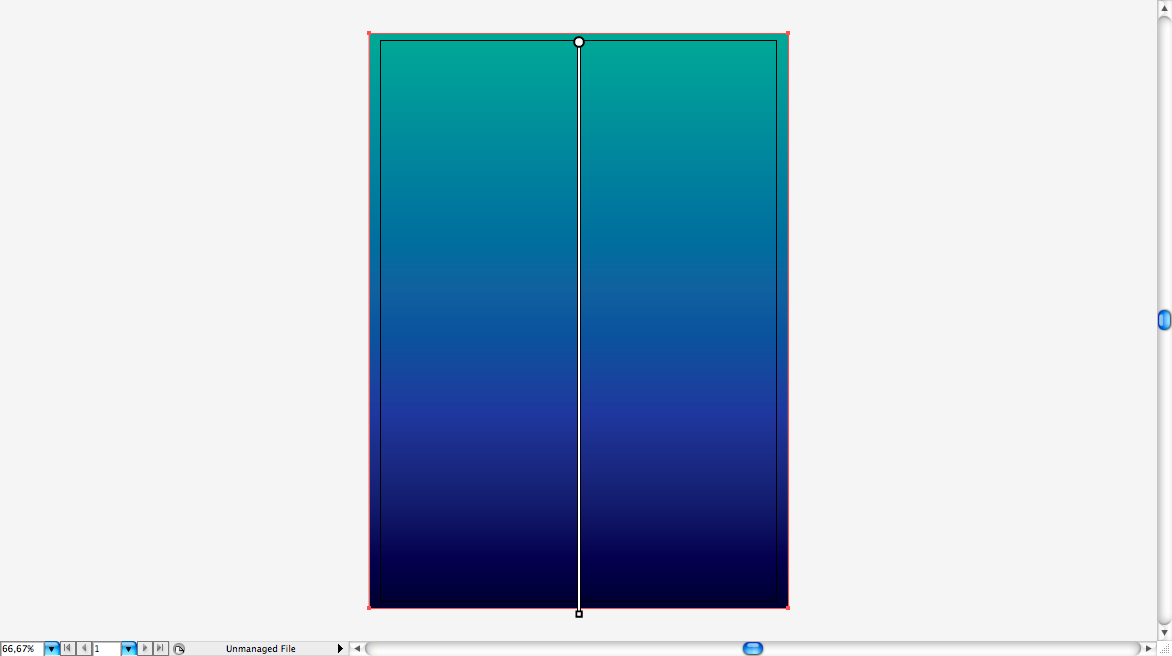
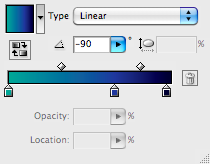
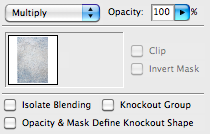
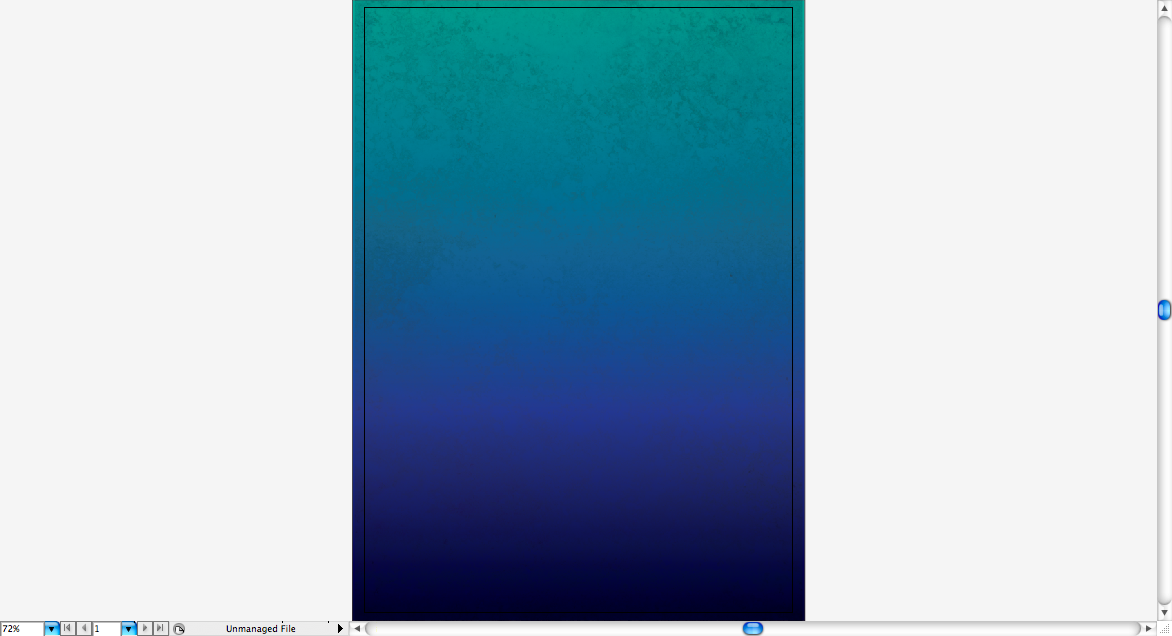
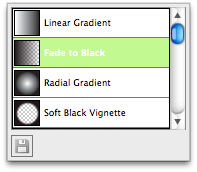
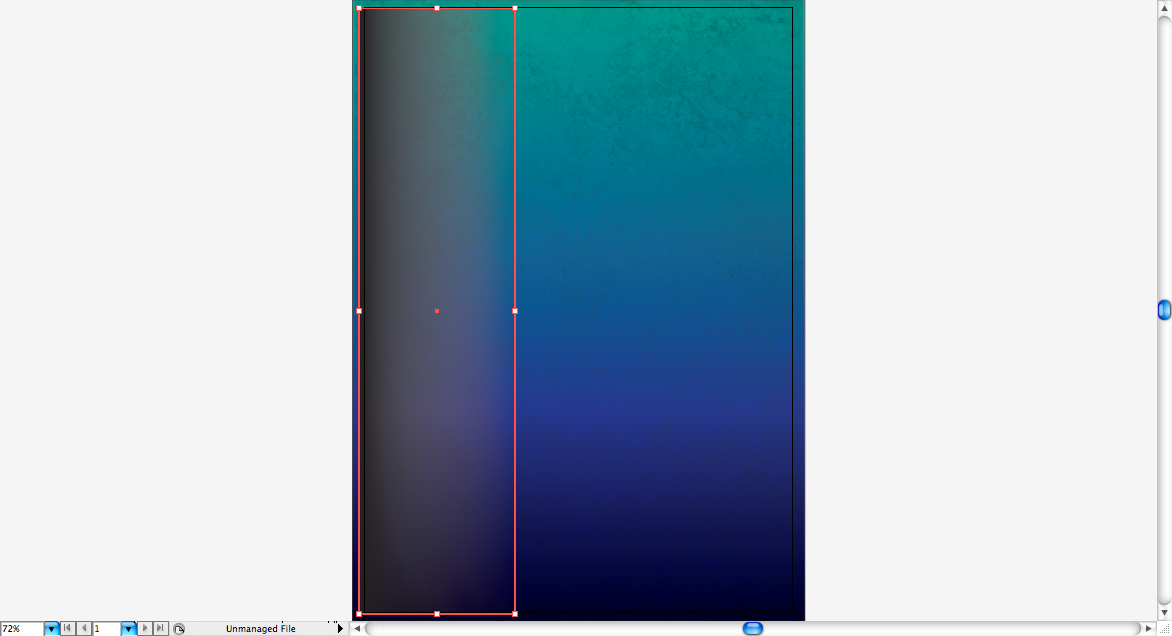
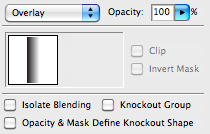
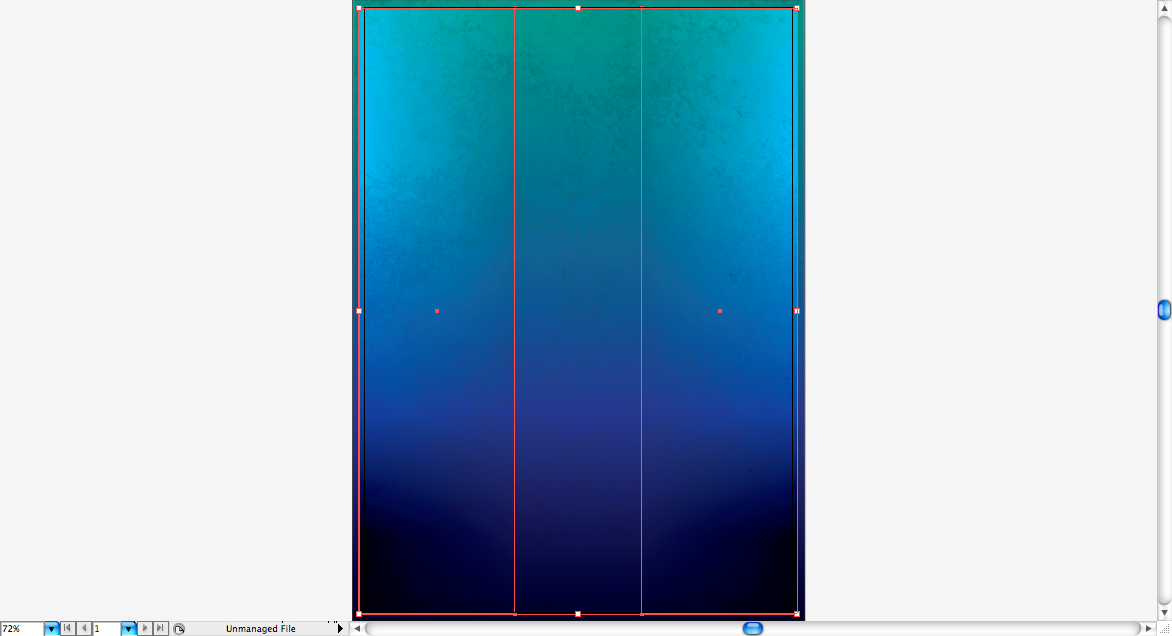
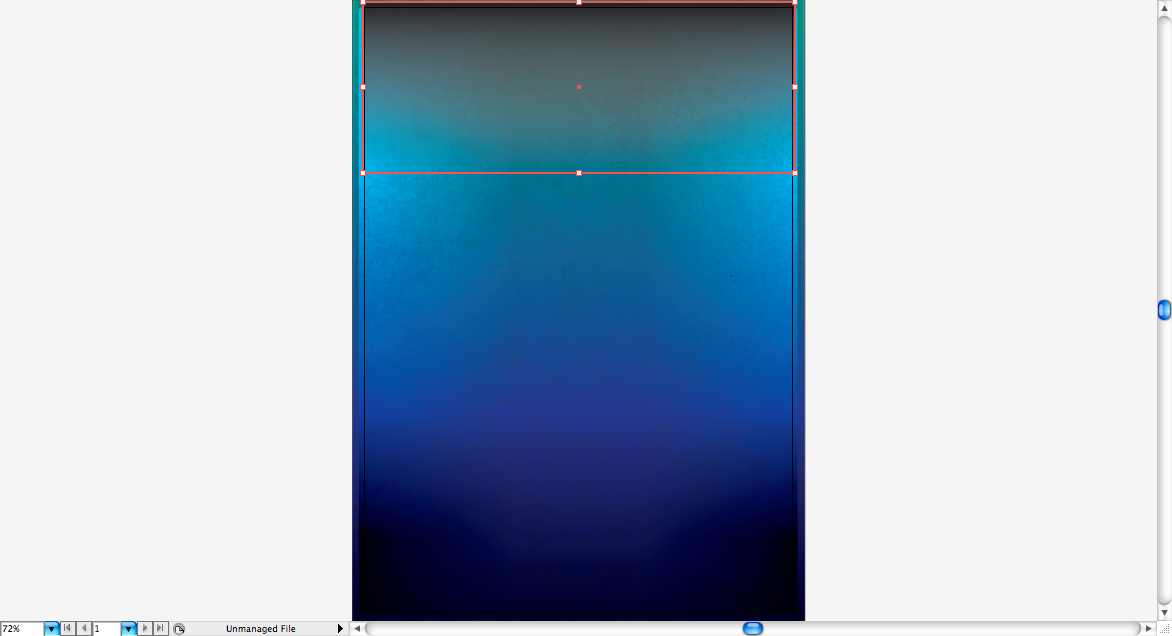
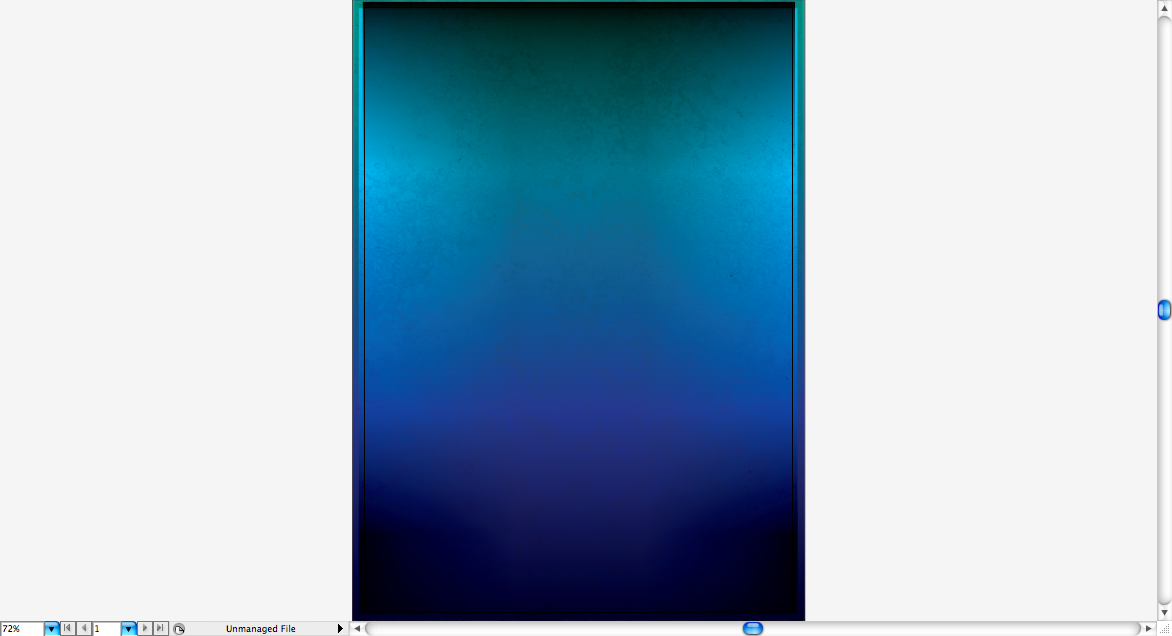
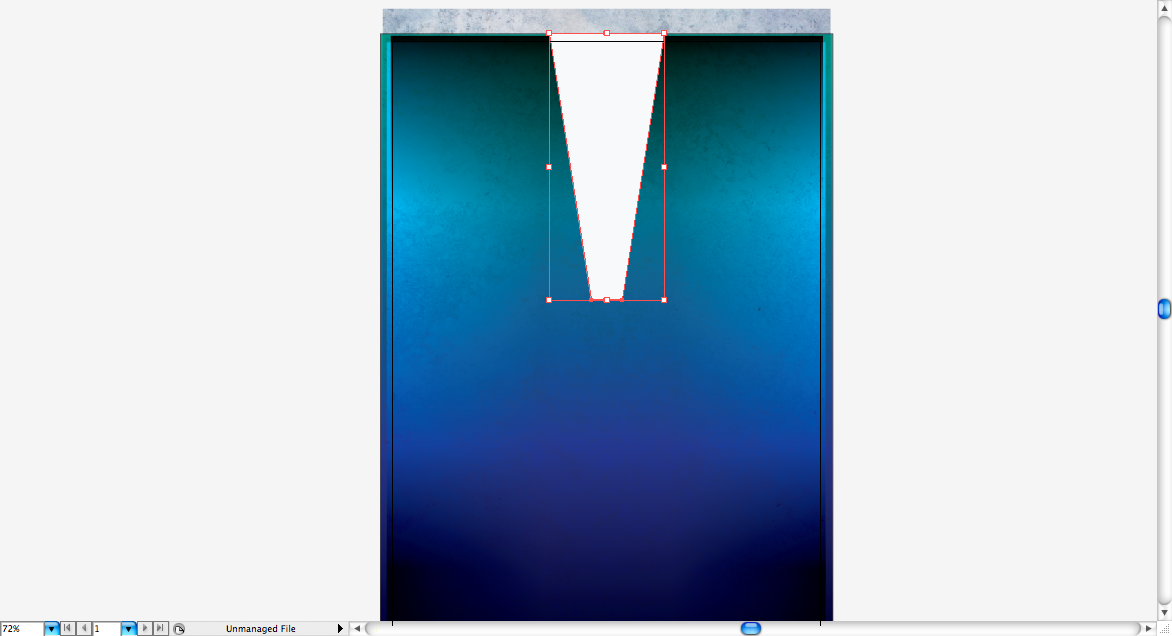
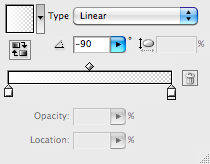
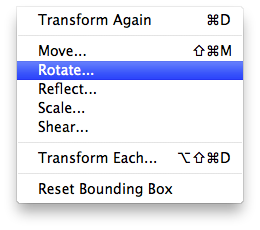
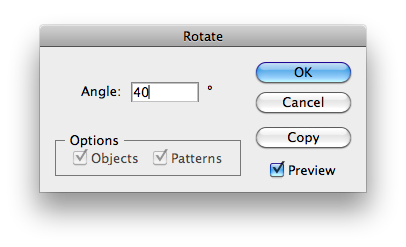
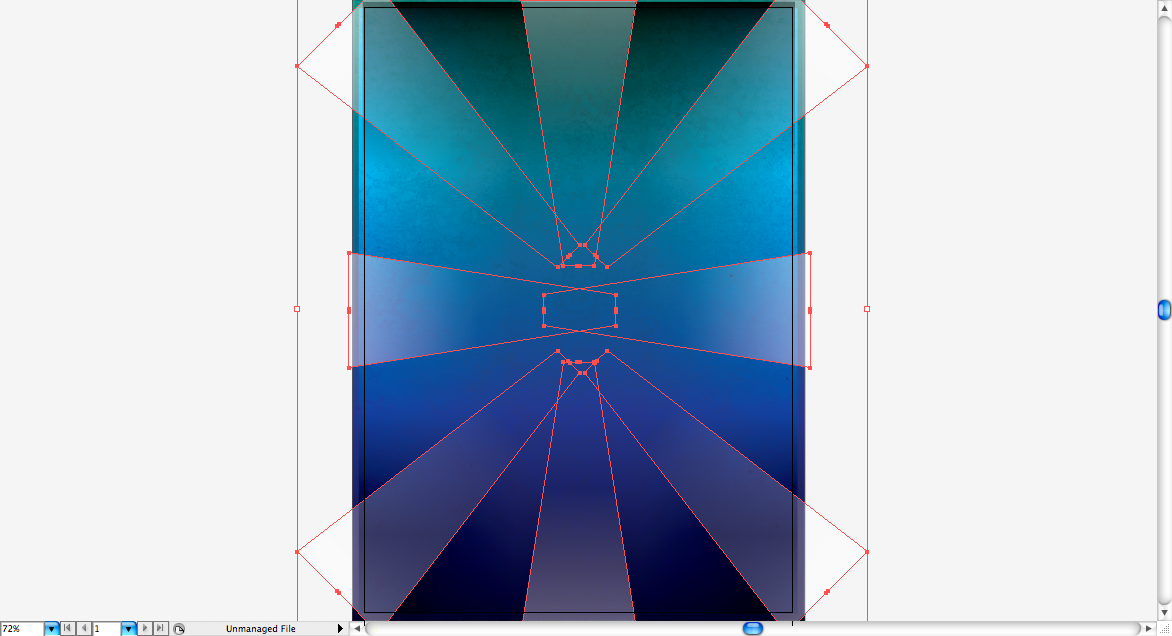
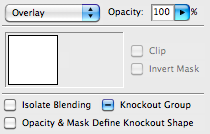
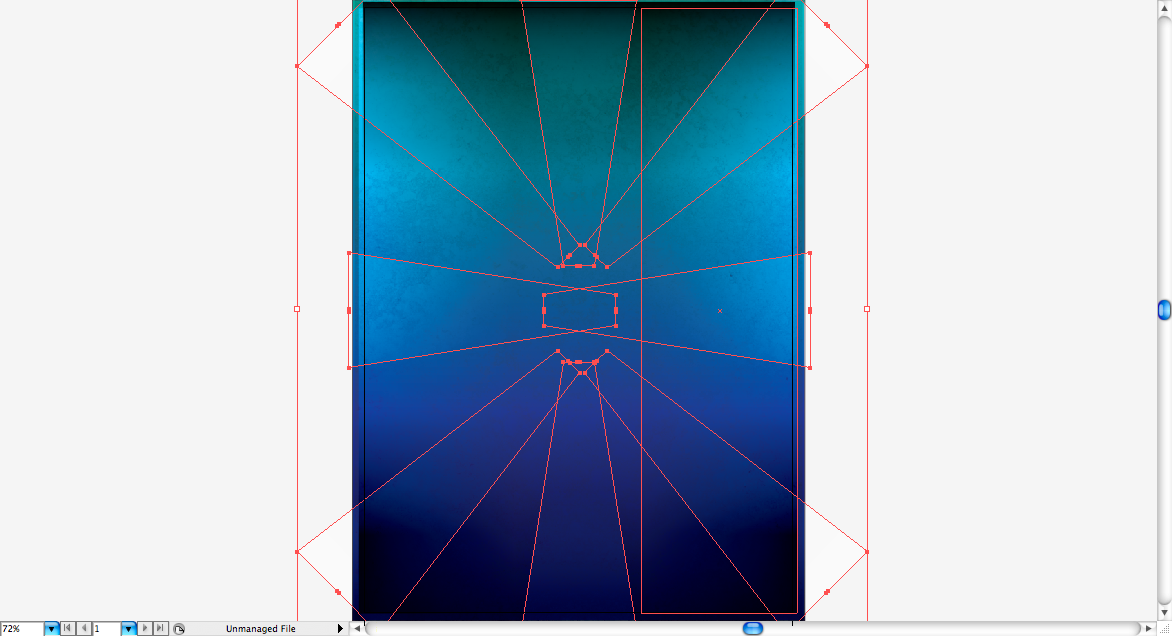
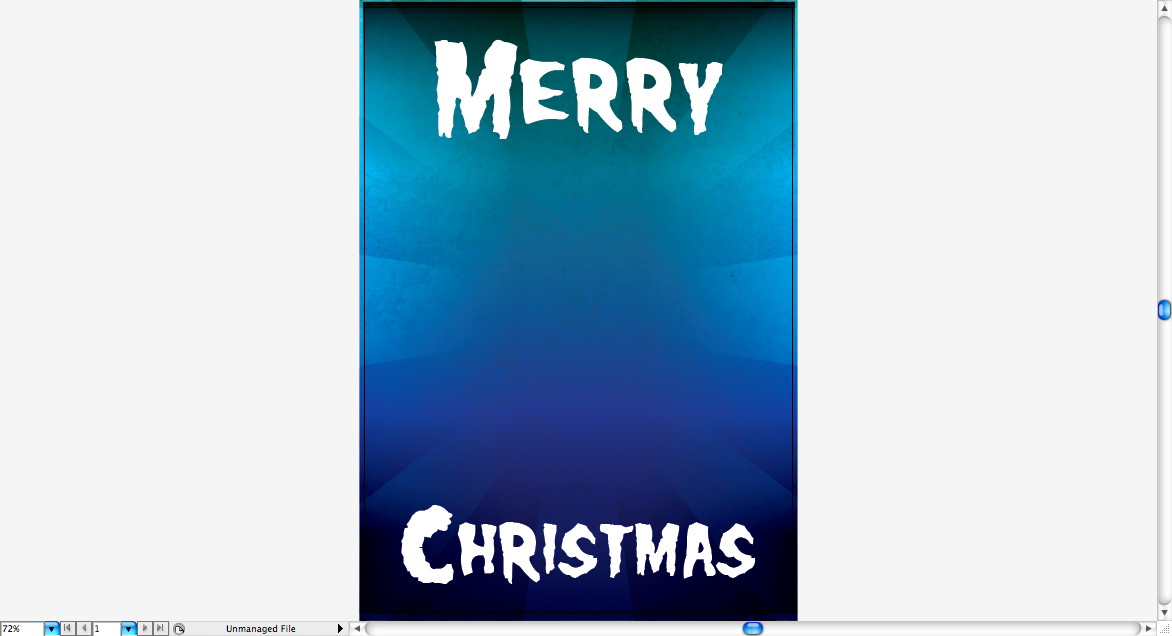
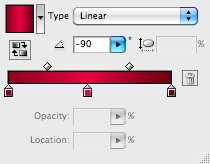
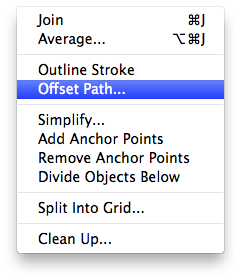
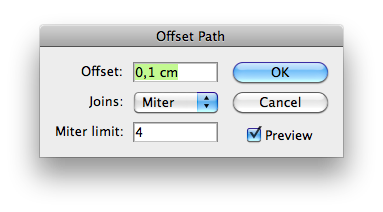
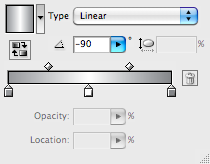
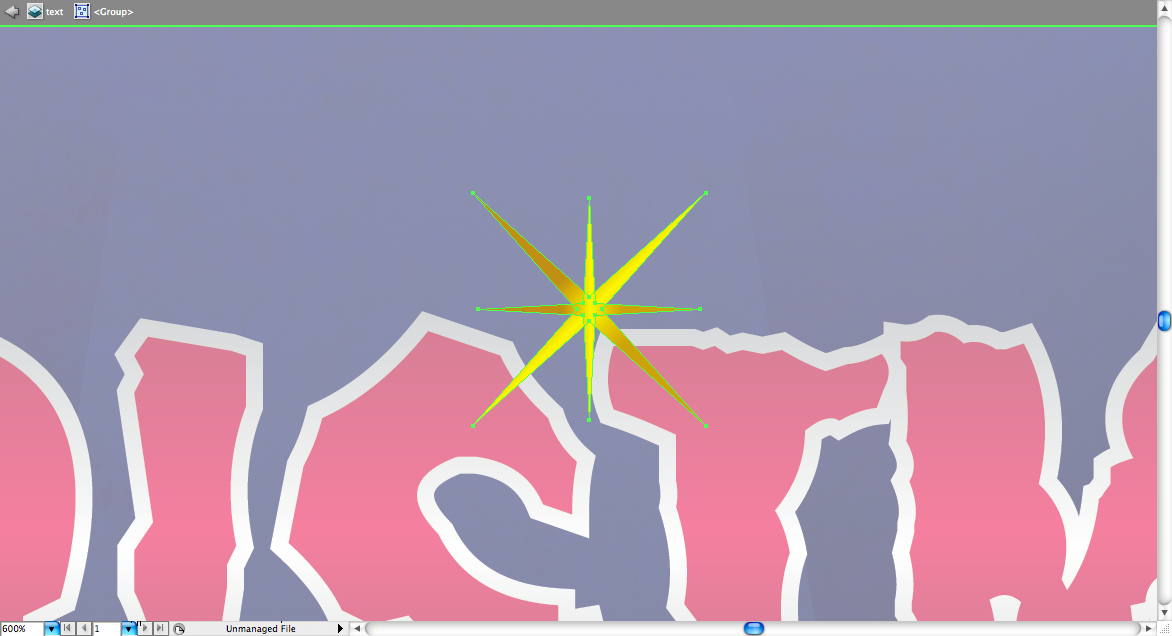
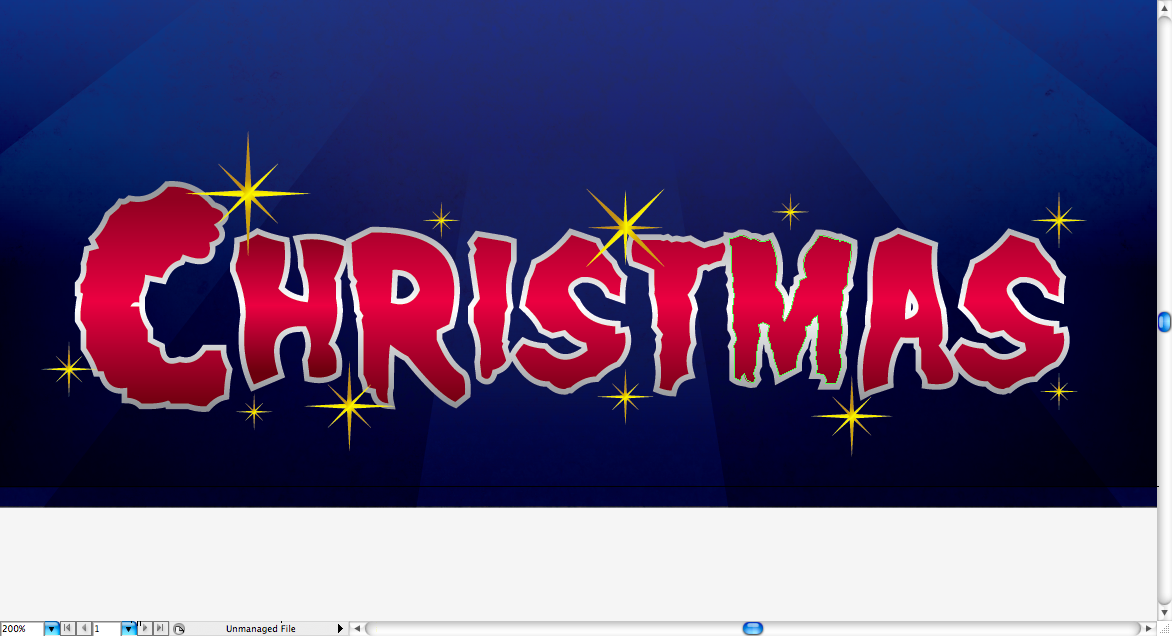
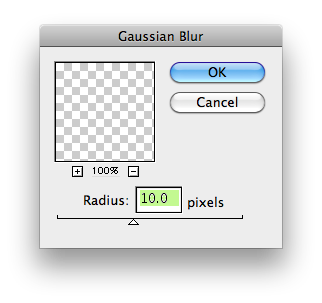
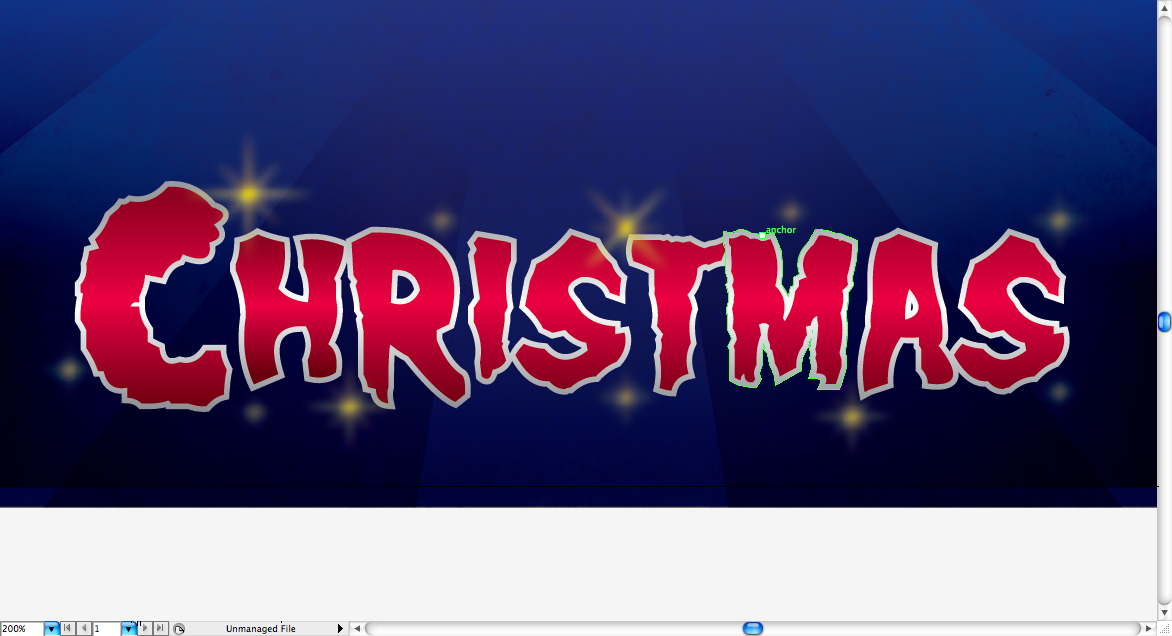
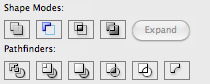
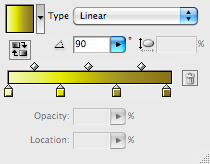
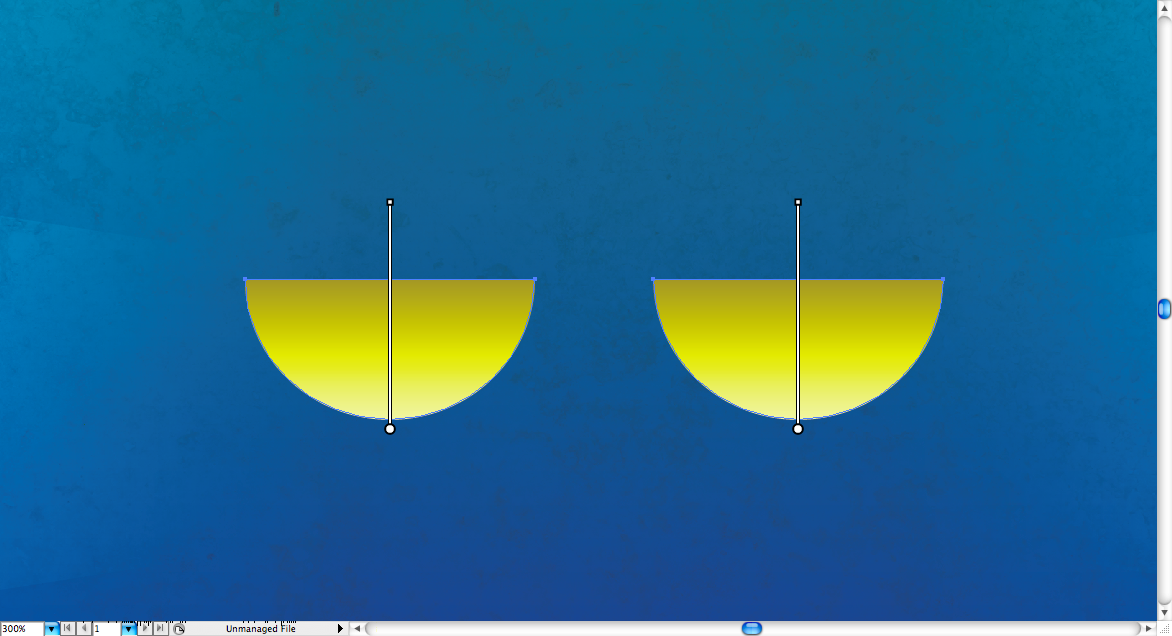
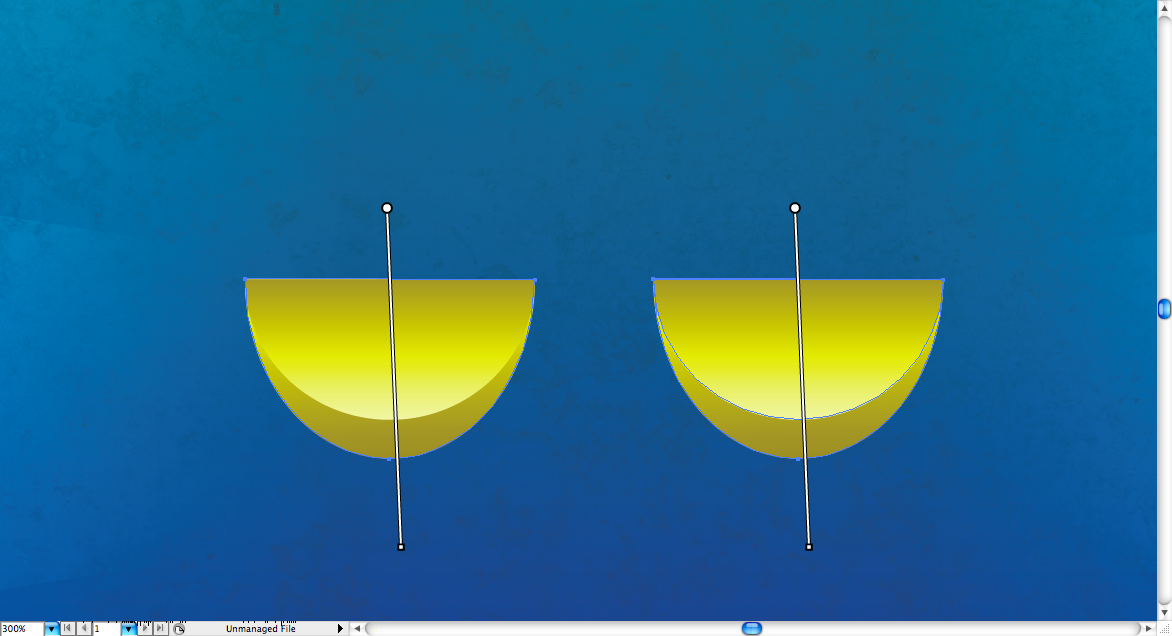
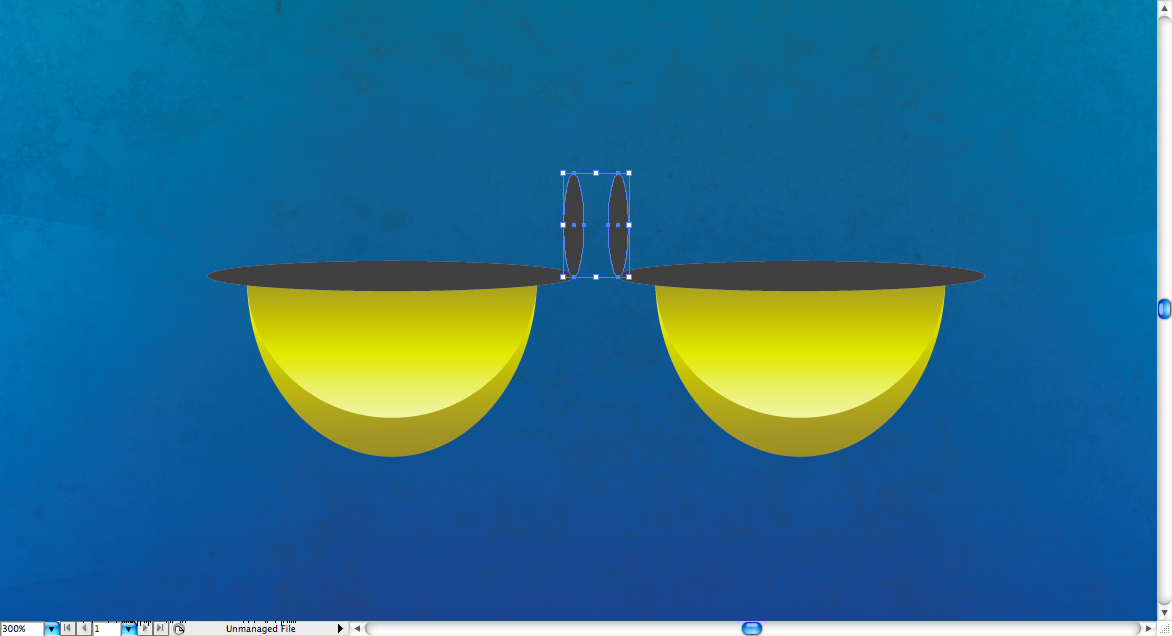
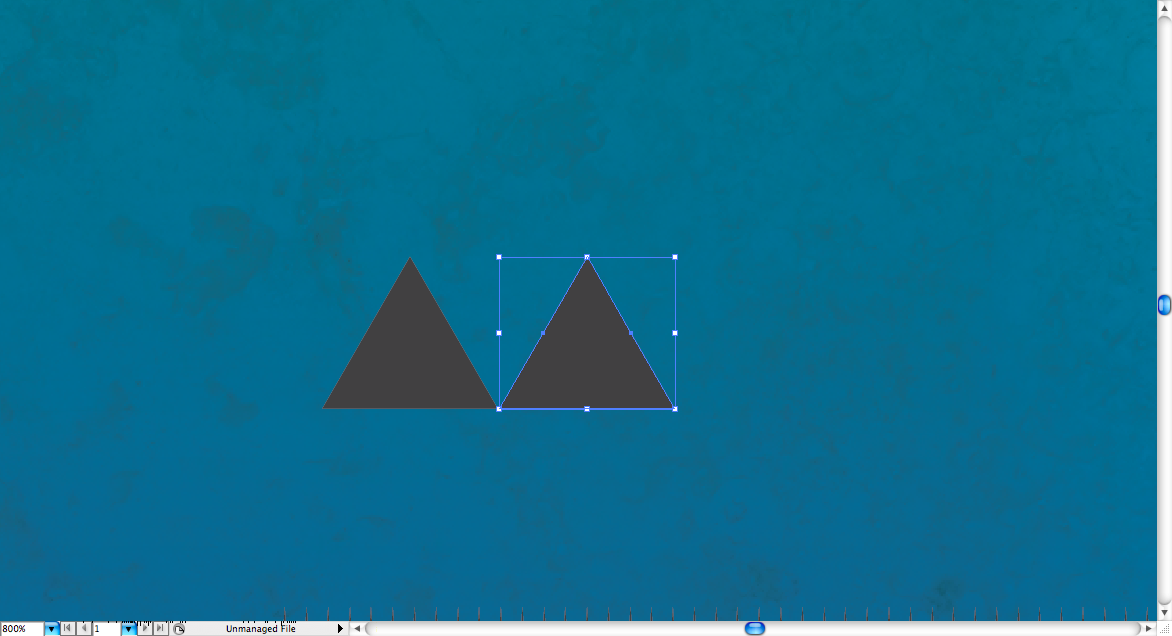
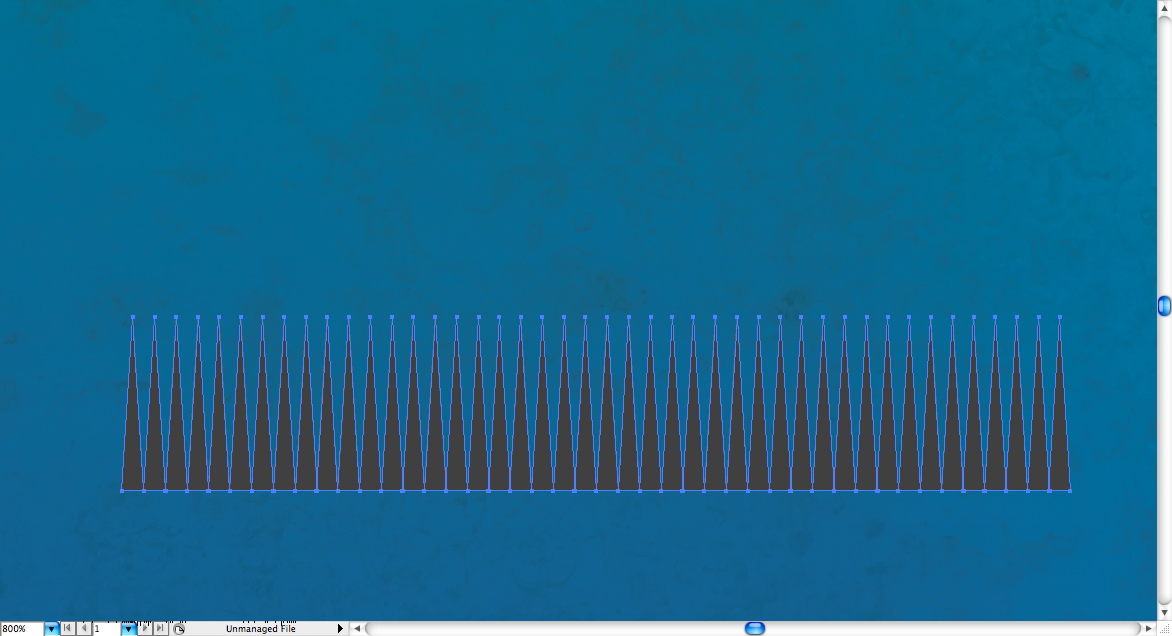
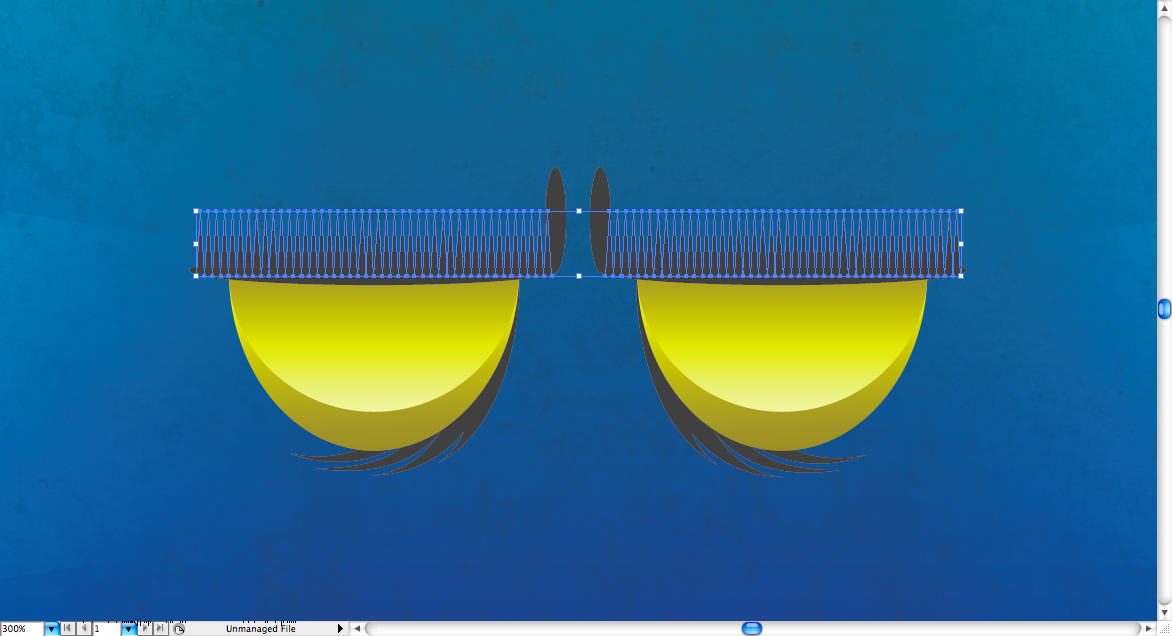
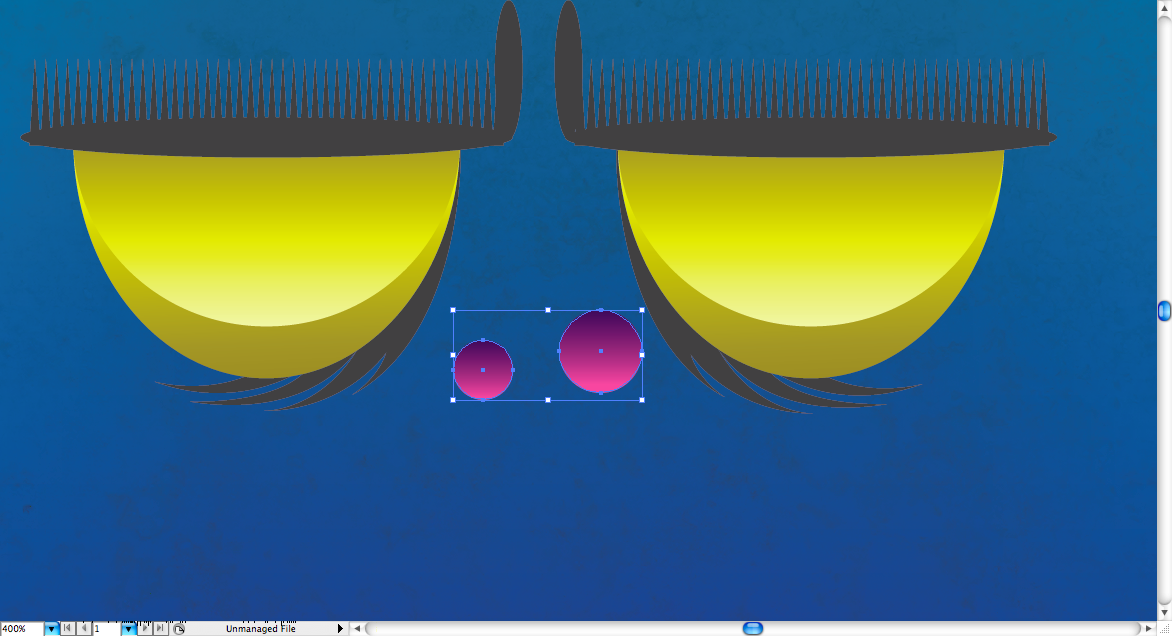
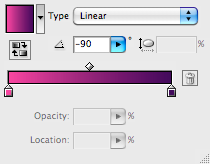
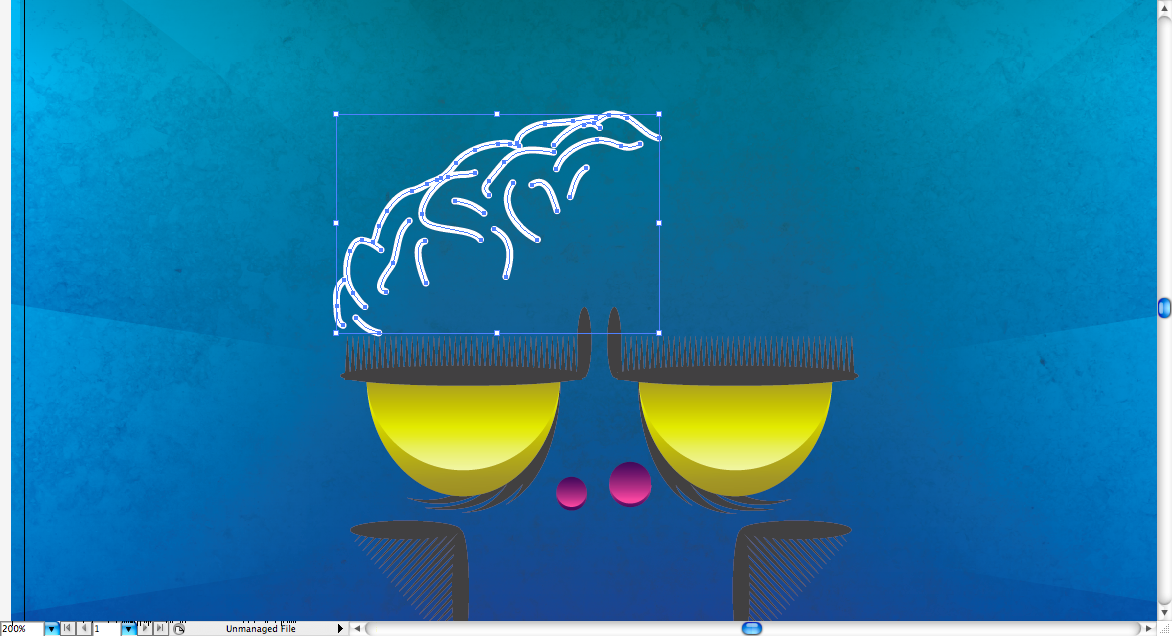
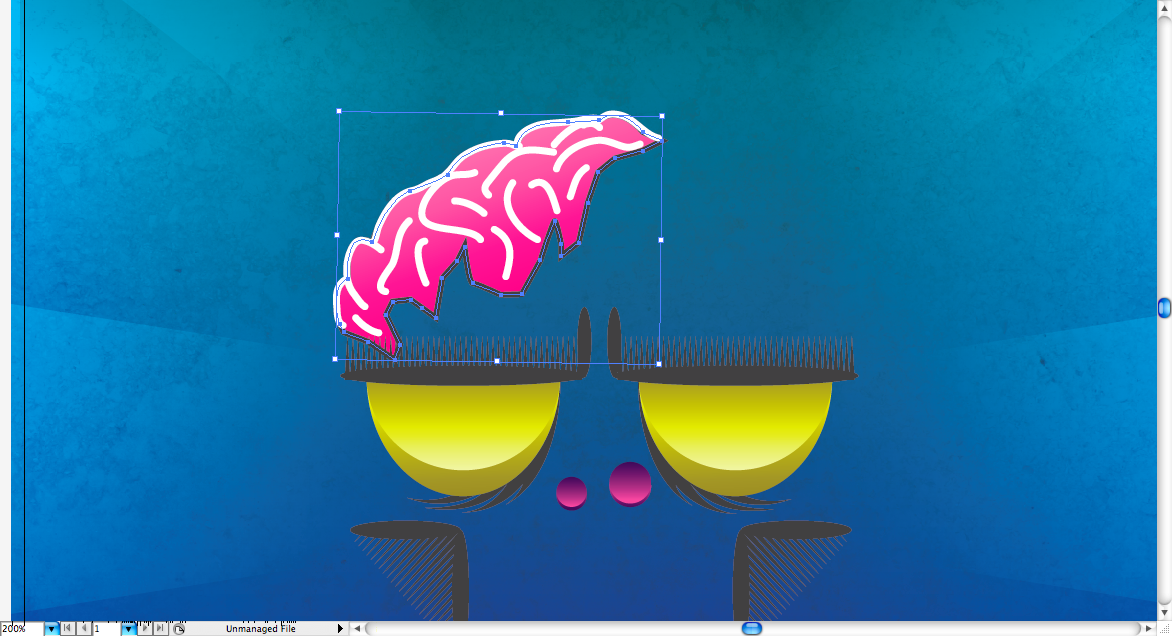
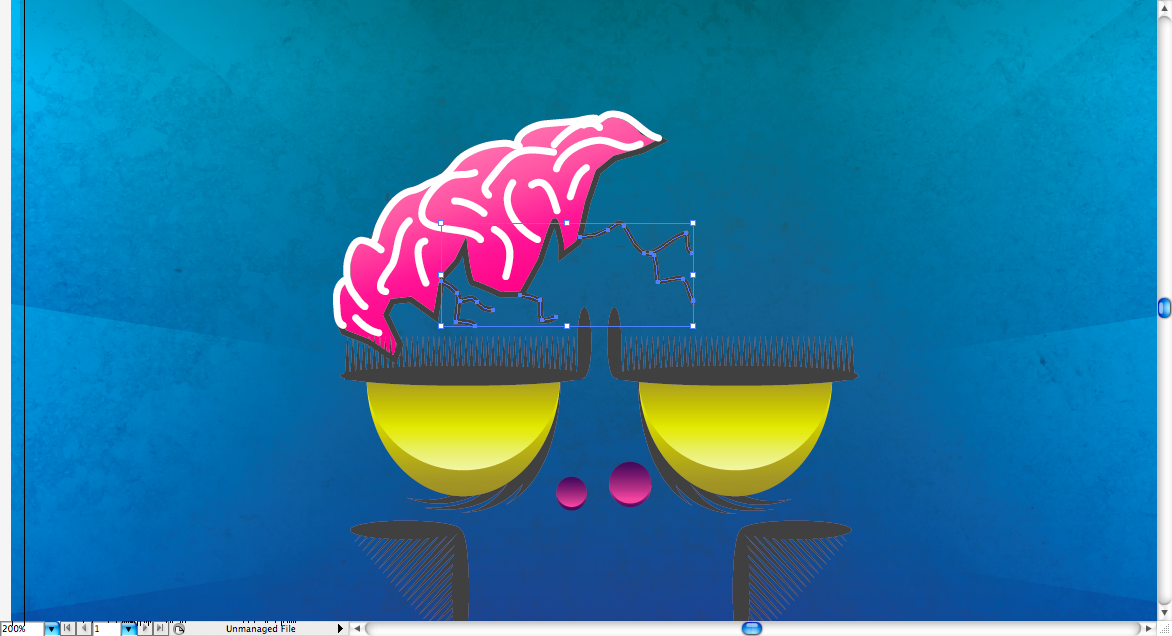
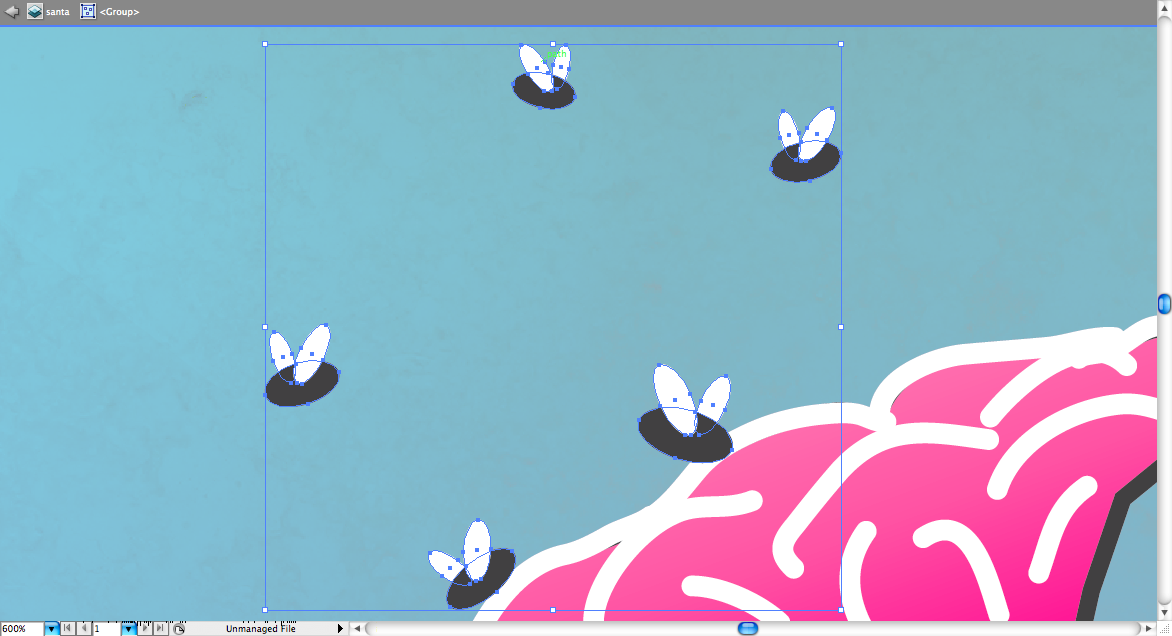
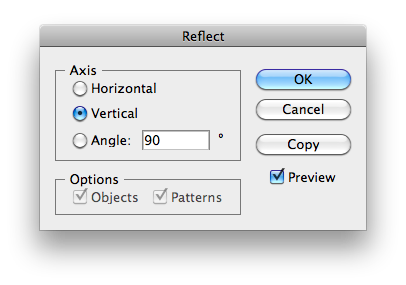
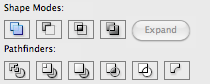
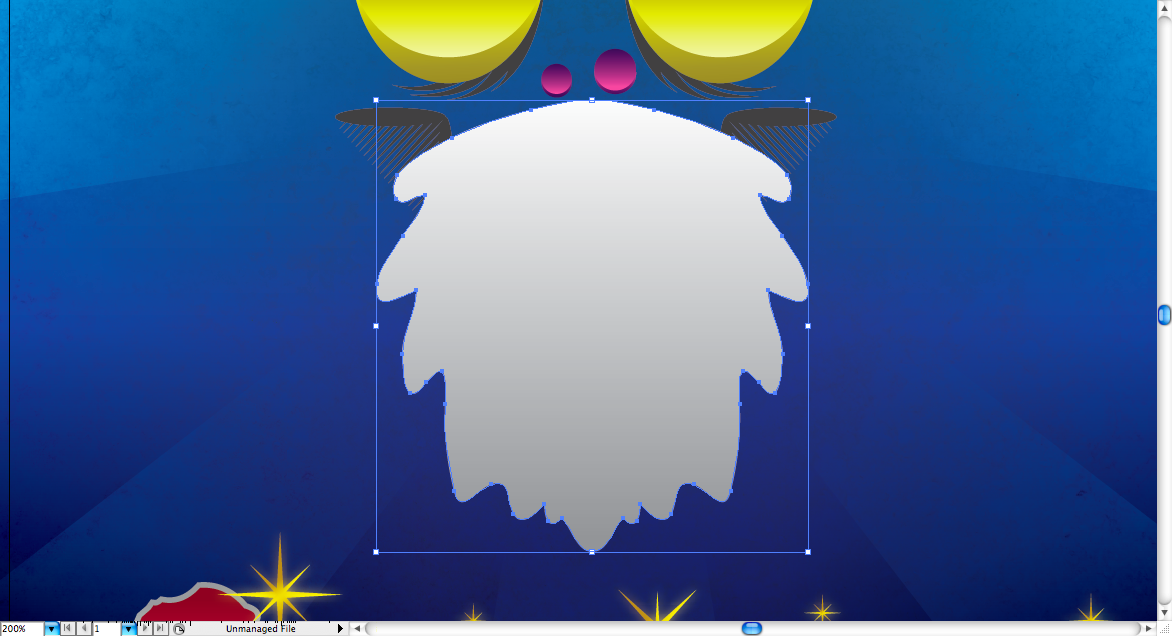
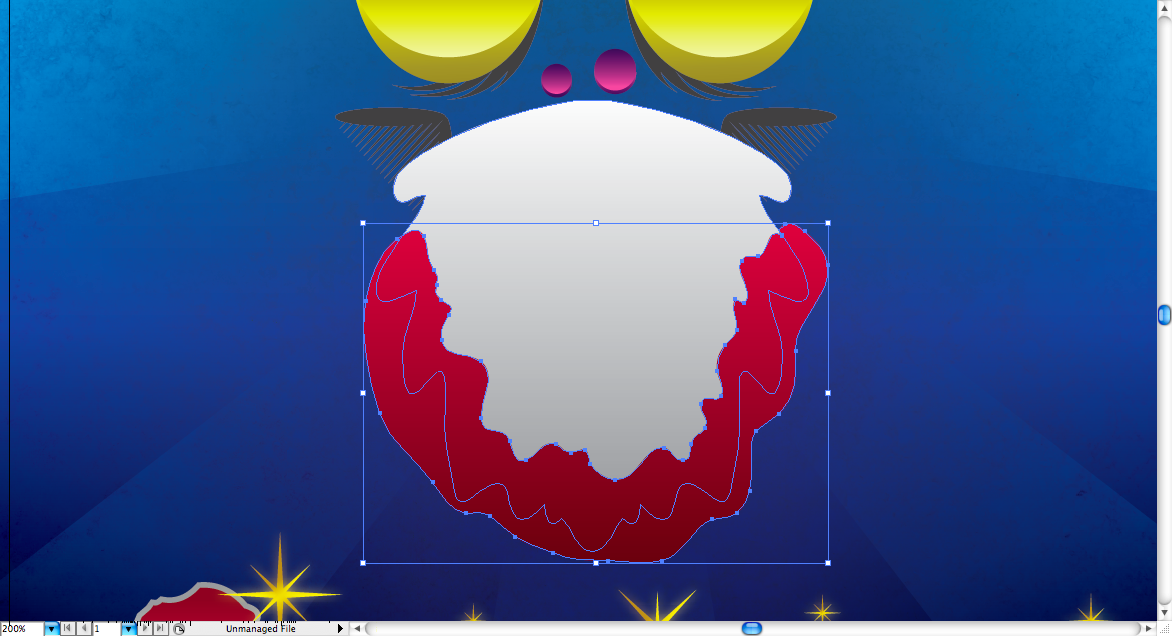
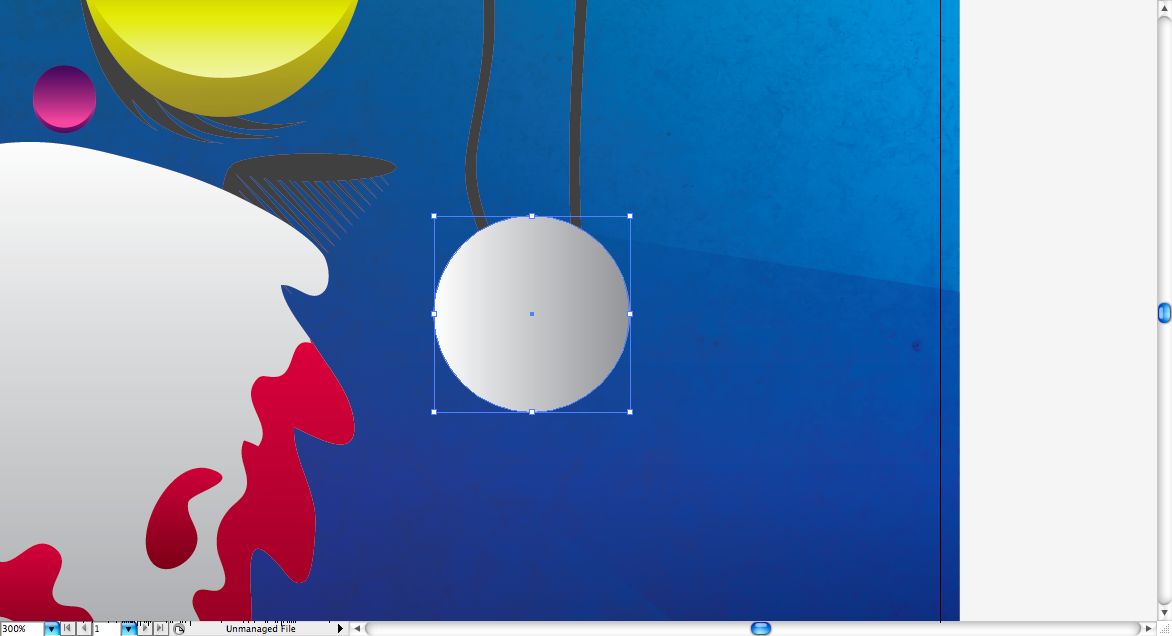
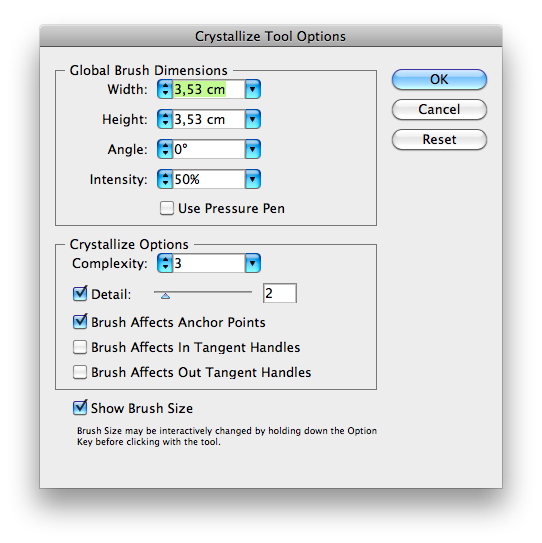
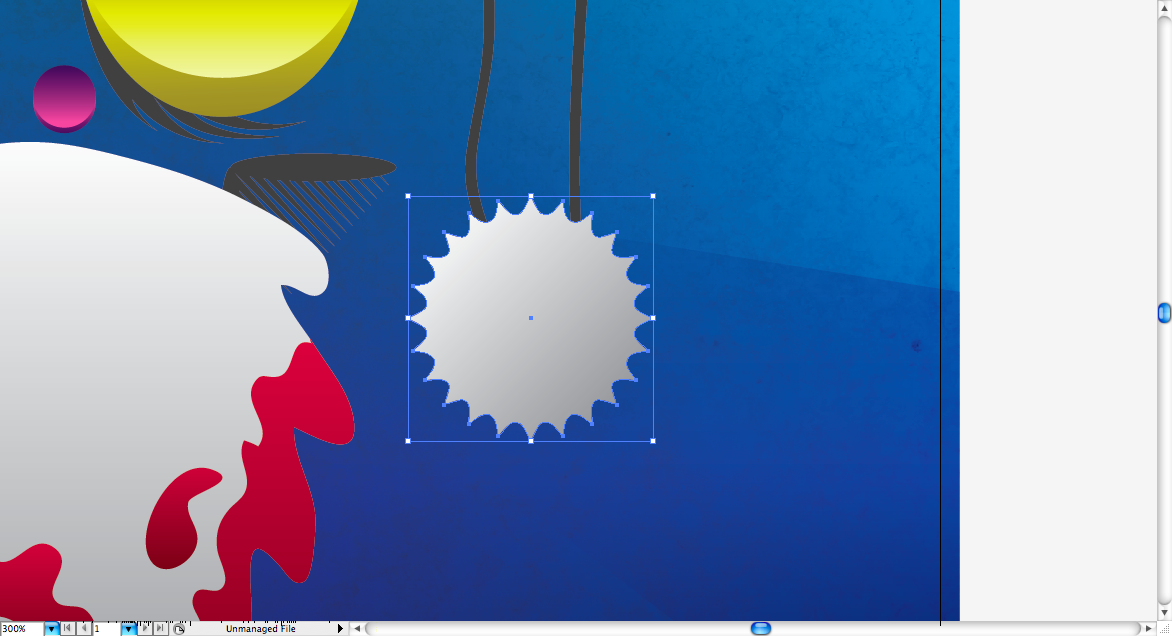
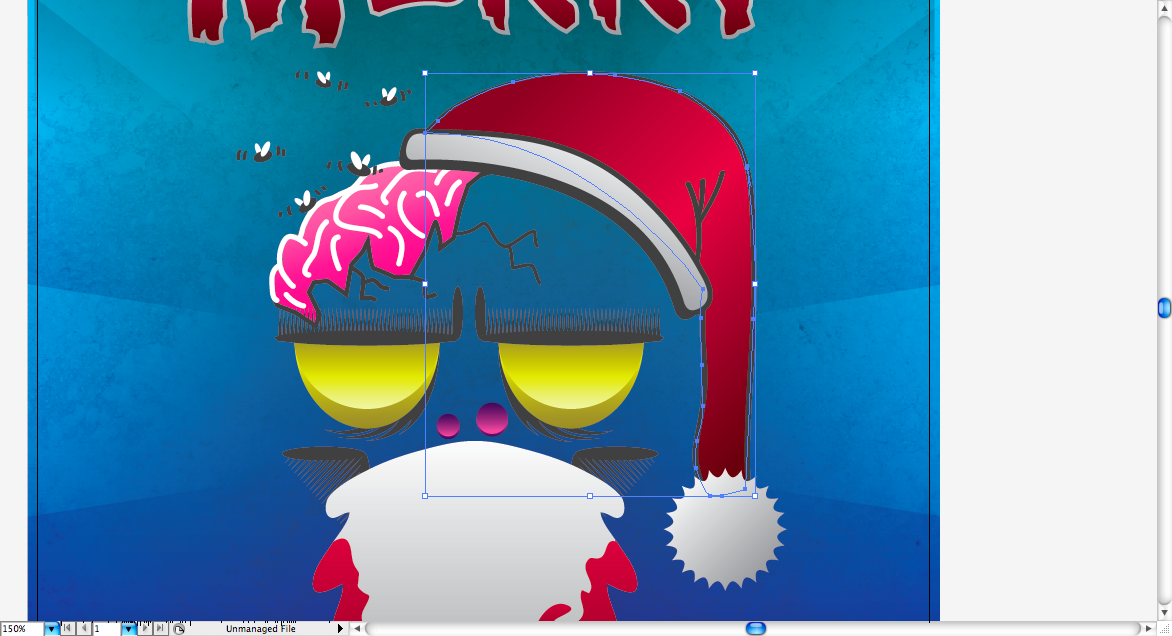
It's almost Christmas time and so we decided to make a cool Illustrator tutorial as a gift for you guys. Today we are going to learn how to make this Zombie Santa Claus Christmas Poster using some simple tips. I hope you like it.Step 1First of all, open Adobe Illustrator and create a new document ( ctrl + N / command + N ) with 21 cm width and 29.7 cm height. Now, using the Rectangle Tool ( M ) create a rectangle that fills the entire canvas, then using the Gradient Tool ( G ) create this green/blue fading to black gradient. Download this grunge texture here open it in Illustrator and place it a layer above the gradient rectangle. Go to the Transparency panel and choose the Blending Mode called Multiply. Create a rectangle on the left side using the Rectangle Tool ( M ) and access the gradient panel and choose the Fade to Black option Then access the Transparency panel and choose the Blending Mode called Overlay. Duplicate this rectangle and do the same procedure on the right side of the canvas. Finally, create another rectangle with the Rectangle tool ( M )and place it on the top of the canvas. Using the Eyedropper tool ( I ) copy the same gradient of the other rectangles, then go to the Transparency panel and select the blending mode called Multiply. Step 2Now we have to create some light lines, so create a rectangle with the Rectangle tool ( M ) and adjust it using the Direct selection tool ( A ) to look like this. Create a light gradient fading to white, like this, then choose Transform > Rotate to 40 degrees. Repeat this procedure until you have shapes like these, then make a Group (ctrl + G / command + G ) with them. Access the Transparency panel and choose the blending mode called Overlay. You should get this final result for the background Step 3For the font I chose The Misfits font (the same from the Punk Rock band), you can download it here. Create a new layer and write "Merry Christmas" like the sample below. Create Outlines and using the Gradient tool ( G ) create a red gradient like this. Access Object > Path > Offset Path and choose a 0.1 cm offset, miter joins and 4 miter limit. Then add a silver gradient and you should get something like this. Finally, send the letters to back and it should look like the sample below. Step 4Now let's make the little stars, it's pretty simple, first choose the Star tool and by clicking on the canvas once you'll access its panel, then choose Radius 1 with 0.1 cm, Radius 2 with 1.76 cm and 4 points. You should get a thin 4 point star, duplicate it, rotate it to look smaller, like the sample below. Duplicate this little star using the Selection tool ( V ) + alt how ever many times you want, resize it and distribute it along the "Christmas" text. Now group all these stars ( ctrl + G / command + G ) and duplicate them by using the Selection tool ( V ) + alt and access Effect > Blur > Gaussian Blur set 10 pixels blur, you should get this result. Finally, place this group above the other stars group, you should get this. Step 5So let's begin the main illustration, first create a circle using the Elipse tool ( L ), create a rectangle using the Rectangle tool ( M ) and place it above the circle. Then go to the Pathfinder panel and choose the shape mode called Minus front. You will get this mid circle, duplicate it by using the Selection tool ( V ) + alt. Using the Gradient tool ( G ) create a gold gradient like this with the darkest part on the top. Duplicate it using the Selection tool ( V ) + alt, resize it and send it to back, than change the gradient direction using the Gradient tool ( G ) so the dark part is on the bottom of the shape. Using the Ellipse tool ( L ) create these shapes and duplicate them like the sample below. Using the Pen tool ( P ) make sharp shapes around the eyes to make them look tired. We're going to make some hachures to give some depth, create a triangle using the Polygon tool and duplicate it using the Selection tool ( V ) + alt. Make a line of it, resize it and put it above the eye to look like an eyebrow. Step 6Let's create the nose. Make two circles using the Elipse tool ( L ) and create a purple/pink gradient. Than duplicate it Selection tool ( V ) + alt and change the gradient direction using the Gradient tool ( G ). Step 7Using the Ellipse tool ( L ) repeat the same procedure you did on step 5, make the shapes with the ellipses and triangles, make a clipping mask ( command + 7 / ctrl + 7 ) on it to fit on the shape. Step 8The first thing you should do in order to draw the brain is drawing these circles and lines with the Pencil tool ( N ), they don't have to look very detailed. Well, then using the Pen tool ( P ) outline these shapes and make a part more sharper to look like a broken cranium. Also add a pink soft gradient and black stroke to it. Using the Pencil tool ( N ) again, draw these cracks with a white stroke. Step 9Make the flies by using only the Ellipse tool ( L ), choose white fill for the wings and a black fill for the body, it's quite simple to do. Draw some line around each fly using the Pencil tool ( N ) to give some movement to them. Finally, again using the Pencil tool ( N ) draw circles and vertical sinuous lines to give impression of smell and movement to the flies. Step 10The beard can be made by many ways, I prefer to draw a shape using the Pencil tool ( N ), then duplicate it usingSelection tool ( V ) + alt , reflecting it vertically. Access the Pathfinder panel and choose the shape mode called Unite to make these two pieces one, use a light gray gradient to add some depth to it. Draw some blood using the Pencil tool ( N ) with a red gradient fill, duplicate the beard shape, bring it to front and make a clipping mask with the blood shape (ctlr + 7 / command + 7 ). After, draw some shapes to look like drops on the beard, you should get this result. Step 11There's not a short cut to do the Christmas hat. Being an illustrator I'd rather draw first the shapes using the Pencil tool ( N ) and then make the fill separated, but feel free to do any way you want it. Now draw a circle using the Ellipse tool ( L ) and select the Crystallize tool panel and set width to 3.53 cm, height to 3.53 cm, angle to 0º, intensity to 50%, complexity to 3 and detail to 2. You should get a sharp ball. Finally, using the Pen tool ( P ) make the contour along the lines you drew and fill it with a red gradient. The zombie Santa is done. Step 12To make it look more cool, I added once more a grunge texture, but you can add the texture you want on it The final resultHere we tried to make this illustration the easiest way, but talking about creative process there are plenty ways to do it. Try to find the one that better fits your style. I hope you liked this tutorial. Download the filesCLICK HERE TO DOWNLOAD ALL FILES USED FOR THIS TUTORIAL |
| Posted: 23 Dec 2010 06:00 PM PST
One of the things I like the most about writing to Abduzeedo is that I get to find great things along my researches. Trying to find fresh works and artists is a really awesome job, and to find a photographer like Ivo Berg is just fantastic.<!--break--> Ivo is a 21 years old photographer who currently lives in Germany and makes these amazing experiments. Experimental photography is really nice and Ivo does it really well. For more of his work, you may check out his flickrstream. I hope you enjoy these as much as I did. Cheers! ;) PS.: Oh, and may everyone have a Merry Christmas! God bless you all. |


| You are subscribed to email updates from Abduzeedo | Graphic Design Inspiration and Photoshop Tutorials To stop receiving these emails, you may unsubscribe now. | Email delivery powered by Google |
| Google Inc., 20 West Kinzie, Chicago IL USA 60610 | |
Tidak ada komentar:
Posting Komentar