Abduzeedo - graphic design | design inspiration | tutorials - |

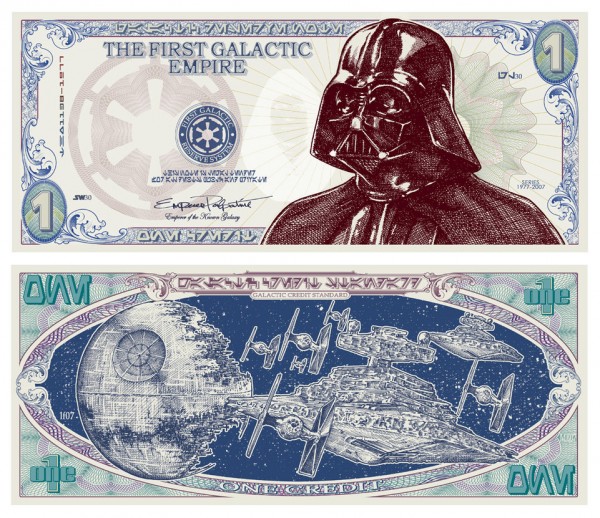
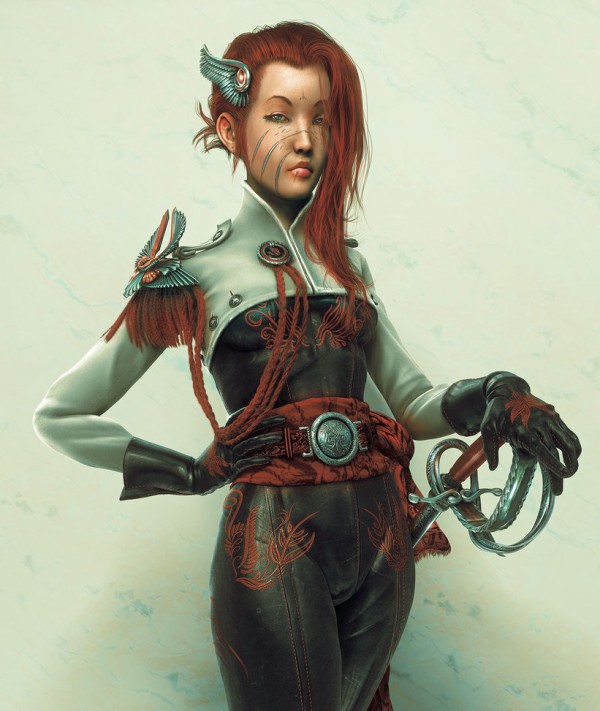
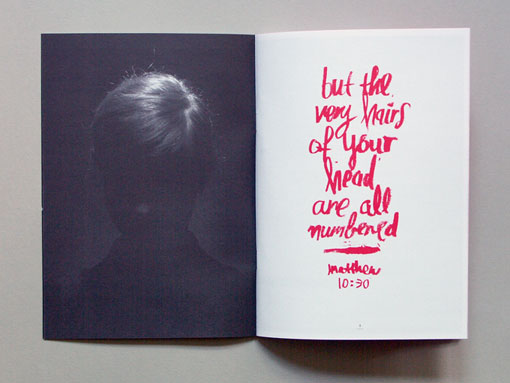
- Daily Inspiration #793
- Vintage Label Designs
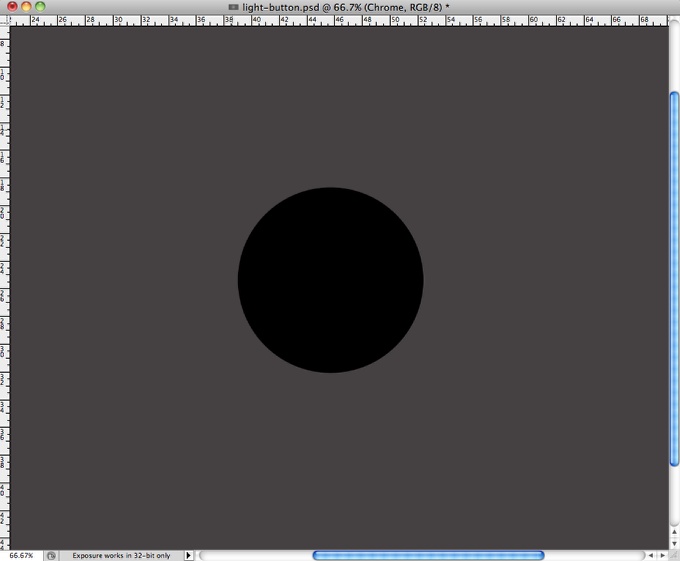
- Stylish Metallic Button in Photoshop
- The Perfect Office #83
| Posted: 11 Apr 2011 12:45 PM PDT
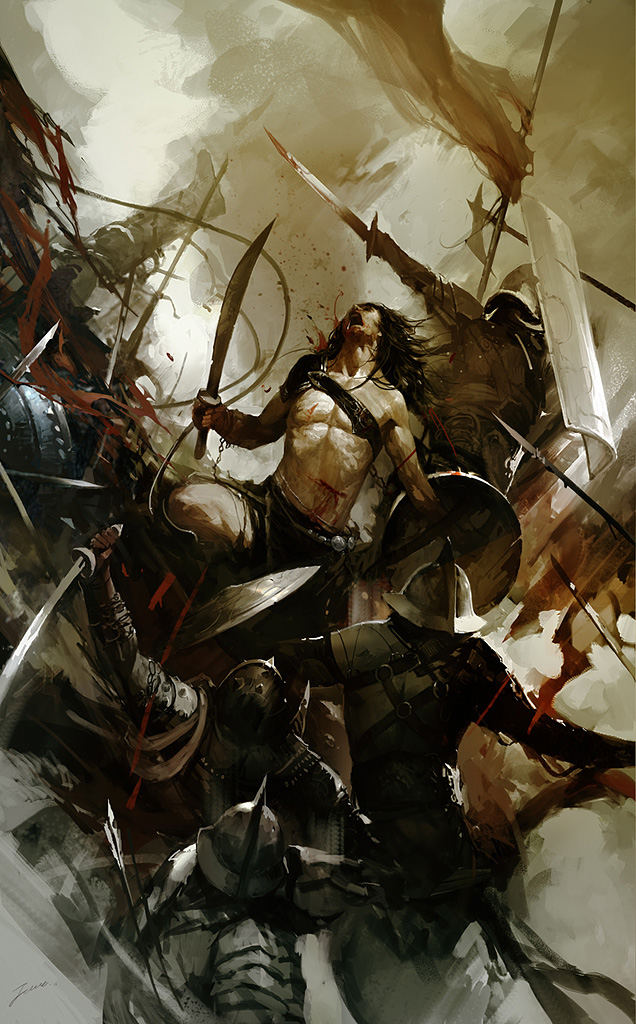
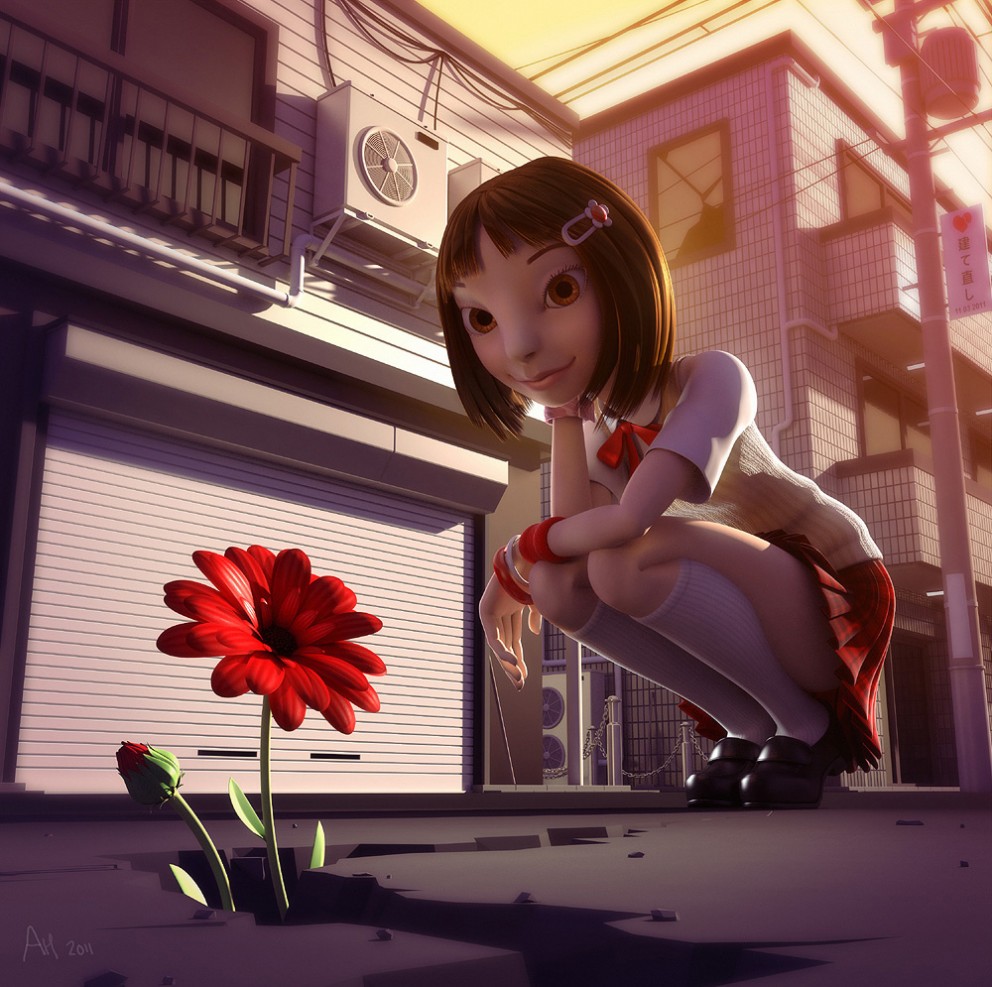
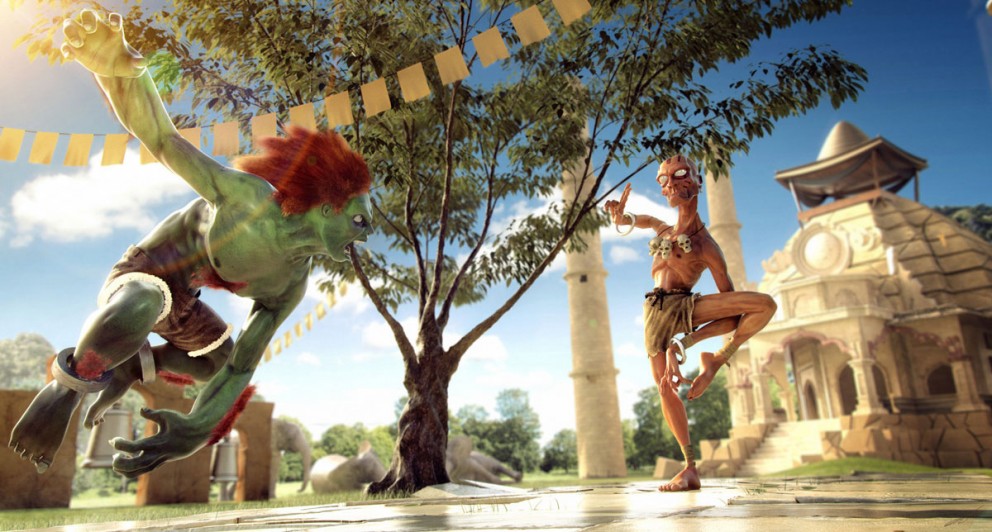
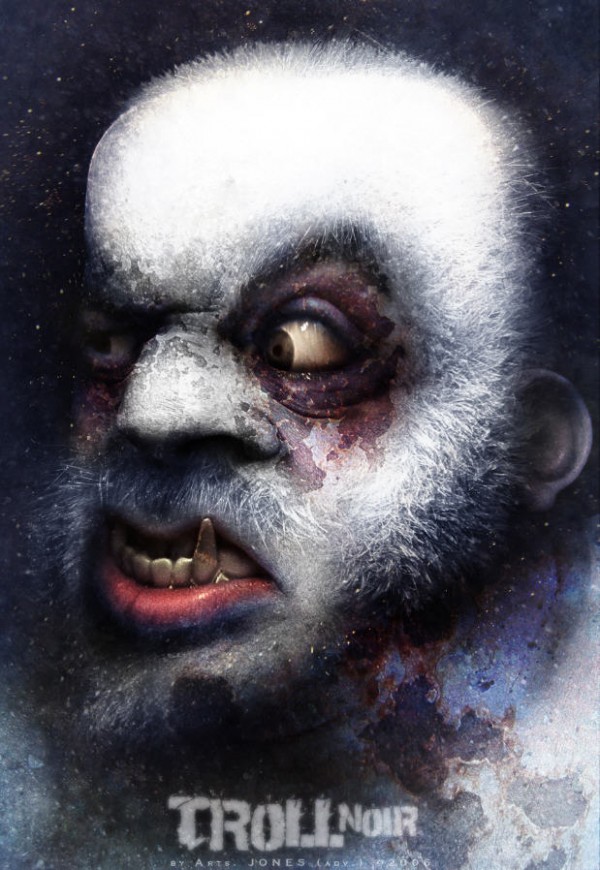
This post is part of our daily series of posts showing the most inspiring images selected by some of the Abduzeedo's writers and users. If you want to participate and share your graphic design inspiration, just send us, via email, the image with the link from where you found it, also use "Daily Inspiration" in the subject, and don't forget to send your Abduzeedo username; or via Twitter sending to http://twitter.com/abduzeedo.<!--break--> If possible use the HTML code: <p class="imgC"><a href="Link to the page you found the image"><img src="Link to the Image" /></a></p> Do you want to see all images from all Daily Inspirations? Check out http://daily.abduzeedo.comAdam
al b sure
Anderson Tomazi
Arthur Presser
Best Bookmarks
BertrandCoolvibe
Cuded
designmodo
Eugene Kim
Fabiano
Fabio
fksd
Gisele
HdK
Kevin Roodhorst
Meng To
Newyorkiz
Ricardo Ovelar
shelbywhite
Via TwitterSend your suggestions via Twitter to http://twitter.com/abduzeedo using #abdz in the end of the tweet. @aeson711
@daniel_nelson
@TiagoClemente
|
| Posted: 11 Apr 2011 07:45 AM PDT
When I first saw these designs, I thought they were truly from the 50s. Just to find out they were recently done by Wallace Design House, a one-man design that create amazing and very inspiring designs. Check out for yourself and get that vintage feeling back in the air.<!--break--> For more from Wallace Design House visit their website wallacedesignhouse.com About the authorHi there! I'm Paulo Canabarro, 25 year old web designer from Brazil currently living in Providence RI, USA. I'm truly passionate about design of all kinds. Finding and sharing inspiration has become part of my life. If you have any suggestions or requests just get @ me - pvpcanabarro@gmail.com For some cool stuff make sure to Follow me on twitter! Sponsored Links:
|
| Stylish Metallic Button in Photoshop Posted: 10 Apr 2011 11:30 PM PDT
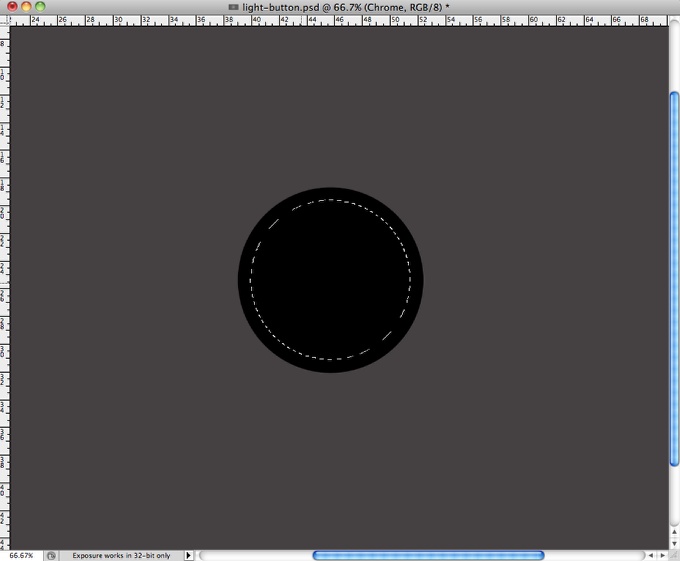
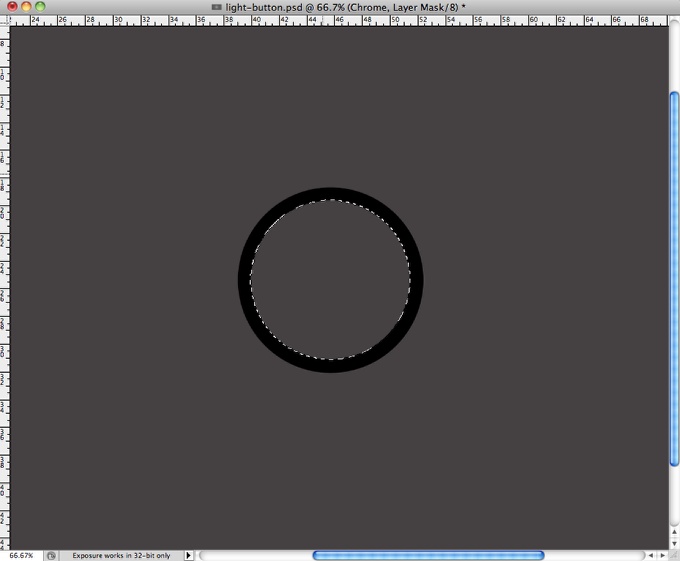
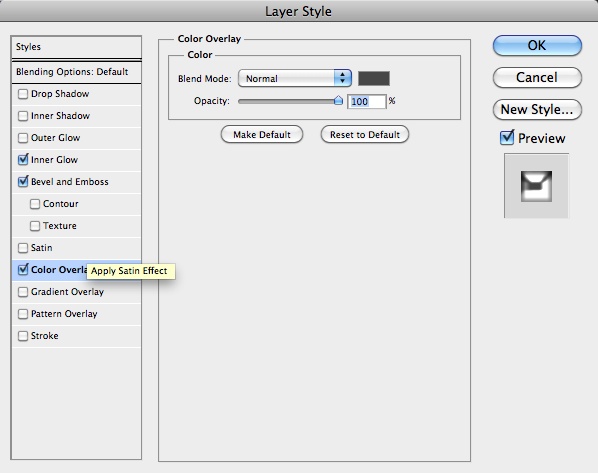
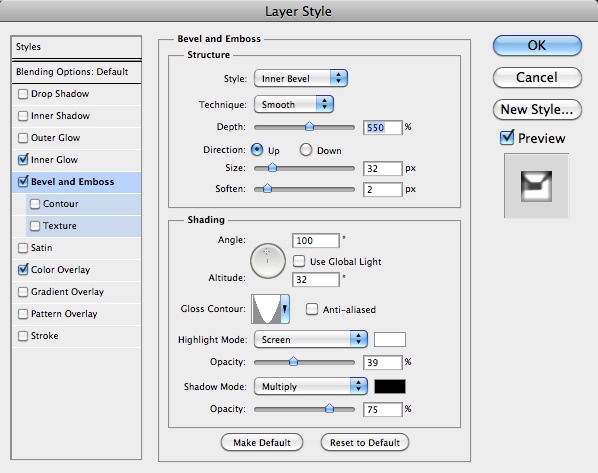
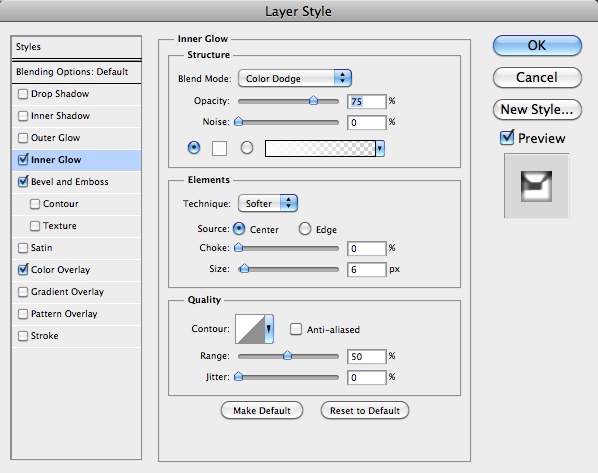
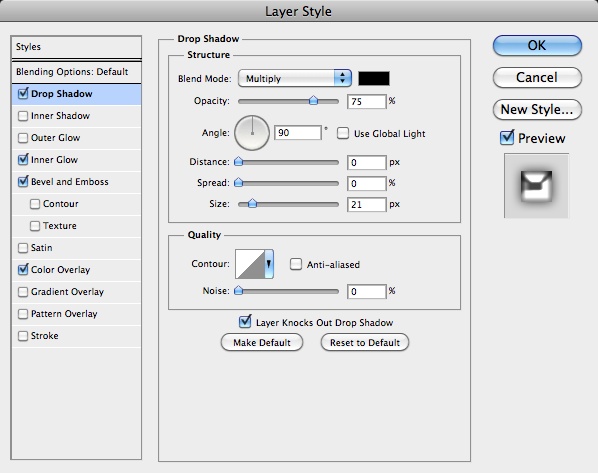
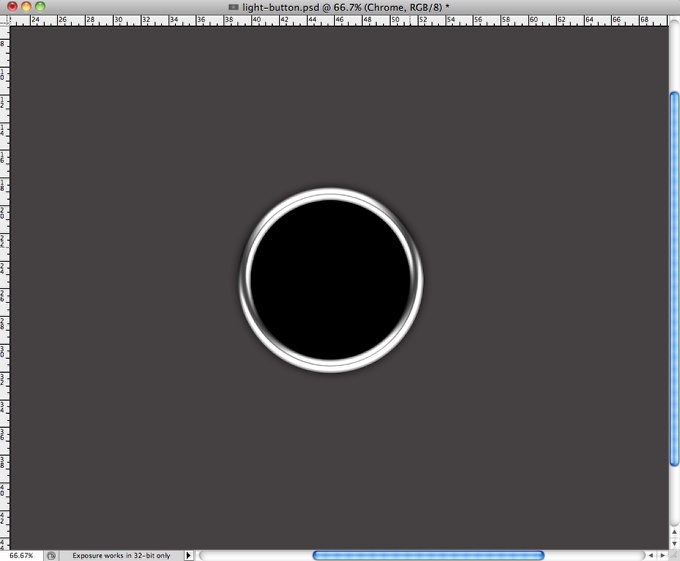
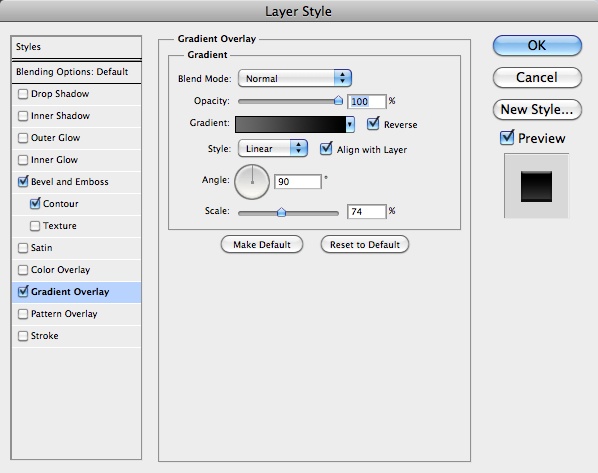
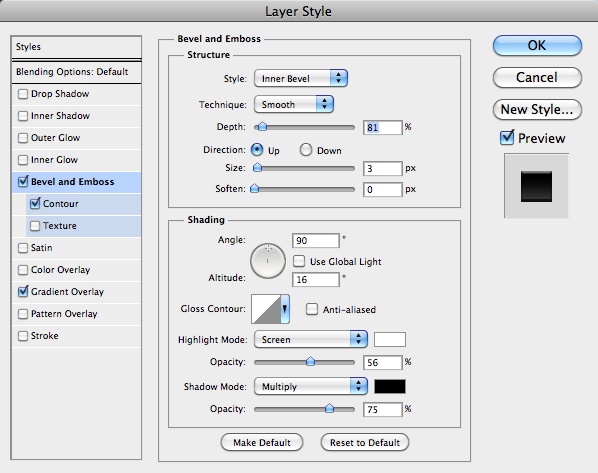
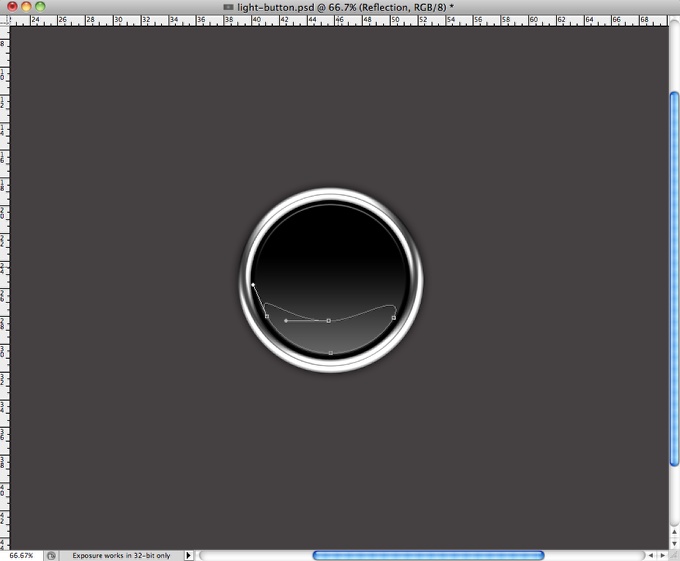
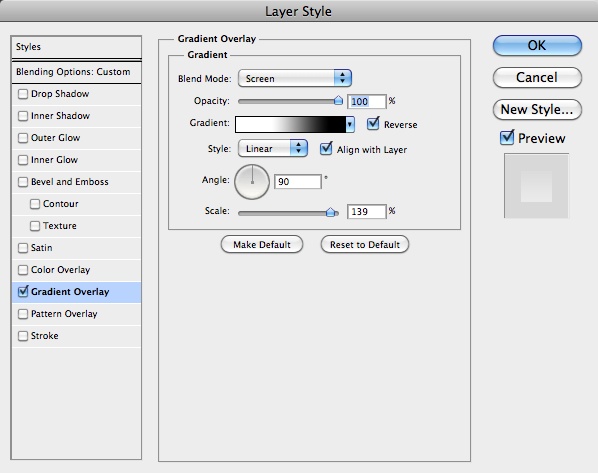
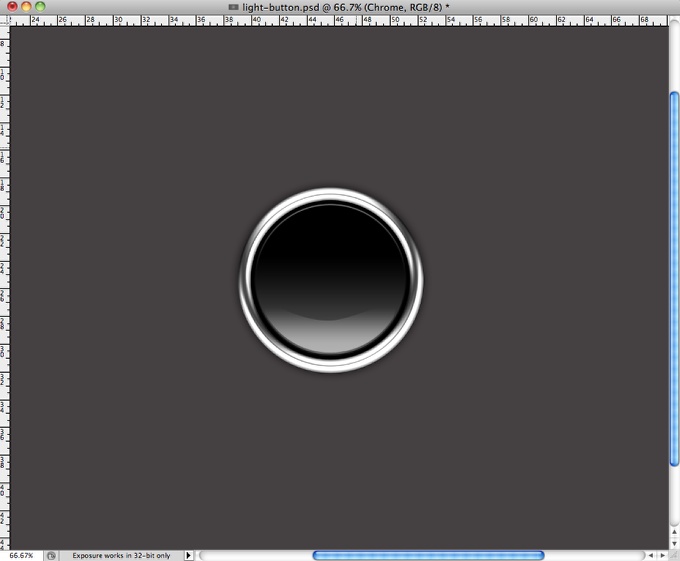
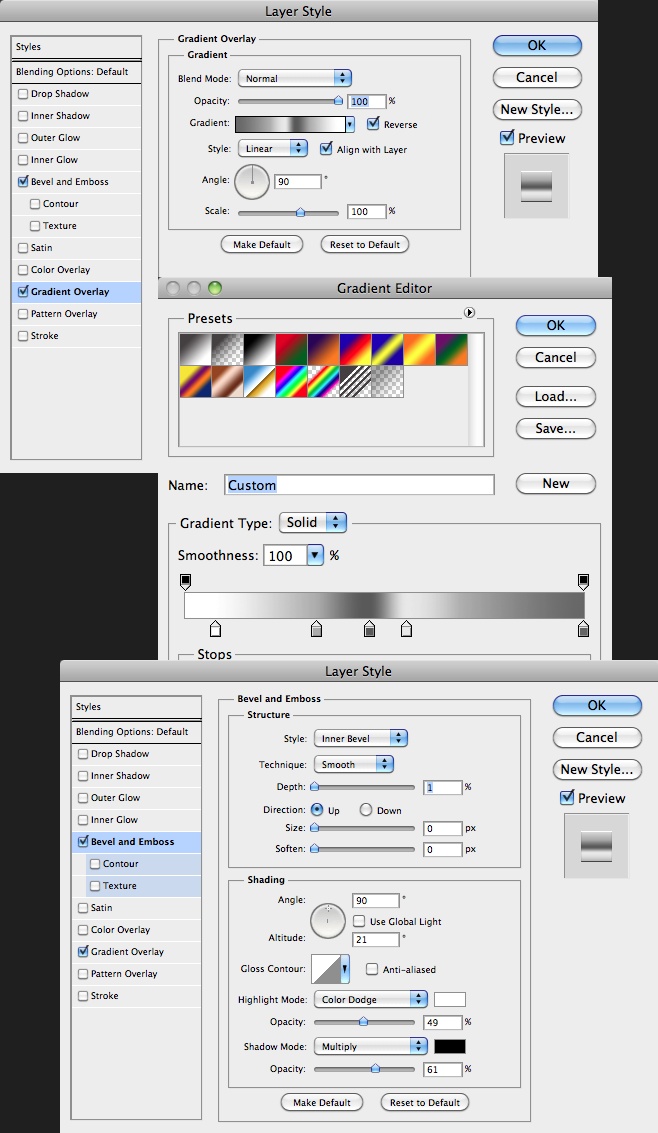
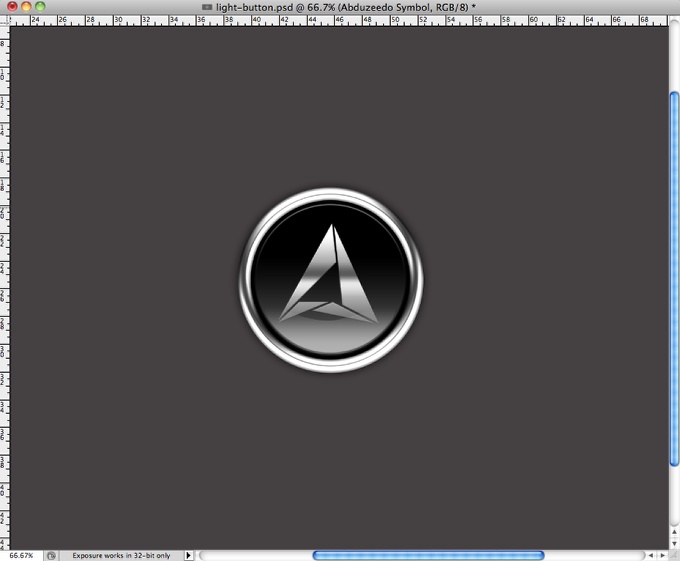
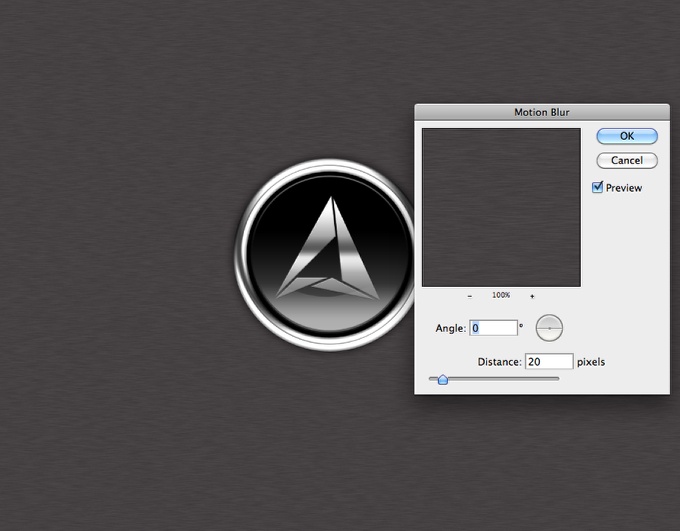
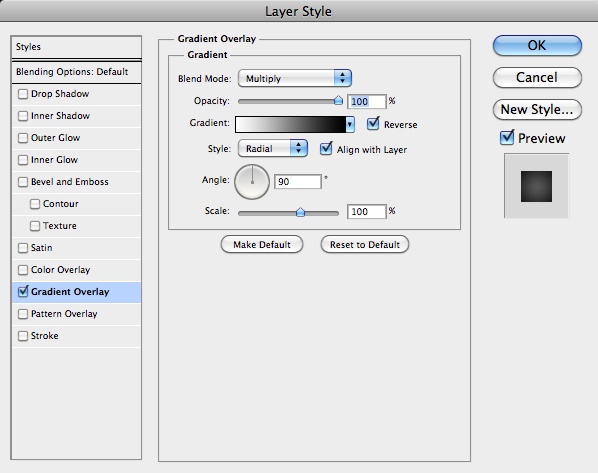
Last Saturday I was checking Dribbble for some inspiration when I came across this beautiful design created by a Portuguese designer called Emanuel Sa. It was an icon with some beautiful metal effects, so I decided to learn how to do that in Photoshop.So in this tutorial I will show you how to create a nice metallic button using Layer Styles in Photoshop. Step 1Open Photoshop and create a new document, the size I am using is 2560x1440 pixels because it's a nice HD wallpaper size. After that with the Ellipse Tool (U), create a circle in black. Step 2Create another circle, smaller and align both in the center of the document, after that, create a marquee selection of the smaller circle. To do that is super simple, just hold the Command (MAC)/ Control (PC) key and click on the thumb of the layer of the circle. Step 3Select the big circle and go to Layer>Layer Mask>Hide Selection. You will have a nice ring ready to add some chrome effects. Step 4Go to Layer>Layer Styles>Color Overlay. Use a dark grey for the color. Step 5Select Bevel and Emboss, then for the values use Inner Bevel for the Style, 550% for the Depth, 32 pixels for the Size, 2 pixesl for the Soften, 100º for the Angle, 30º for the Altitude. Also change the Gloss Contour for the one I am using in the image below as well as the values for the Highlight and Shadow mode. Step 6Select Inner Glow and use Color Dodge for the Blend Mode, 75% for the Opacity, white for the color. Then for the Choke use 0% and the Size 6 pixels. Step 7Select Drop Shadow and use the values below, make sure that the angle is 90º and that you didn't mark Use Global light. Step 8Create a black circle in the middle and then add another one a little smaller to create the center part of the button Step 9With the small circle of the center selected, go to Layer>Layer Style> Gradient Overlay. Use Normal for the Blend Mode, 100% for the Opacity, and for the Gradient use a dark grey to black and Linear. Also for the Angle use 90º and Scale it to 75%. Step 10Select Bevel and Emboss. Use Inner Bevel for the Style, 80% for the Depth, 3 pixels for the Size and 0 for the Soften. For the Shading options use the image below. Step 11Add another circle using the Ellipse Tool (U), the with the Direct Selection Tool (A) edit the points and also with the Pen Tool (P) add 2 points and delete other 2 that were the horizontal center ones. The image below shows how this shape will look like. Step 12Go to Layer>Layer Styles>Gradient Overlay. Use Screen for the Blend Mode use Screen. For the Opacity use 100% and for the Gradient use white and black for the colors, for the Angle use 90º and for the Scale use 140%. Step 13Here is the final result of our button/badge. Now it's time to add your logo. I used the Abduzeedo symbol I created in Illustrator and pasted in Photoshop so I could apply some layer styles. Step 14With the logo selected go to Layer>Layer Styles>Gradient Overlay. Use the image below for values and the gradient colors. Then apply a bevel and emboss. Step 15Here is the final result of our logo with the metal symbol. Step 16Let's create a nice texture for the background, to do that just select the background layer and go to Filter>Noise>Add Noise. Use 5% for the Amount, Gaussian for the Distribution and select Monochromatic. Step 17Go to Filter>Blur>Motion Blur. Use 0º for the Angle and 20 pixels for the Distance. Step 18Go to Layer>Layer Styles>Gradient Overlay. Use Multiply for the Blend Mode, 100% for the Opacity, black and white for the gradient color, Radial for the Style and 90º for the Angle. ConclusionAs you could see the whole process was super simple, we just played with Layer Styles to create an amazing metal effect in Photoshop. This effect is perfect for icons or if you want to create a logo for an automobile company! Now it's all about practicing and trying different variations. Version 2Just playing with some light effects to create a nice Start button. Download the Photoshop FileDownload the Photoshop file used for this tutorials |
| Posted: 10 Apr 2011 10:09 PM PDT
We've seen some great gadgets and equipment for designers. So many cool stuff, that we could actually assemble infinite perfect office spaces! Every week we'll assemble a perfect office, and we'd like you to help us. What equipment would the perfect office have?<!--break--> Not only gadgets and equipment, but also furniture, sound system, gaming stuff (for lunch time!). A designer is totally allowed to dream with the perfect office, and that's what we're gonna do here! Also, tell us your suggestions, or even better, you may tell us via twitter (mine and fabio's), using #abdz_ofc so we can check it. Alright? I hope you guys enjoy this brief selection. Cheers! ;) Glugg Water Bottle The lightweight aluminium body and tough fold-out spout make this a practical and hard-wearing water bottle for any trip into the wilderness. Or for adventures a bit closer to home, it would make a great addition to your next curry night! (at 7 Gadgets) Star Wars Death Star Trash Compactor Bookends Statue The valiant rescue of Princess Leia takes a turn for the worse when our heroes evade onrushing Stormtroopers by jumping down a garbage shoot. The situation turns grim when the dianoga garbage squid shows up and the garbage compactor's walls begin to close in! (at 7 Gadgets) Bluetooth Stereo Headphones Bluetooth audio for wireless audio from your Bluetooth-enabled mp3 or other music player; Connect to your laptop for all-in-one usage with Skype or other video chat apps, music or video playback. (at 7 Gadgets) Logitech Wireless Mouse M325 Logitech can't do wrong. Yet another great mouse by them. (at Coolest Gadgets) The Seagate GoFlex Slim portable hard drive—first debuted at CES this January but today a real live shipping USB 3.0, 7200RPM storage accessory—measures up at just 9mm thick. That's 320GB of bonus space in a drive that's about as thick as a #2 pencil. (at Gizmodo) |


| You are subscribed to email updates from Abduzeedo | Graphic Design Inspiration and Photoshop Tutorials To stop receiving these emails, you may unsubscribe now. | Email delivery powered by Google |
| Google Inc., 20 West Kinzie, Chicago IL USA 60610 | |
Tidak ada komentar:
Posting Komentar